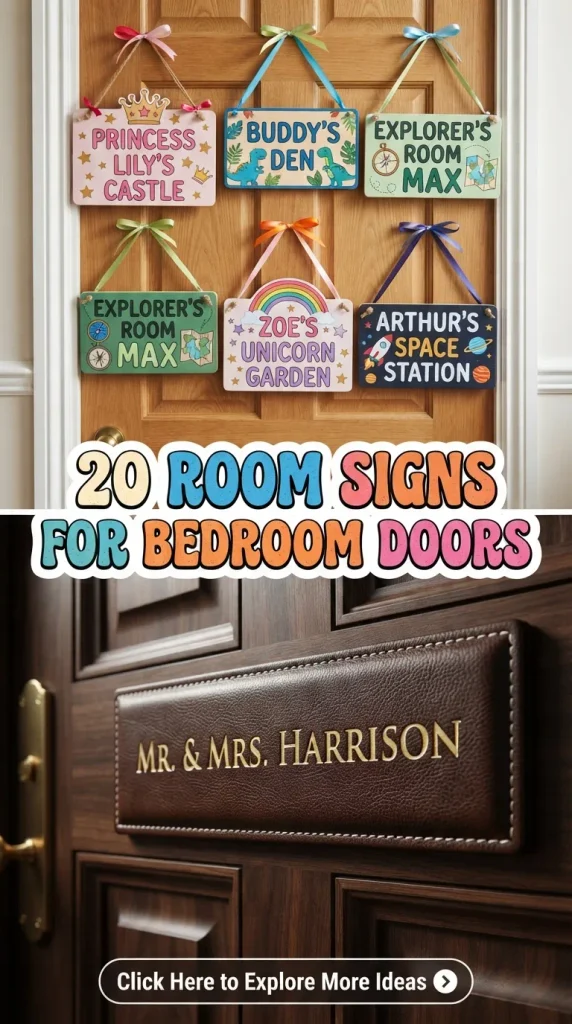
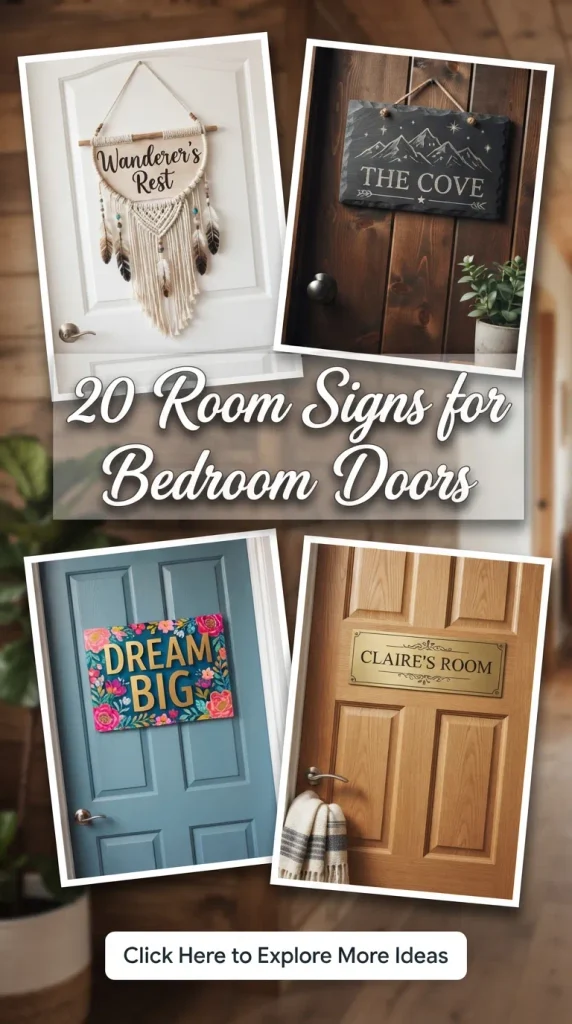
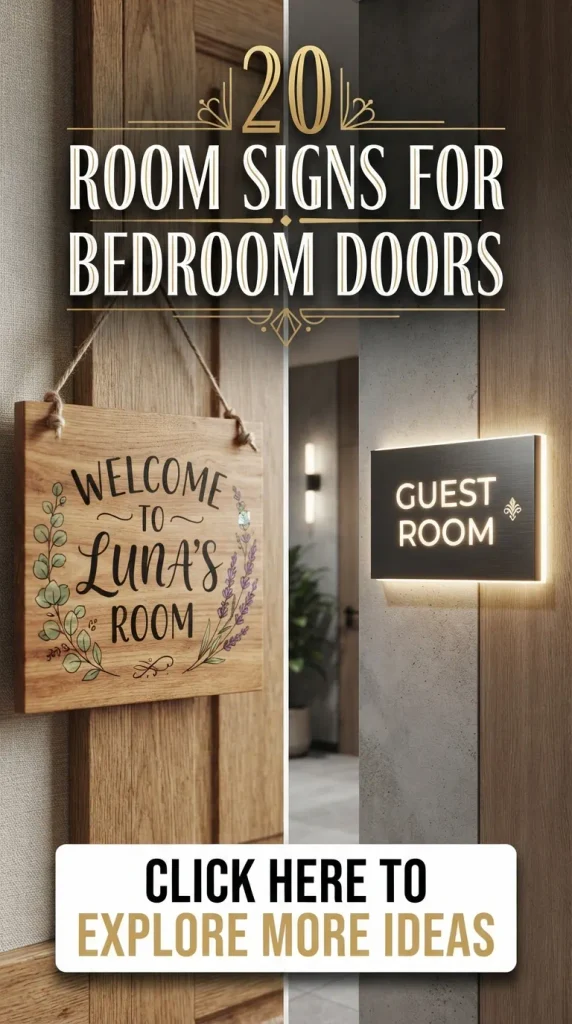
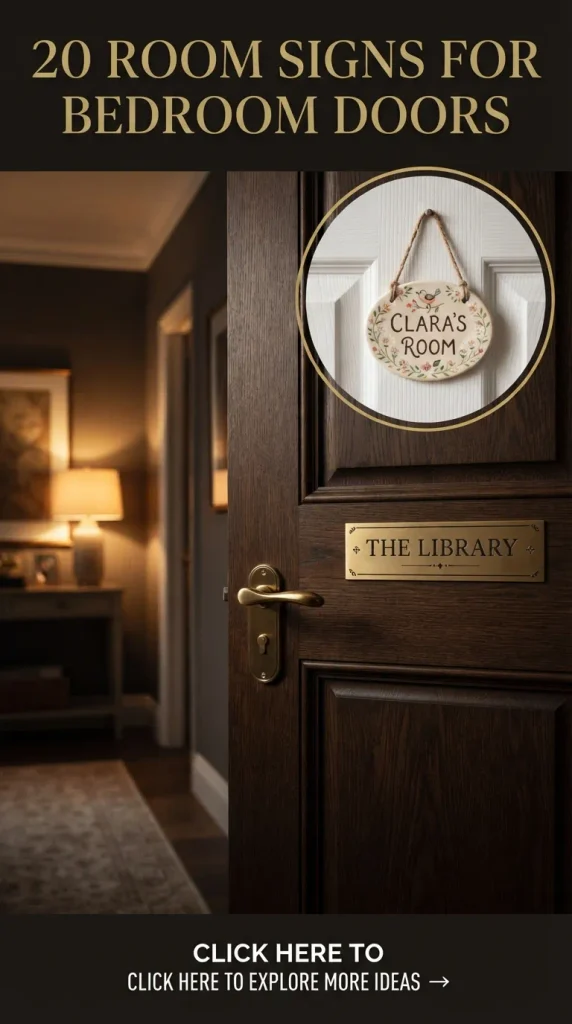
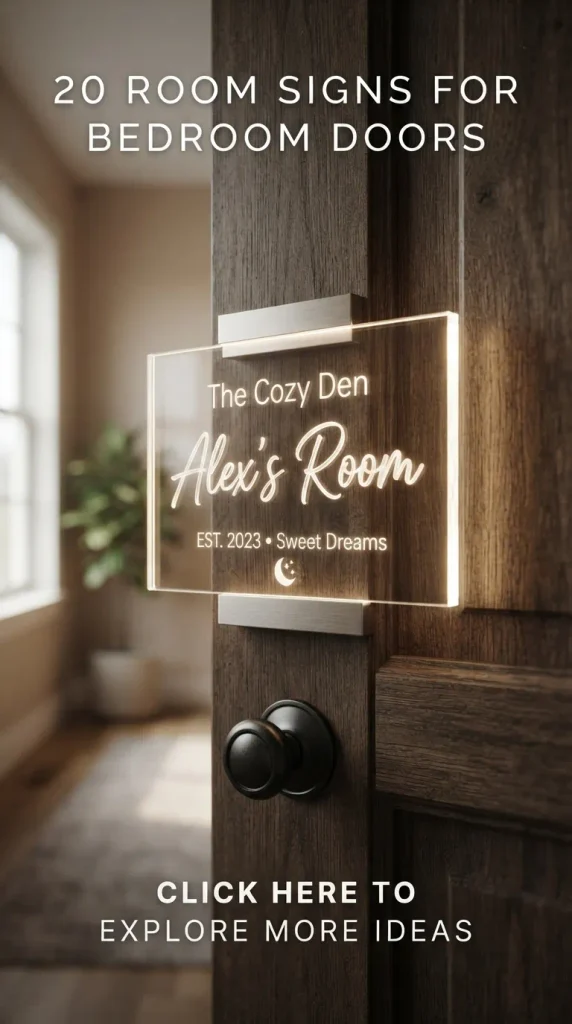
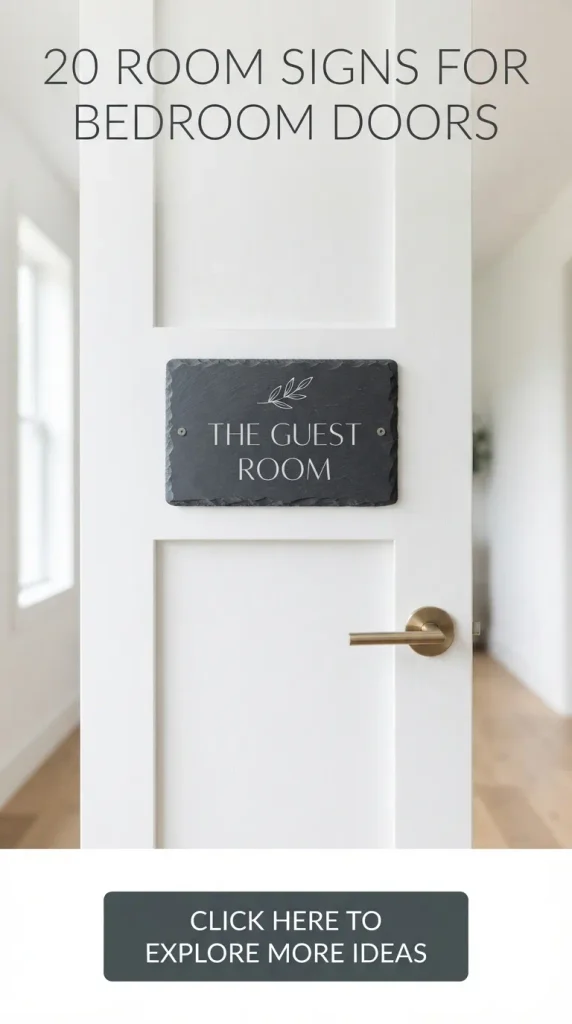
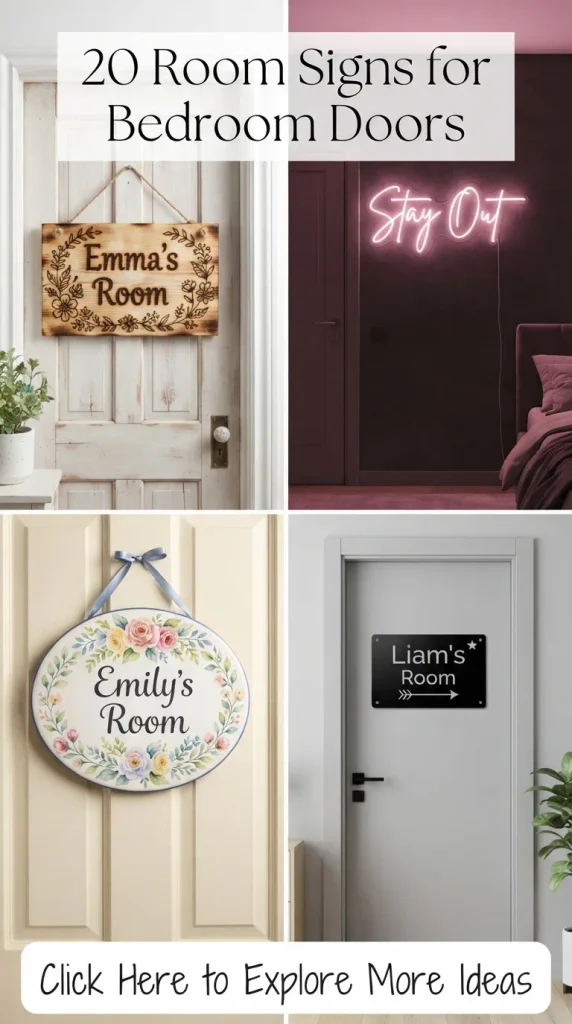
Your bedroom door is the silent threshold between the bustling exterior world and your personal sanctuary. It acts as the very first impression of your inner world, setting the visual tone and emotional frequency before you even step inside. In the realm of modern interior styling, room signs have evolved from simple functional markers into statement pieces of art, reflecting personal identity, lifestyle, and aesthetic sensibility. Whether you gravitate toward the soft, muted tones of minimalism, the cozy warmth of cottagecore, or the chic edge of modern luxury, styling your bedroom door with a bespoke sign transforms an overlooked architectural detail into an exquisite focal point.
The Psychology of Thresholds and Personal Space
Throughout history and interior design philosophy, thresholds carry significant weight. They represent transition, boundaries, and emotional decompression. In contemporary home decor, personalizing your private zone fosters a stronger sense of ownership and psychological comfort. A thoughtfully crafted room sign acts as a physical anchor for your mood. When you walk up to your bedroom at the end of a long day, seeing a sign that resonates with your personal philosophy—whether it is an inspiring quote, an artistic silhouette, or a delicate floral motif—signals to your brain that it is time to unwind, unplug, and settle into your own space.
Furthermore, integrating artisanal elements into bedroom doors allows you to experiment with textures, materials, and typography without overwhelming the main interior space. Because doors have vertical orientation and limited surface area, they serve as the ideal canvas for high-impact, low-footprint design statements. This guide explores 20 distinct, aesthetic, and gorgeous room sign concepts, complete with step-by-step DIY instructions, variation ideas, and curated visual prompts.
1. Minimalist Brass Monogram Plate
A brushed brass monogram plate captures understated elegance. The juxtaposition of a warm metallic finish against a matte-painted wooden door creates a sophisticated, high-end hotel aesthetic.
- Materials Needed: Thin brass sheet metal, heavy-duty metal shears, fine-grit sandpaper, strong liquid nail adhesive or command strips, letter stencil, and a black permanent paint marker or metal stamping kit.
- How to Make It: Measure and cut the brass sheet into a clean rectangle measuring approximately 4 by 6 inches. Smooth the edges thoroughly with fine-grit sandpaper to eliminate any sharpness. Clean the surface with rubbing alcohol. Trace your chosen initial letter onto the center using a stencil, then carefully fill it in using a fine-tip black paint marker or engrave it using a metal stamping hammer. Apply heavy-duty adhesive to the back and press firmly onto the center of your bedroom door for 60 seconds.
- Variations: Opt for a circular brass disc instead of a rectangle, or choose a matte black metal plate with a brushed silver metallic inlay for an industrial-chic look.
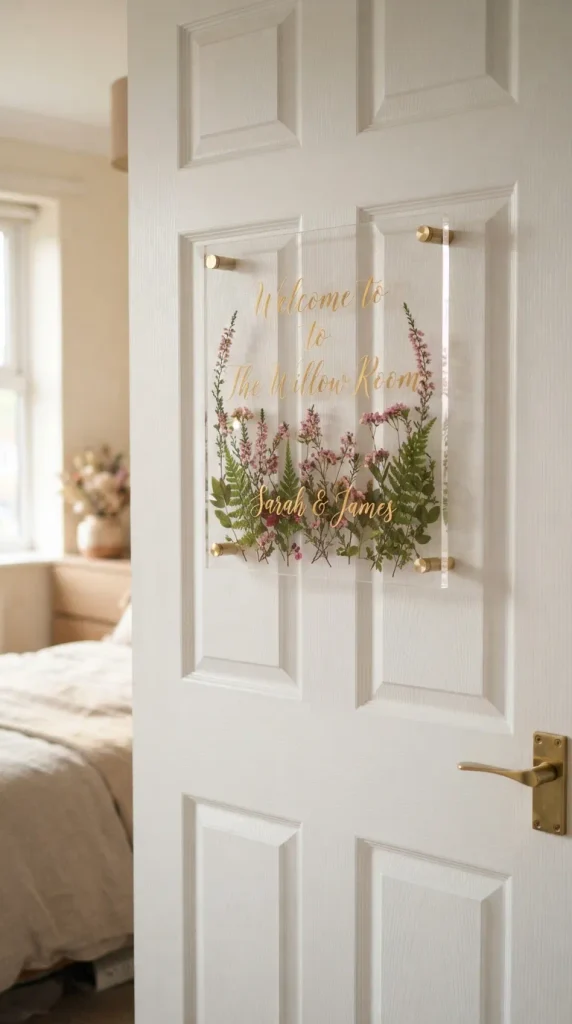
2. Pressed Botanical Acrylic Floating Sign
Merging nature with modern design, this transparent sign suspends real dried pressed flowers between two thin acrylic sheets, creating a light, airy, and botanical-infused aesthetic.
- Materials Needed: Two matching sheets of clear cast acrylic (5×7 inches), pressed wildflowers or ferns, clear craft epoxy resin or double-sided transparent adhesive film, fine gold metallic leaf pen, and four small decorative standoff screws.
- How to Make It: Arrange your pressed botanical specimens artistically on the first acrylic sheet. Seal them gently in place using a microscopic layer of clear adhesive or by sandwiching them tightly with the second acrylic sheet. Use the gold metallic leaf pen to hand-letter your name or a short phrase along the bottom edge. Drill four small holes in the corners if using standoff screws, or mount it directly using clear heavy-duty mounting tape for a seamless floating effect.
- Variations: Substitute botanical leaves with pressed autumn maple leaves for a seasonal update, or incorporate delicate dried baby’s breath sprigs arranged in a minimalist geometric cluster.
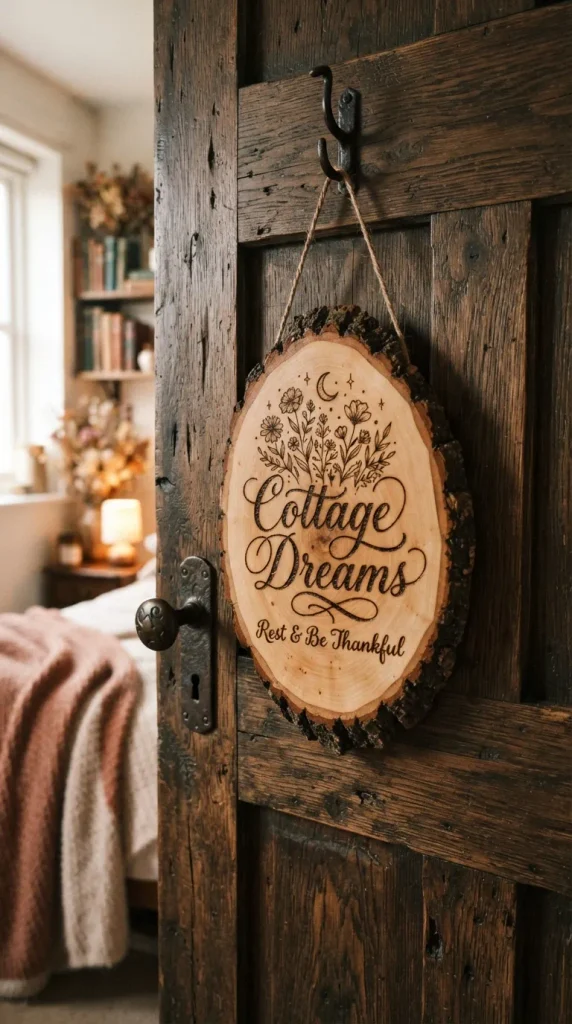
3. Rustic Distressed Woodburnt Calligraphy Plaque
Embracing the charm of cottagecore and rustic farmhouse aesthetics, a hand-charred wooden slab featuring flowing calligraphy brings organic warmth and cozy authenticity to your bedroom entrance.
- Materials Needed: A natural edge wood slice or rectangular pine board (approx. 6×10 inches), wood burner tool (pyrography pen), pencil, fine sandpaper, clear matte polyurethane spray, and natural jute twine.
- How to Make It: Sand the wooden board until the surface is satin-smooth while retaining its natural grain characteristics. Sketch your desired word—such as “Sanctuary,” “Rest,” or your name—onto the wood using a pencil in a flowing script font. Trace over the pencil lines carefully with the heated pyrography pen, applying steady pressure to achieve an even, burnt-wood groove. Apply two coats of clear matte polyurethane to seal and protect the wood. Staple jute twine to the back for hanging over the door handle or mount flush with adhesive strips.
- Variations: Whitewash the wooden board before woodburning for a distressed coastal farmhouse vibe, or stain the wood in a deep espresso tone for a moody bohemian sanctuary.
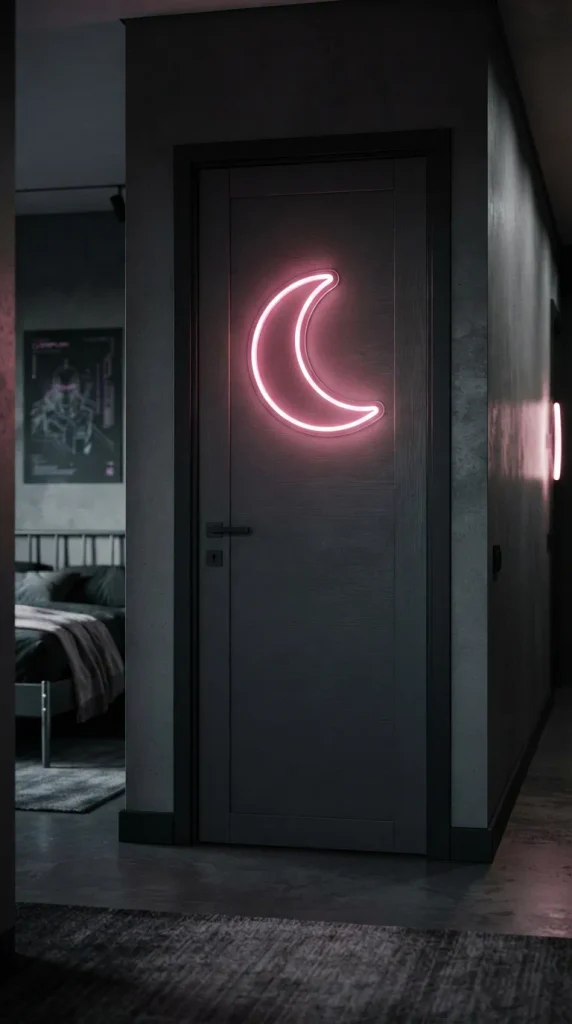
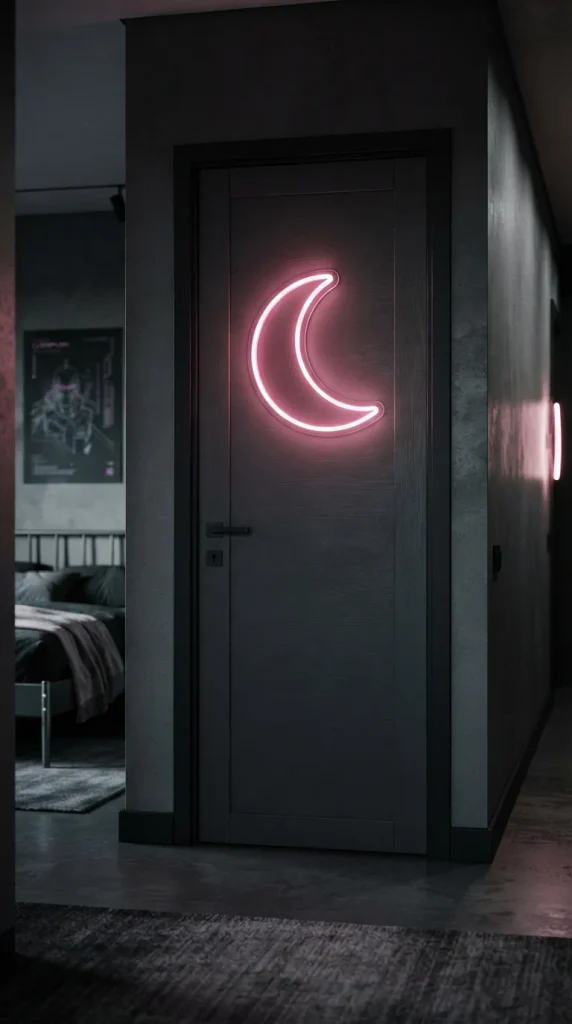
4. Neon-Glow Acrylic Silhouette Sign
Injecting a vibrant, futuristic, and energetic pulse into modern decor, a slim neon-style LED silhouette sign mounted on a dark backboard creates a stunning visual statement during both day and night.
- Materials Needed: Flexible silicone LED neon strip light (warm white or pastel pink), 1/8-inch black acrylic backing board, super glue suitable for plastics, wire cutters, portable battery pack or USB power source, and mounting brackets.
- How to Make It: Sketch a simple continuous-line contour on paper, such as a crescent moon, a lotus flower, or a sleeping cat. Cut the black acrylic backing board to fit the silhouette shape. Shape the flexible silicone LED strip along your sketched design, securing it incrementally to the acrylic backboard using precise drops of fast-setting plastic glue. Route the thin power wire neatly down the back of the door to a discreet battery box mounted near the top hinge.
- Variations: Use pastel mint green neon for a calming botanical bedroom, or soft lavender for a dreamy, ethereal aesthetic.
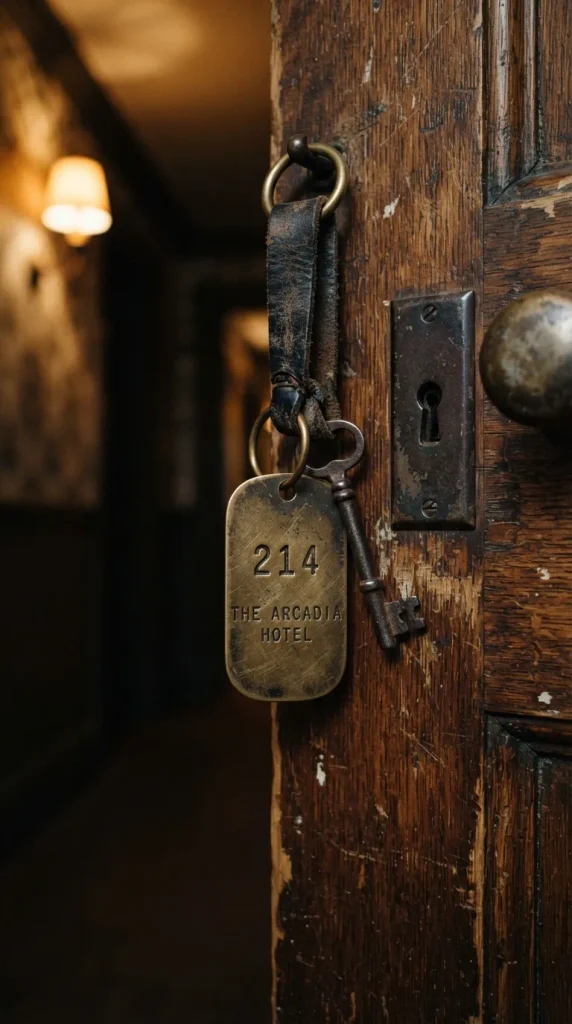
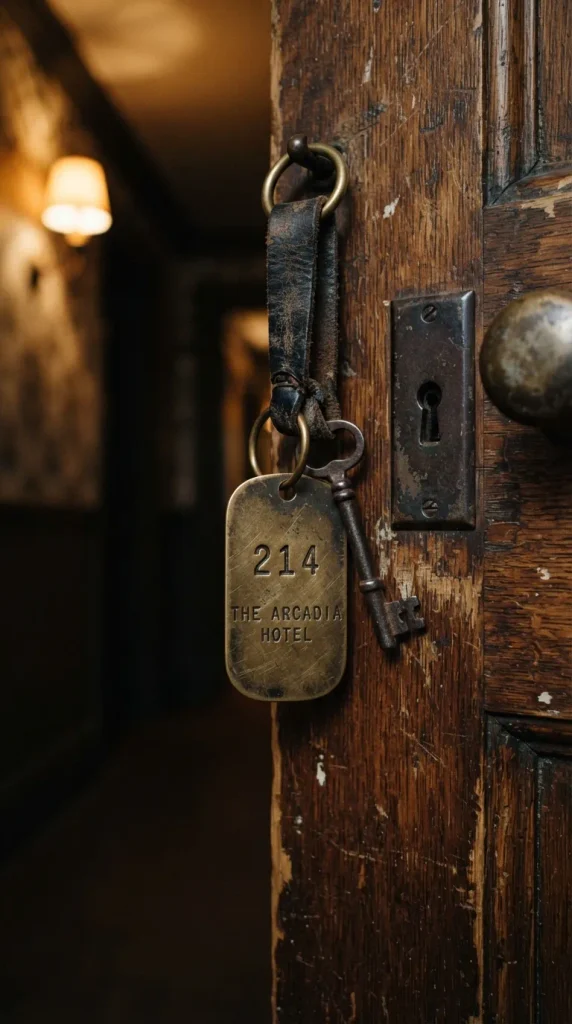
5. Vintage Pressed-Metal Hotel Key Tag Sign
Channeling retro travel aesthetics and boutique hotel charm, an elongated brass or aluminum tag stamped with custom room numbers or playful titles adds nostalgic character.
- Materials Needed: Blank metal hotel key tag blank, metal stamping punch set, small hammer, metal darkening solution (optional for antique patina), and a split key ring with a leather loop strap.
- How to Make It: Place your metal tag securely on a solid steel bench block. Line up your metal letter and number punches carefully and strike firmly with the hammer to indent your custom text (e.g., “SUITE 404” or “RESTRICTED ACCESS”). Rub a dark patina solution over the stamped impressions and wipe away the excess to make the lettering pop against the brushed metal background. Attach a genuine leather strap loop through the ring and hang it cleanly from your bedroom door knob.
- Variations: Use genuine vintage hotel tags sourced from antique markets and overlay your custom adhesive vinyl lettering directly over the weathered surface.
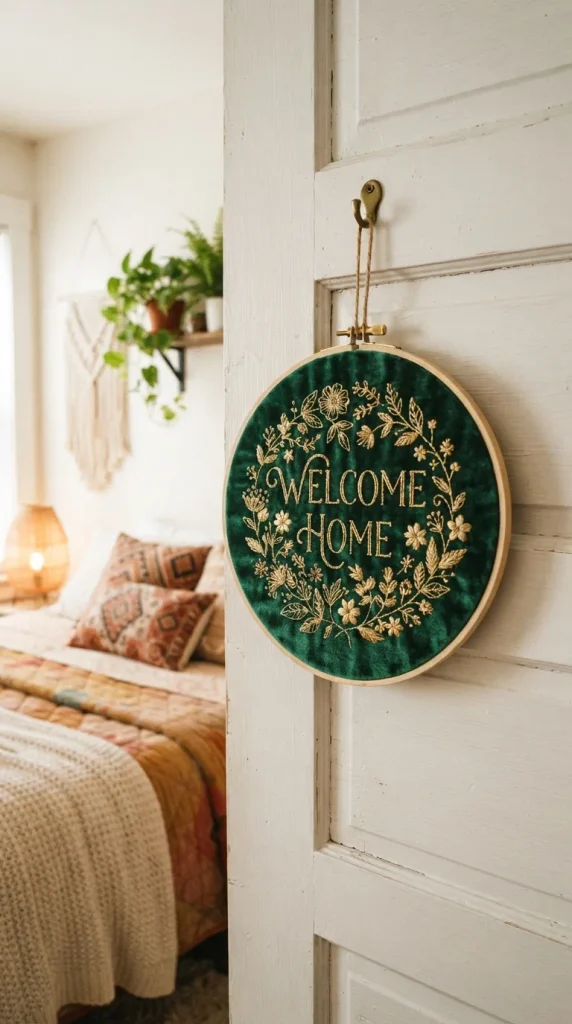
6. Soft Velvet Embroidered Hoop Sign
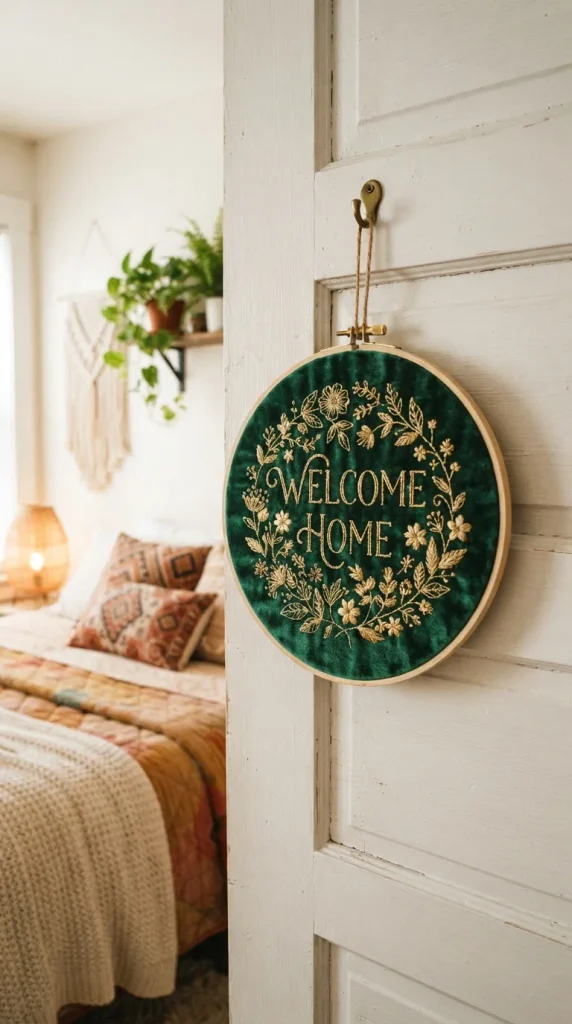
Rich texture meets delicate hand-craftsmanship in an embroidery hoop sign wrapped in plush velvet fabric and finished with intricate floral or typographic stitching.
- Materials Needed: 8-inch wooden embroidery hoop, rich jewel-toned velvet fabric (emerald green, sapphire blue, or dusty rose), embroidery floss, embroidery needle, fabric scissors, and hot glue.
- How to Make It: Stretch your velvet fabric tightly inside the embroidery hoop and secure the screw tightly. Lightly transfer your text pattern onto the velvet using water-soluble transfer paper. Using a satin stitch or stem stitch, embroider your chosen phrase or name with contrasting metallic or pastel embroidery floss. Trim the excess velvet fabric from the back, leaving a 1-inch border, and fold it inward, securing it neatly with hot glue. Hang the hoop using a matching velvet ribbon looped over the door handle.
- Variations: Use raw linen fabric instead of velvet for an organic, Japandi-inspired minimalist aesthetic, or add 3D felt flowers blooming along the edge of the hoop.
7. Modern Terrazzo Patterned Resin Sign
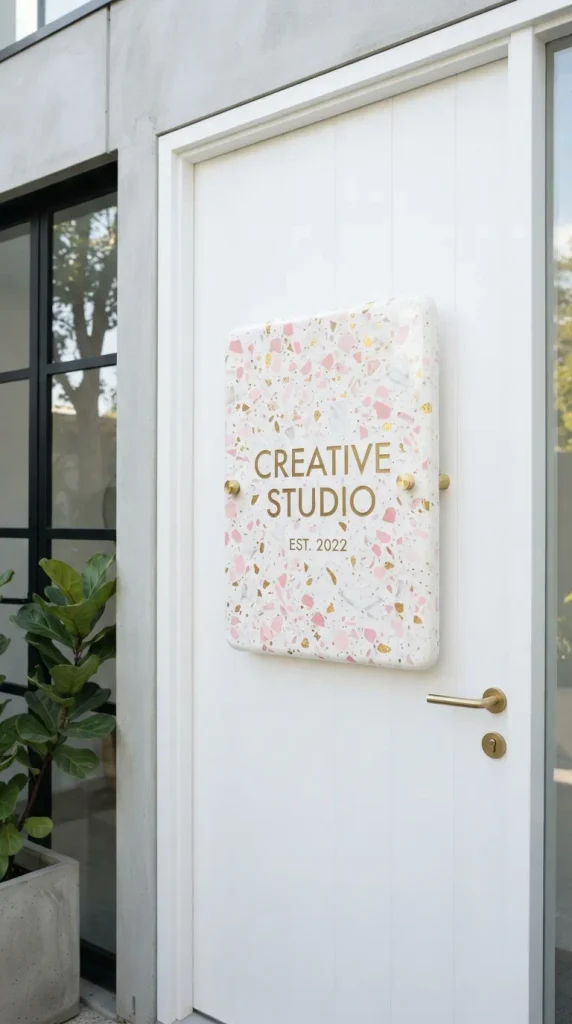
Incorporating contemporary geometric art trends, a custom-cast resin sign embedded with colorful terrazzo chips delivers a sleek, artistic, and durable door accessory.
- Materials Needed: Silicone rectangle mold, casting epoxy resin, color pigments, polymer clay chips (to mimic terrazzo), mixing cups, stirring sticks, and custom vinyl lettering decal.
- How to Make It: Mix your casting epoxy resin according to the manufacturer’s instructions. Pour a thin base layer into the silicone mold. Scatter your colorful polymer clay chips randomly across the surface to create the terrazzo effect. Pour the remaining clear resin to fill the mold completely and let it cure for 24 to 48 hours. Once fully hardened, demold the polished rectangle and apply a crisp black or white vinyl decal displaying your personalized room title on the front face.
- Variations: Use metallic gold leaf flakes alongside pastel pink and white chips for a luxurious, high-end design finish.
8. Pressed Clay Relief Floral Tile Sign
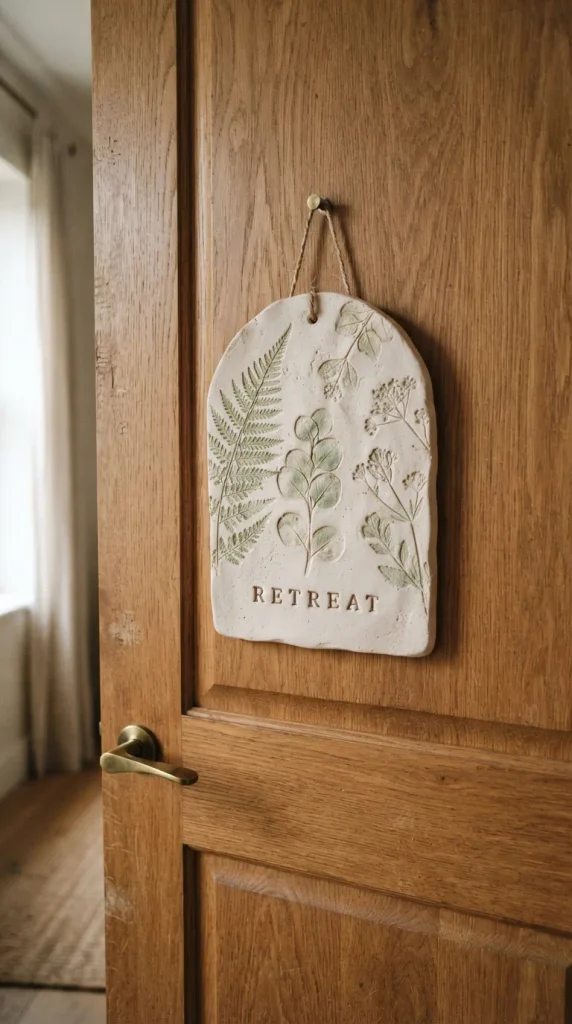
Crafted from air-dry clay and sculpted with natural botanical impressions, this artisanal ceramic-look tile radiates organic wabi-sabi beauty.
- Materials Needed: Air-dry white clay, rolling pin, cutting knife, real fresh leaves or fern fronds, acrylic paint (sage green or soft terracotta), fine paintbrush, and matte sealer.
- How to Make It: Roll out your air-dry clay to an even quarter-inch thickness. Cut out a clean rectangular or arched tile shape using a sharp blade. Firmly press fresh leaves and stems into the wet clay surface to emboss detailed natural vein impressions, then gently peel them away. Carve your name or initials into the lower section using a toothpick. Allow the clay to dry completely for 48 hours. Paint the recessed leaf impressions with sage green acrylic paint, wipe away excess surface paint for an antique wash effect, and seal the entire tile with a clear matte coat.
- Variations: Shape the tile into a charming arched cathedral window silhouette, or leave the clay in its raw, unpainted earthy white finish for a pure minimalist look.
9. Acrylic Floating Shadow Box Sign
Adding incredible depth and dimension, a shadow box frame filled with dried lavender buds, fairy lights, or miniature moss landscapes frames a floating glass inscription.
- Materials Needed: Shadow box frame (8×8 inches), glass-marking pen or vinyl sticker, preserved moss, tiny dried floral sprigs, tweezers, and double-sided mounting tape.
- How to Make It: Write your custom text directly onto the inner glass pane using a permanent glass pen or apply a sleek frosted vinyl decal. Remove the back panel of the shadow box and arrange preserved green moss and tiny dried floral elements along the bottom interior base using tweezers to create a miniature terrarium landscape behind the text. Reassemble the shadow box frame securely and mount it flat against the center of your bedroom door.
- Variations: Fill the shadow box with polaroid pictures, movie ticket stubs, or twinkling micro fairy lights for a warm, sentimental glowing nightlight effect.
10. Minimalist Leather Loop Hanging Sign
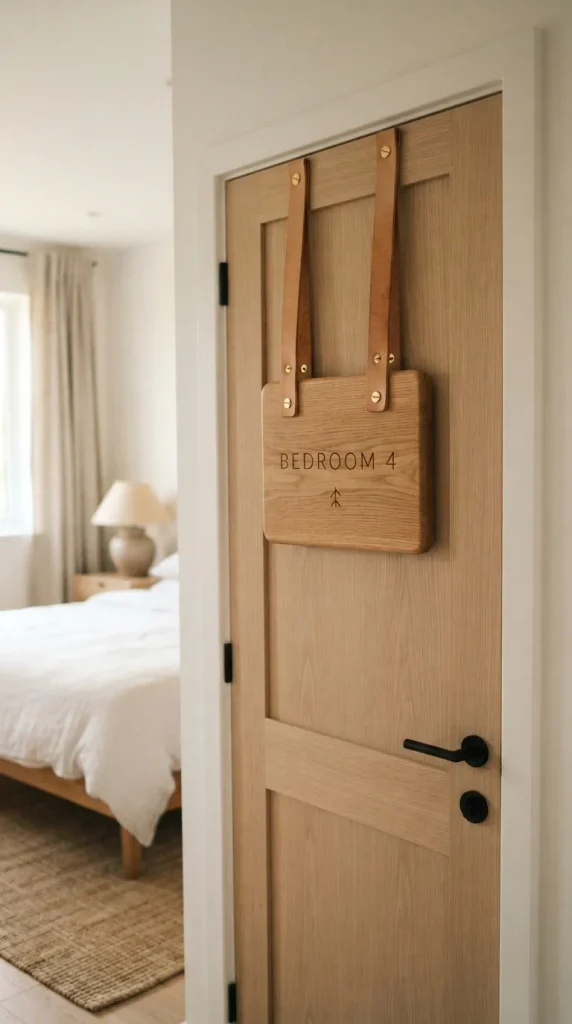
Sleek, modern, and understated, a genuine leather strap holding a solid oak wood plank creates a sophisticated Scandinavian-inspired interior accent.
- Materials Needed: Natural oak wood plaque (4×8 inches), strip of full-grain tan leather (1-inch wide), heavy-duty brass Chicago screws or rivets, hole puncher, and black vinyl lettering.
- How to Make It: Sand the oak wood plaque until smooth and apply a natural beeswax finish to enhance the wood grain. Cut two matching lengths of tan leather straps to form a hanging loop and a lower accent wrap. Punch clean holes through the leather ends using a leather punch tool. Secure the leather loop to the top of the plaque using brass Chicago screws. Apply your custom text using precision black vinyl lettering across the center of the oak board. Hang the entire assembly from a decorative wall hook or over the door handle.
- Variations: Use black matte leather paired with dark walnut wood for a moody, masculine aesthetic, or pastel blush leather with light birch wood for a soft feminine touch.
11. Geometric Wire-Framed Floating Sign
Merging modern industrial metalwork with delicate typography, a geometric wire frame (such as a hexagon or diamond) encloses a suspended acrylic nameplate.
- Materials Needed: Heavy-gauge brass craft wire, wire cutters, jeweler’s pliers, clear fishing line, small sheet of clear acrylic, and custom lettering sticker.
- How to Make It: Bend and shape your brass craft wire into a clean geometric polygon, such as a large hexagon, soldering or tightly wrapping the joints with fine wire to secure the structure. Cut your clear acrylic sheet to fit loosely inside the geometric frame. Apply your custom text sticker to the acrylic. Suspend the acrylic pane inside the center of the wire frame using near-invisible clear fishing line tied securely to the corners. Hang the entire geometric sculpture on your door.
- Variations: Spray paint the brass wire frame in matte black or rose gold to coordinate with your existing room hardware and door handles.
12. Pressed Fern in Vintage Ornate Gold Frame
Exuding timeless vintage romance, an ornate Rococo-style gold picture frame encases a botanical fern pressed against aged parchment paper.
- Materials Needed: Vintage ornate resin or wooden picture frame, antique-toned parchment paper, pressed fern frond, decoupage glue, antiquing glaze, and hanging hardware.
- How to Make It: Age your parchment paper by dabbing it gently with a damp tea bag and letting it dry completely. Decoupage your pressed fern frond onto the center of the aged paper using matte medium. Hand-letter your room title or name beneath the fern using sepia ink and a fine calligraphy nib. Insert the finished artwork into the ornate vintage frame. If your frame lacks glass, seal the paper thoroughly with protective matte spray. Mount securely to your bedroom door.
- Variations: Use a velvet backing mat inside the frame to make the gold details and green fern pop with striking contrast.
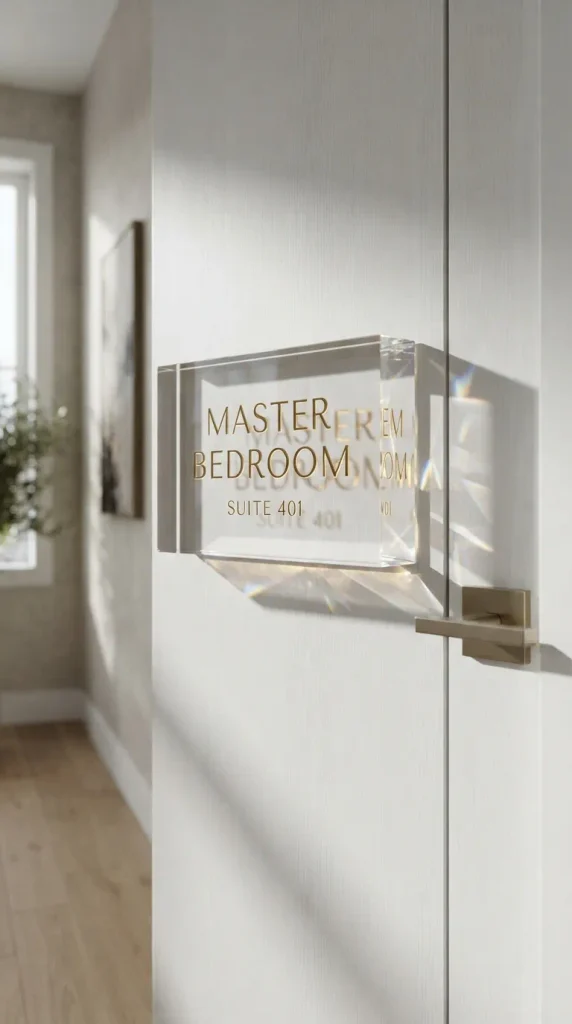
13. Minimalist Acrylic Block Sign
A thick, crystal-clear acrylic block stands securely on its own or mounts flush to a door, creating a modern museum-exhibit aesthetic with stunning light-refraction properties.
- Materials Needed: Solid cast acrylic block (at least 1-inch thick), white or metallic gold vinyl decal, precision craft knife, and industrial mounting tape.
- How to Make It: Polish your solid acrylic block until completely dust-free and crystal clear. Design your custom minimalist typography on a computer, cut it out of matte white or gold vinyl, and carefully transfer it onto the front face of the acrylic block, smoothing out any air bubbles with a credit card. Mount the heavy acrylic block securely to your bedroom door using heavy-duty clear mounting tape. The thickness of the block casts gorgeous shadows and light refractions across the door surface.
- Variations: Frost the back surface of the acrylic block with frosted glass spray paint while keeping the front crystal clear for a striking dimensional depth effect.
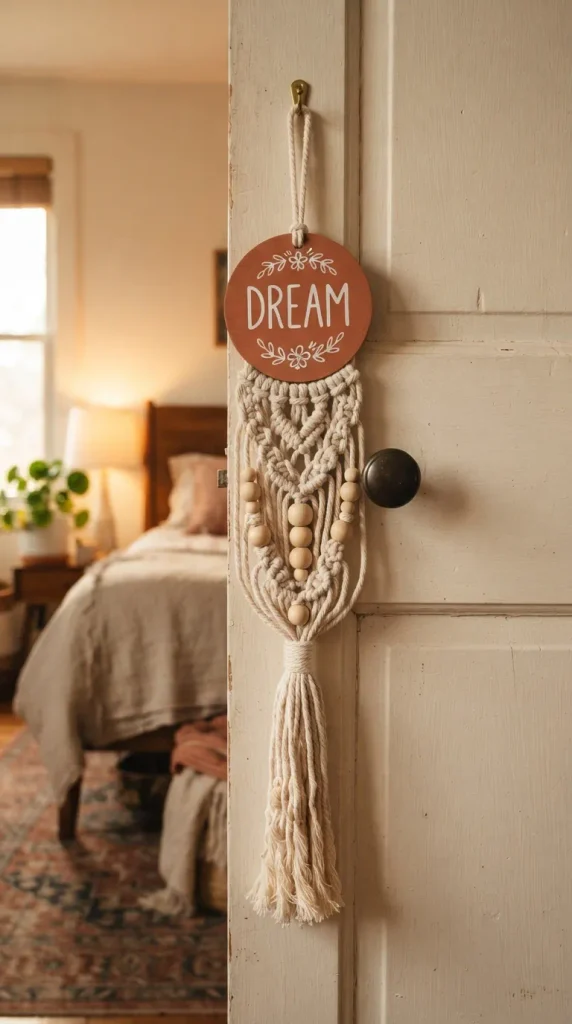
14. Macrame Fringe Boho Hanging Sign
Bohemian texture takes center stage in a wall-hanging sign featuring natural cotton cord knots, delicate wooden beads, and a painted wooden plaque centerpiece.
- Materials Needed: Small smooth wooden circle disc, natural cotton macrame cord (3mm), wooden craft beads, fabric comb, scissors, acrylic paint, and mounting twine.
- How to Make It: Paint your small wooden disc in a calming earth tone such as terracotta, olive green, or warm sand. Hand-paint your name or a bohemian symbol onto the center. Cut multiple strands of macrame cord and attach them to the bottom of the wooden disc using larks head knots. Thread wooden beads onto select strands and tie secure knots at the ends. Comb out the remaining cord fringe using a fine-tooth pet slicker brush to create a soft, fluffy bohemian tassel effect. Hang the piece gracefully from the bedroom door handle.
- Variations: Incorporate dip-dyed cotton cords matching your bedroom duvet cover or accent pillows for a unified, cohesive color palette.
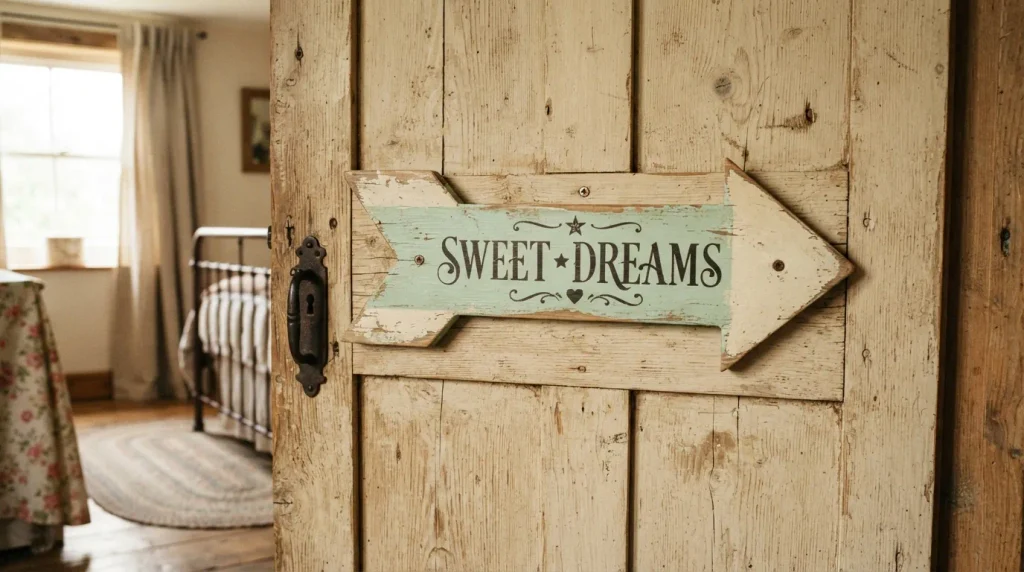
15. Shabby Chic Distressed Wooden Arrow Sign
A whimsical directional arrow sign adds playful character while maintaining a charming vintage cottage aesthetic.
- Materials Needed: Wooden arrow cutout shape, chalk paint in two contrasting colors (e.g., soft mint over dark gray), fine sandpaper, stencil, and clear wax sealer.
- How to Make It: Paint your wooden arrow base entirely in the dark base coat color. Once dry, rub a candle lightly along the edges and corners (this prevents top paint from adhering fully). Paint over the entire arrow with your soft mint chalk paint. Once dry, distress the edges vigorously with fine-grit sandpaper to reveal the dark under-layer and wood grain in authentic rustic fashion. Stencil a playful phrase like “Dream Destination” or your name across the arrow shaft. Finish with clear protective wax.
- Variations: Add small rusted metal hinges or decorative upholstery tacks along the edges of the arrow for an authentic rustic workshop look.
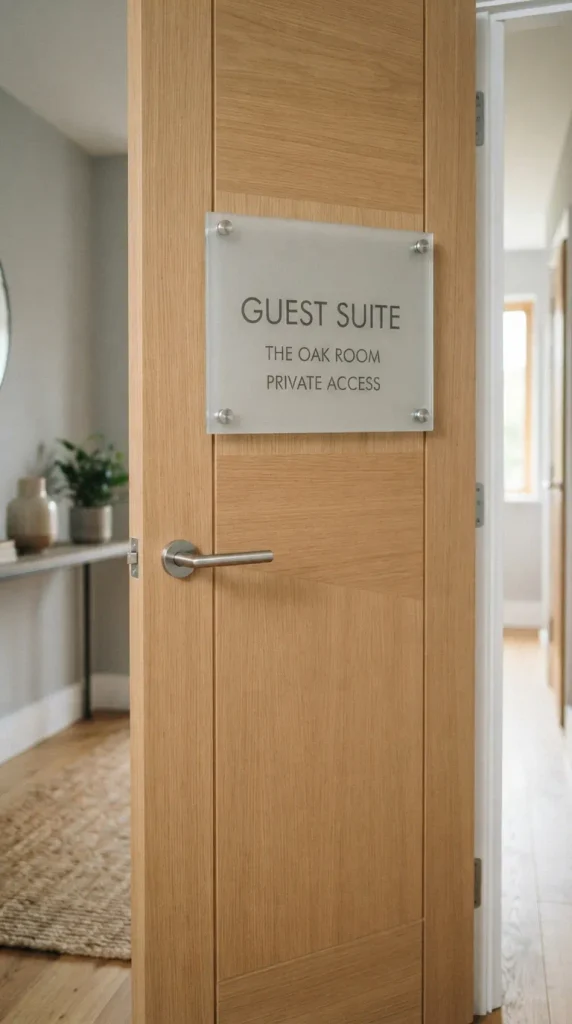
16. Sleek Frosted Glass Etched Nameplate
Sophisticated and professional yet deeply personal, a frosted glass plate featuring permanently etched typography offers clean architectural lines.
- Materials Needed: Flat glass plaque, glass etching cream, foam brush, vinyl stencil of your text, utility knife, protective gloves, and glass cleaner.
- How to Make It: Clean your glass plaque thoroughly with rubbing alcohol. Apply your custom vinyl stencil to the center of the glass, pressing down firmly around all edges to prevent bleeding. Put on protective gloves and apply a thick, even layer of glass etching cream over the exposed stencil areas using a foam brush. Let it sit according to the product instructions (usually 5 to 15 minutes), then rinse thoroughly with warm running water. Peel away the vinyl stencil to reveal a permanent, elegant frosted white engraving. Mount the glass plate using sleek chrome standoff mirror screws.
- Variations: Back the frosted glass plate with a sheet of shimmering rose gold foil paper before mounting to create a gorgeous metallic glow through the etched glass design.
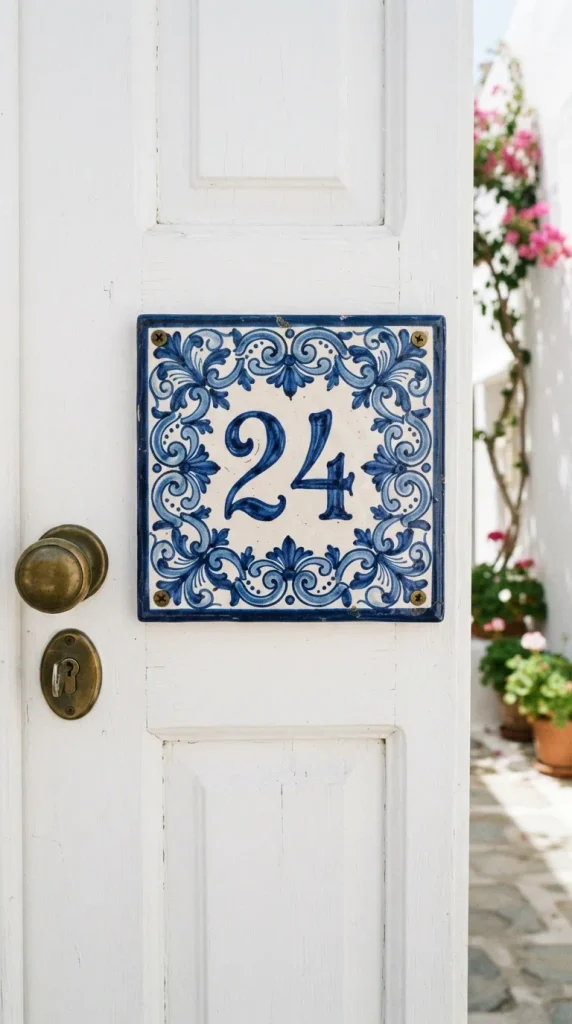
17. Hand-Painted Ceramic Tile House Number Style
Taking inspiration from Mediterranean villa tiles, a glossy ceramic tile hand-painted with cobalt blue florals and custom room numbering brings classic European charm to your door.
- Materials Needed: Plain white ceramic square tile (6×6 inches), ceramic paint markers (cobalt blue and gold), ruler, pencil, and silicone adhesive.
- How to Make It: Wipe down your ceramic tile with rubbing alcohol. Use a pencil and ruler to sketch a delicate geometric or floral border around the perimeter of the tile, inspired by traditional Portuguese azulejos. Paint the border and your custom room number or name inside using vibrant cobalt blue ceramic paint markers. Add delicate gold accents for an opulent touch. Bake the tile in your oven according to the ceramic paint manufacturer instructions to make the design permanent and dishwasher safe. Adhere the tile flush to your bedroom door using silicone adhesive.
- Variations: Substitute traditional blue with warm Mediterranean terracotta and sunny yellow for a bright, vibrant bohemian cottage feel.
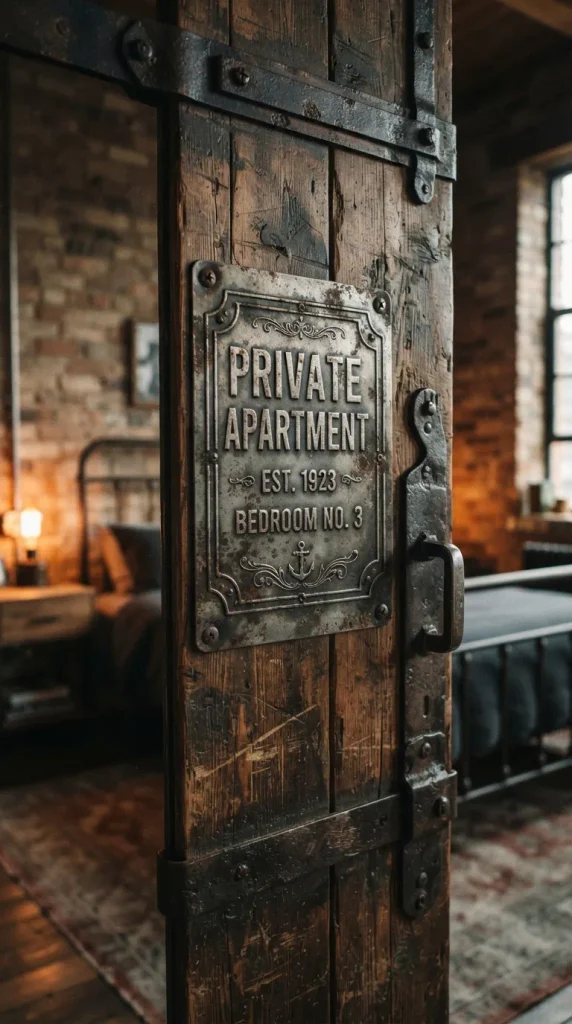
18. Pressed Metal Embossed Vintage Sign
Industrial meets vintage nostalgia in an embossed aluminum or tin plate stamped with raised lettering and finished with an antique distressed wash.
- Materials Needed: Thin aluminum flashing sheet, ballpoint pen, hard foam backing pad, dark acrylic paint, cloth rag, and heavy-duty mounting tape.
- How to Make It: Place your thin aluminum sheet on top of a soft foam backing pad. Using a ballpoint pen and pressing firmly, write your custom text and draw a simple border from the back side (this creates raised embossed lines on the front side). Flip the sheet over and outline the raised details carefully. Apply a wash of dark acrylic paint across the entire front surface, then immediately wipe most of it away with a cloth rag so the dark paint settles only into the recesses and edges, creating an instant antique patina. Trim the plate to size and mount it to your door.
- Variations: Spray paint the finished embossed metal sign in matte pastel pink or mint green before applying the antiquing wash for a softer pastel industrial look.
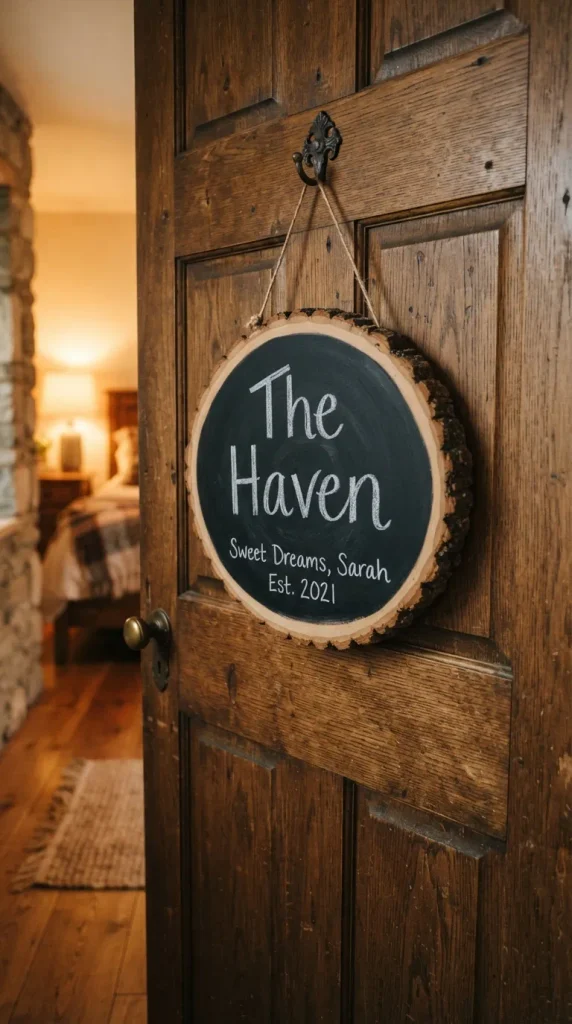
19. Wooden Slice Chalkboard Door Sign
Offering endless versatility and interactive charm, a natural wood slice fitted with chalkboard paint allows you to change your daily door message whenever inspiration strikes.
- Materials Needed: Large natural basswood slice, black chalkboard paint, foam brush, fine sandpaper, chalk markers (white and pastel), and jute twine.
- How to Make It: Lightly sand the center face of your wood slice to create a smooth painting surface, leaving the natural bark border untouched. Apply two even coats of black chalkboard paint to the center circle, allowing ample drying time between coats. Condition the chalkboard surface once dry by rubbing a stick of white chalk all over it and erasing it completely. Write your custom welcome message, daily mood, or name using liquid chalk markers. Hang the sign from your door handle using sturdy jute twine.
- Variations: Frame the chalkboard center with a delicate ring of dried artificial eucalyptus leaves hot-glued directly to the natural wood bark.
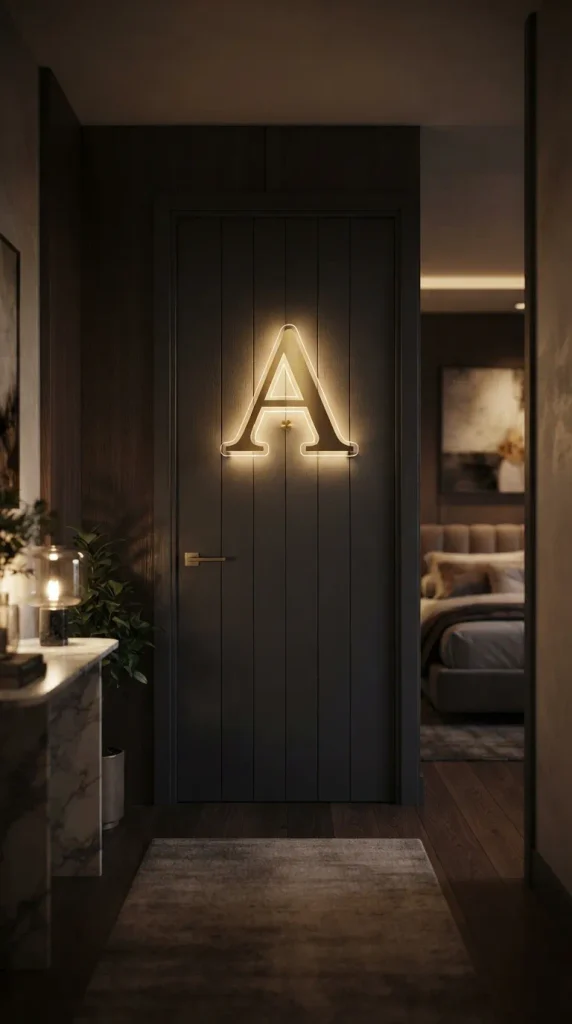
20. Floating Acrylic Neon-Backlit Monogram
Combining ultra-modern acrylic design with ambient backlighting, this floating monogram sign creates a halo glow effect against your bedroom door surface.
- Materials Needed: Cut-to-shape acrylic letter, LED strip light tape with battery pack, tiny transparent spacers, super glue, and mounting hardware.
- How to Make It: Cut or order a custom acrylic monogram letter matching your initial. Attach a strip of flexible waterproof LED tape neatly around the perimeter of the back side of the letter, facing inward so the light projects backward toward the door. Attach small transparent rubber spacers (1/4-inch thick) to the corners of the back of the letter to create a gap between the letter and the door surface. Mount the letter to the door, hiding the battery pack neatly behind the top frame or door edge. When turned on, it casts a stunning halo of ambient light onto your bedroom door.
- Variations: Choose warm amber lighting for a cozy, intimate sunset glow, or cool ice blue for a modern futuristic atmosphere.
Future Additions & More Ideas
- Magnetic interchangeable seasonal quote plaques
- Solar-powered miniature fairy garden door arches
- Origami paper-folded sculptural geometric nameplates
- Recycled skateboard deck custom engraved room signs
- Interactive wooden sliding “Do Not Disturb / Welcome” privacy indicators