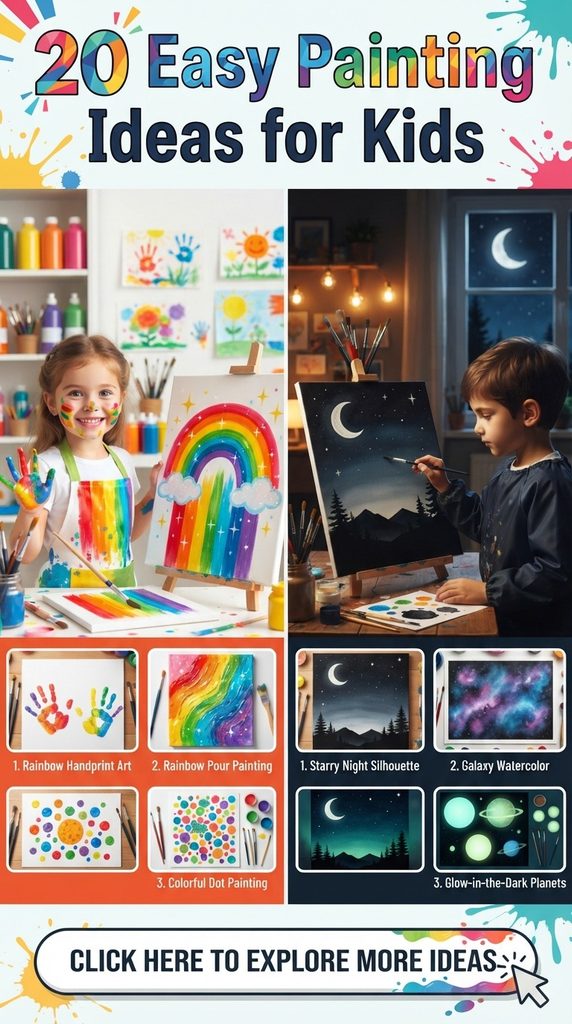
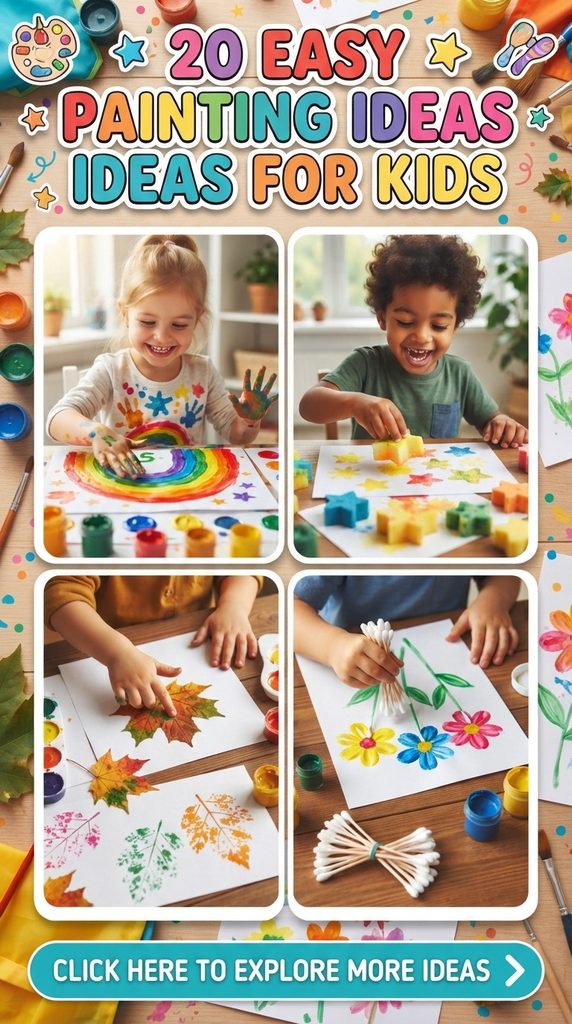
Unleashing a child’s creativity doesn’t require a masterclass in fine arts or an expensive trip to a specialty craft store. Often, the most magical, Pinterest-worthy masterpieces are born from the simplest materials, a dash of imagination, and a willingness to embrace a little bit of beautiful mess. Painting is more than just an afternoon pastime for children; it is a vital sensory journey that builds fine motor skills, encourages emotional expression, and fosters a lifelong appreciation for beauty and design.
In a world increasingly dominated by glowing screens and fast-paced digital stimulation, tactile, hands-on art offers a grounding sanctuary. The ideas compiled here are specifically curated to be aesthetically gorgeous, deeply satisfying for young hands to create, and simple enough for parents or educators to set up without inducing panic. These projects bridge the gap between child-led free expression and modern, gallery-worthy home decor that you will genuinely be proud to frame, hang on your living room gallery wall, or pin to your favorite aesthetic boards.
Let us dive into twenty enchanting, easy painting concepts designed to spark joy, cultivate confidence, and turn your home into a vibrant studio of wonder.
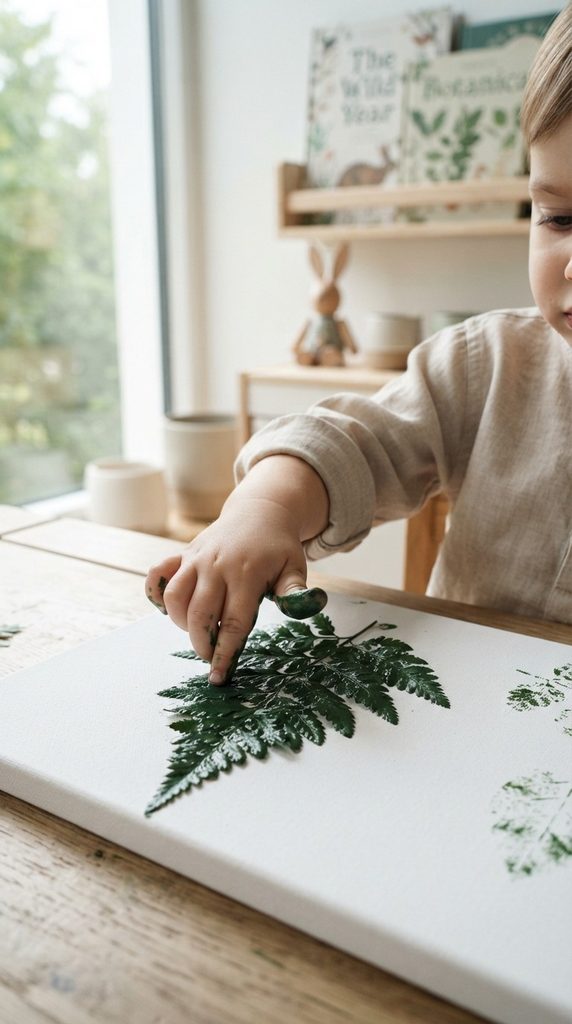
1. Pressed Flower Nature Canvas Combining a walk in the great outdoors with tactile creativity, this project lets children use real leaves, stems, and petals as stamping tools.
- How to Make It: Go on a scavenger hunt in your backyard or local park to collect sturdy leaves, ferns, and flower heads with interesting textures. Tape a blank stretched canvas to a flat surface. Have your child paint a layer of acrylic paint directly onto the textured side of the leaves using a soft brush. Press the painted leaf firmly onto the canvas, then gently peel it back to reveal a stunning, organic fossil-like print. Layer different shades of sage green, soft terracotta, and creamy ivory for a sophisticated, botanical-chic finish.
- Tips and Variations: Use acrylics on canvas or heavy-weight watercolor paper. For an ethereal look, try a monochromatic color palette using various shades of a single color, like dusty rose.
- Materials Needed: Blank canvas or heavy paper, washable acrylic paints, foam brushes, collected leaves and flowers, paper towels.
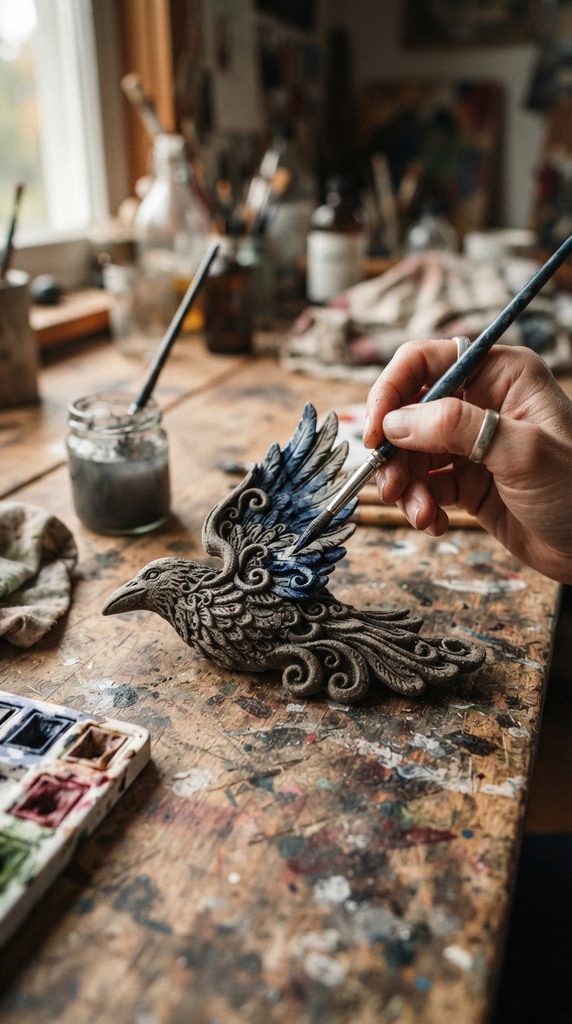
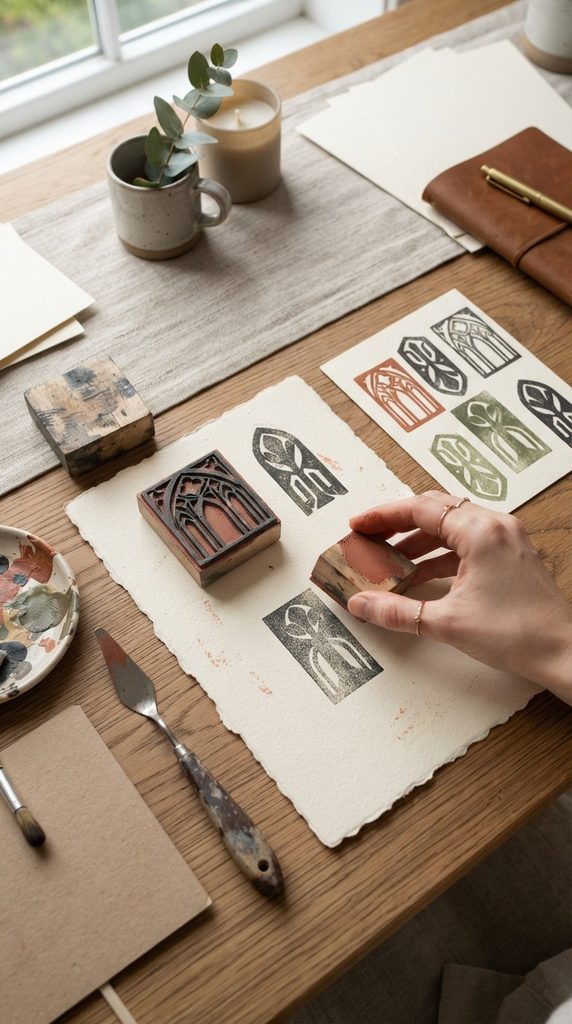
2. Minimalist Scandi Wooden Block Stamping Clean lines, muted tones, and geometric shapes define Scandinavian design, making this a wonderfully chic project for older and younger kids alike.
- How to Make It: Gather wooden blocks of various geometric shapes (cubes, rectangular prisms, cylinders). Pour small pools of muted, earthy paint colors—such as mustard yellow, rust, olive green, and warm taupe—onto a paper plate. Let your child dip the flat faces of the blocks into the paint and stamp them onto thick cardstock in deliberate, repeating patterns. Encourage them to overlap shapes or leave intentional negative space.
- Tips and Variations: Create a repeating modernist pattern for a cohesive look. You can frame the finished piece in a light oak frame to elevate it into true contemporary wall art.
- Materials Needed: Wooden building blocks, heavy-weight paper or cardstock, acrylic paints in earthy tones, paper plates.
3. Sunset Gradient Sponge Blend Smooth, dreamy color transitions are a hallmark of aesthetic design, and this sponge-blending technique makes achieving professional-looking gradients effortless.
- How to Make It: Tape off the edges of your canvas with painter’s tape to create a clean border. Select three harmonious colors that blend well together, such as soft peach, golden yellow, and dusty lavender. Apply the paint directly to the canvas in horizontal stripes, leaving the borders slightly overlapping. While the paint is still wet, take a damp kitchen sponge and gently sweep it back and forth across the canvas in long, horizontal strokes to blur the lines into a seamless ombre sunset.
- Tips and Variations: Add a simple silhouette painted in black or dark navy across the bottom, such as a solitary pine tree line or a sleepy crescent moon.
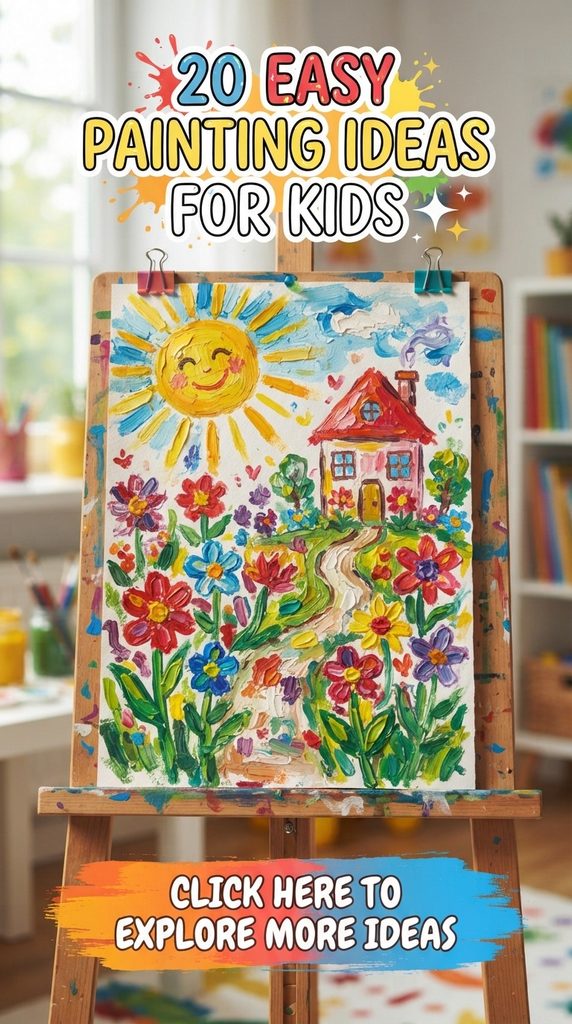
- Materials Needed: Canvas, acrylic paint (three blending colors), painter’s tape, damp kitchen sponge, black marker or paint for silhouettes.
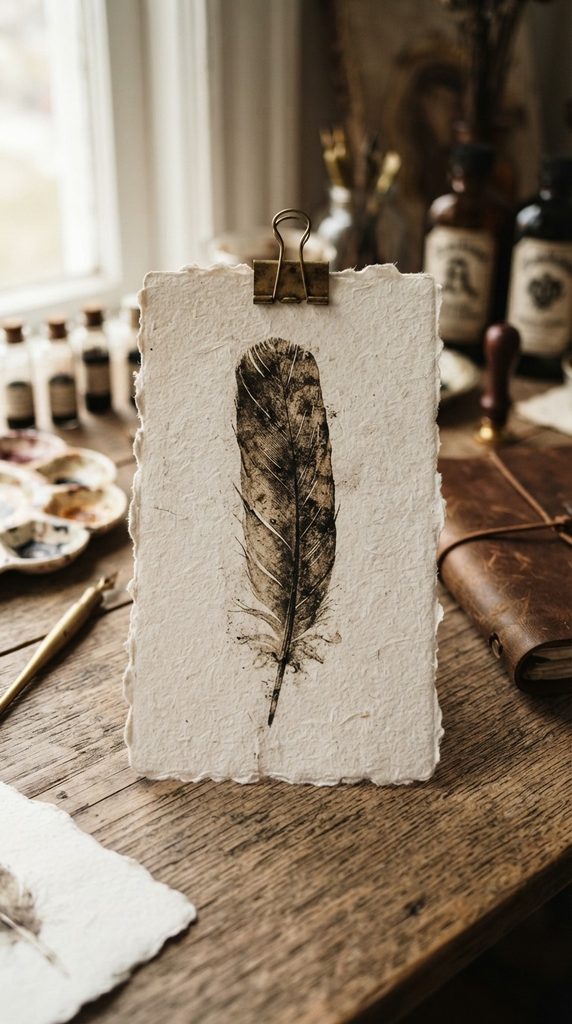
4. Textured Salt Dough and Watercolor Wash This project introduces a brilliant multi-dimensional element by combining sculptural salt dough relief art with fluid watercolor painting.
- How to Make It: Mix two cups of flour, one cup of salt, and one cup of water to form a pliable dough. Roll it out and let your child press playful shapes into it—like suns, rainbows, or abstract waves—using cookie cutters or freehand carving. Bake the pieces at low heat until hard. Once cooled, give your child liquid watercolors or heavily diluted acrylics. Watch as the paint pools into the textured crevices, creating natural shading and organic depth.
- Tips and Variations: Glue the dry, painted salt dough pieces onto a stained wooden board or a textured burlap-wrapped canvas for a high-end textured display.
- Materials Needed: Flour, salt, water, rolling pin, baking sheet, watercolors, fine-tipped paintbrushes.
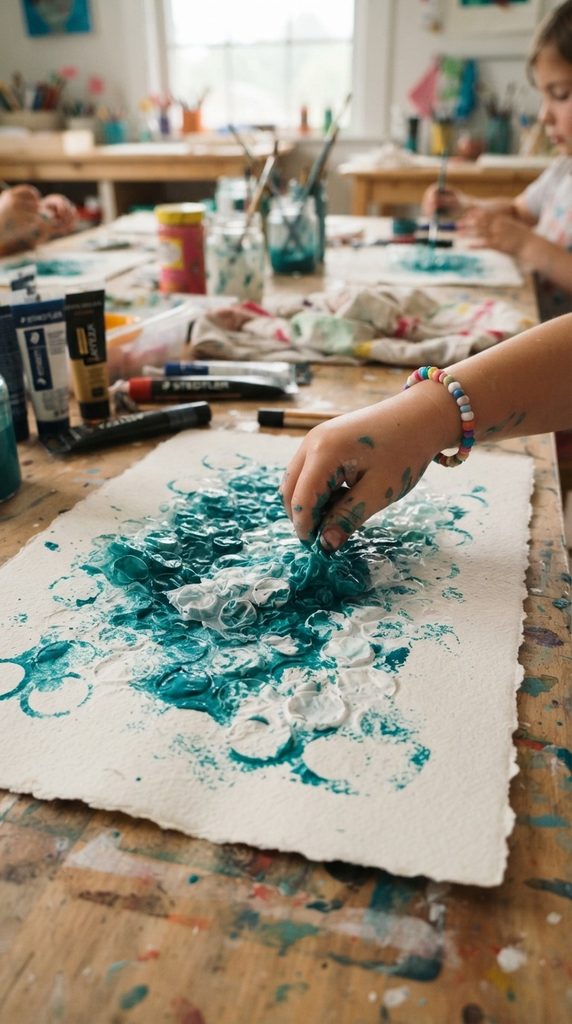
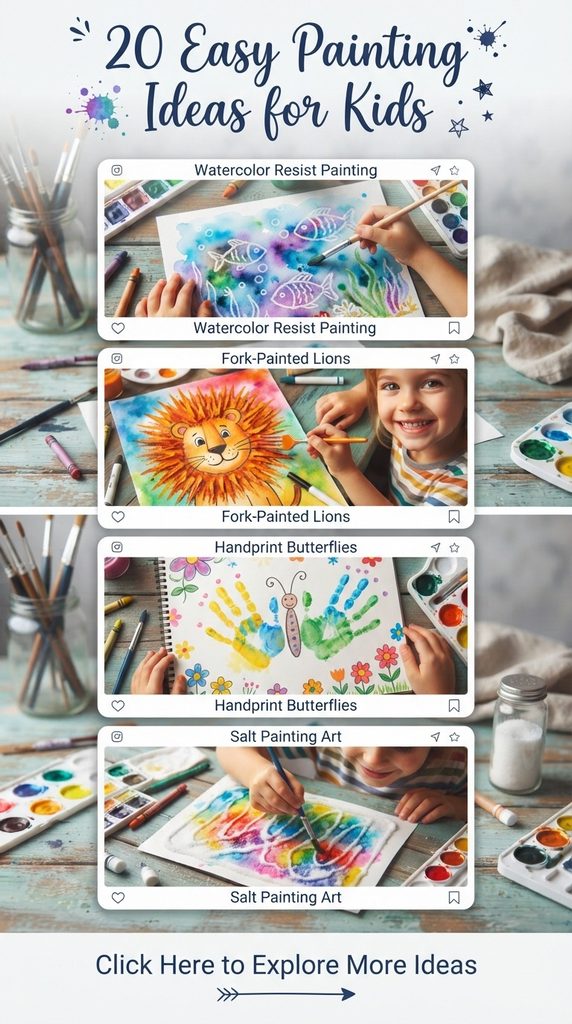
5. Watercolor Salt-Resistance Magic Watching salt interact with wet watercolor paint feels like pure magic to a child, resulting in crystallized, star-like patterns that look entirely professional.
- How to Make It: Give your child heavy watercolor paper and let them paint a vibrant, watery wash using a combination of cool blues, purples, and deep indigos. While the paint is still wet and pooling on the paper, instruct them to sprinkle coarse table salt or sea salt generously across the surface. Leave the paper completely undisturbed to dry flat. As the salt absorbs the moisture, it pushes the pigment away, leaving sparkling, crystalline starburst textures behind. Once completely dry, brush the excess salt away.
- Tips and Variations: Use this technique as a background for a winter snowy night scene or an abstract galactic dreamscape.
- Materials Needed: Watercolor paper, liquid watercolors or pan sets, paintbrushes, coarse table salt.
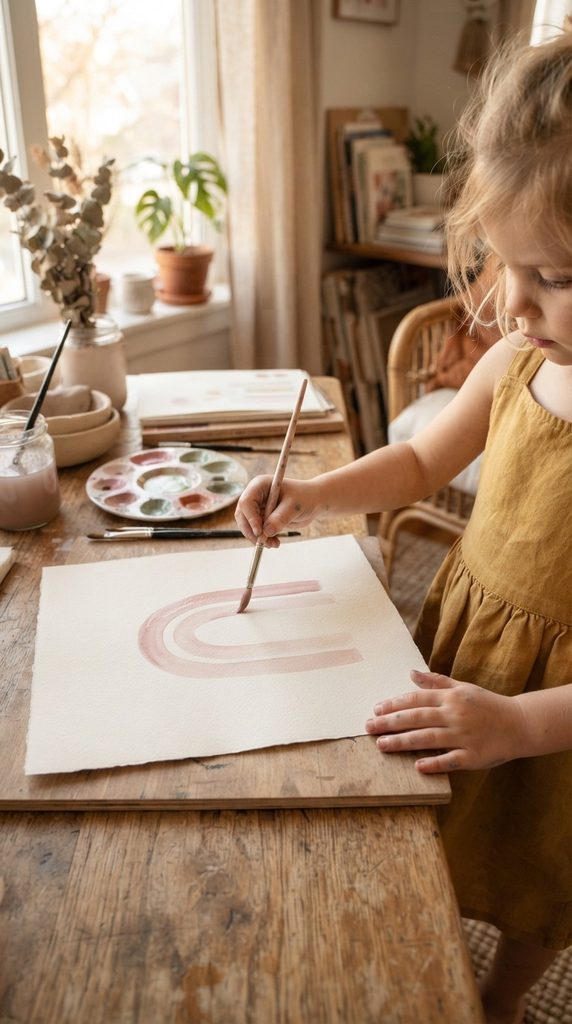
6. Modern Pastel Rainbow Arch The modern bohemian arch trend is timeless, calming, and exceptionally satisfying for children to paint with sweeping, deliberate arm movements.
- How to Make It: Lightly sketch a series of nested arches onto heavy cotton paper using a pencil and a compass or a round template. Select a serene pastel palette—think dusty blush, soft sage, muted cream, and warm terracotta. Guide your child to paint each stripe of the arch carefully, staying within the pencil lines. The key to the aesthetic is the deliberate choice of grounded, calming colors rather than neon brights.
- Tips and Variations: Add a small metallic gold sun or hand-drawn minimalist dots floating above the arches for an extra touch of whimsy.
- Materials Needed: Thick cardstock or canvas, pencil, acrylic paints in pastels, round paintbrushes.
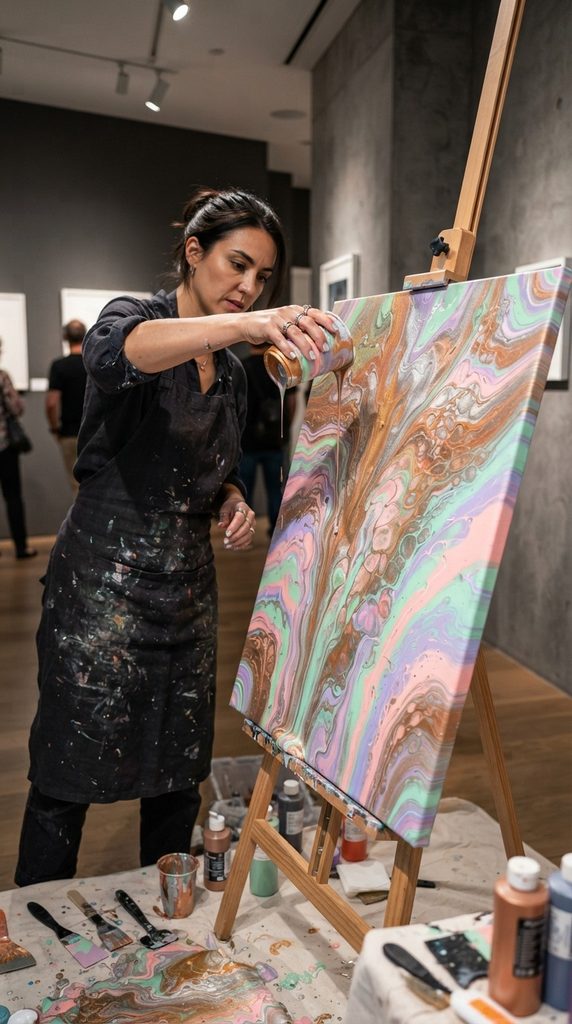

7. Fluid Pour Painting Canvas Pour painting is mesmerizing, completely unpredictable, and delivers stunning abstract expressionist art that looks right at home in a modern living room.
- How to Make It: Elevate a small canvas on plastic cups to allow excess paint to drip off the sides. Mix acrylic paints in individual cups with a pouring medium or a few drops of water to achieve a fluid, honey-like consistency. Let your child choose three or four complementary colors, layer them into a single cup without stirring, and then invert the cup directly onto the center of the canvas. Lift the cup and gently tilt the canvas in different directions to let the colors marble and race across the surface.
- Tips and Variations: Place a large cardboard box underneath your workspace to catch the glorious colorful run-off and keep cleanup stress-free.
- Materials Needed: Canvas, plastic cups, acrylic paints, pouring medium, protective table covering.
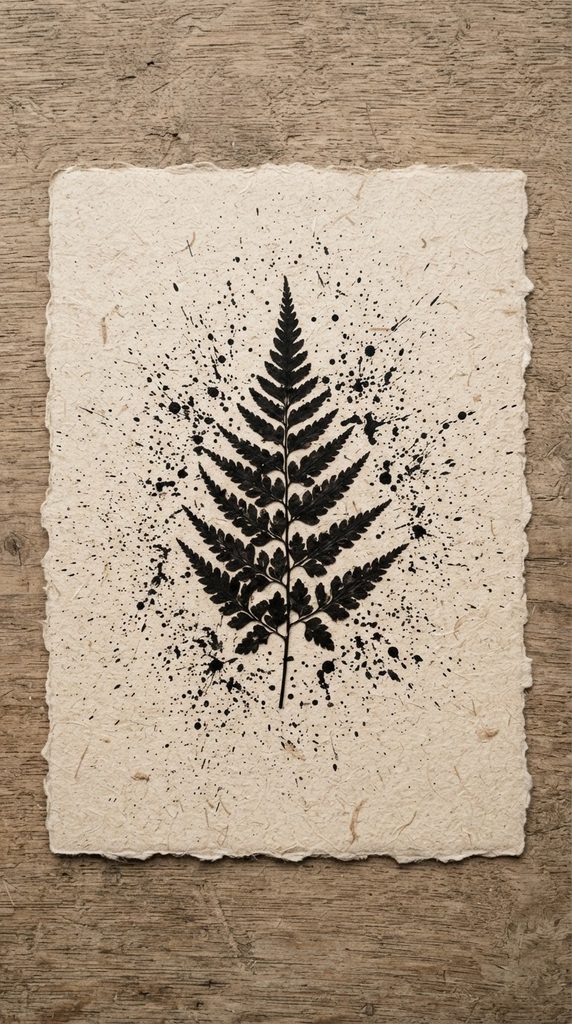
8. Delicate Pressed Flower Silhouette Combining negative space painting with dried botanicals yields a clean, high-end gallery aesthetic that takes minutes to create.
- How to Make It: Take a piece of heavy cream or oatmeal-colored cardstock. Lay a real pressed fern or delicate flower flat against the center. Using a toothbrush loaded with black or dark charcoal acrylic paint, run your thumb across the bristles to create a fine mist of splatters over the paper and around the plant. Carefully lift the flower away to reveal a pristine, unpainted silhouette surrounded by a dreamy field of speckles.
- Tips and Variations: Use metallic gold spray or gold acrylic for the splatters to give the piece a sophisticated, luxurious touch.
- Materials Needed: Cream cardstock, pressed botanical specimen, toothbrush, acrylic paint, tape.
9. Monoprint Leaf and Feather Prints Monoprinting is an ancient printmaking technique simplified for kids, creating soft, vintage-looking botanical prints with gorgeous tonal variations.
- How to Make It: Roll a thin, even layer of acrylic paint onto a smooth plastic tray or a piece of glass using a rubber brayer. Press a large leaf or a feather firmly into the wet paint so its underside is evenly coated. Carefully lift it up and press it down onto a clean sheet of vintage-tinted or handmade cotton paper, placing a clean piece of scrap paper over it and rubbing firmly with the palm of your hand. Peel back to reveal a delicate, detailed print.
- Tips and Variations: Experiment with varying pressure and different paint thicknesses to achieve a faded, antique look.
- Materials Needed: Plastic tray or brayer surface, rubber brayer, acrylic paint, leaves or feathers, handmade paper.
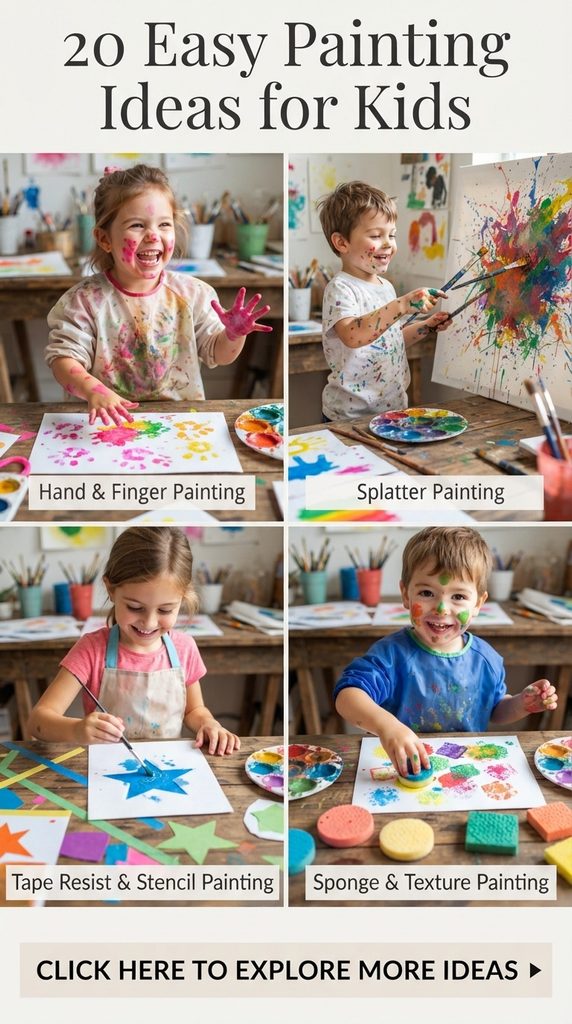
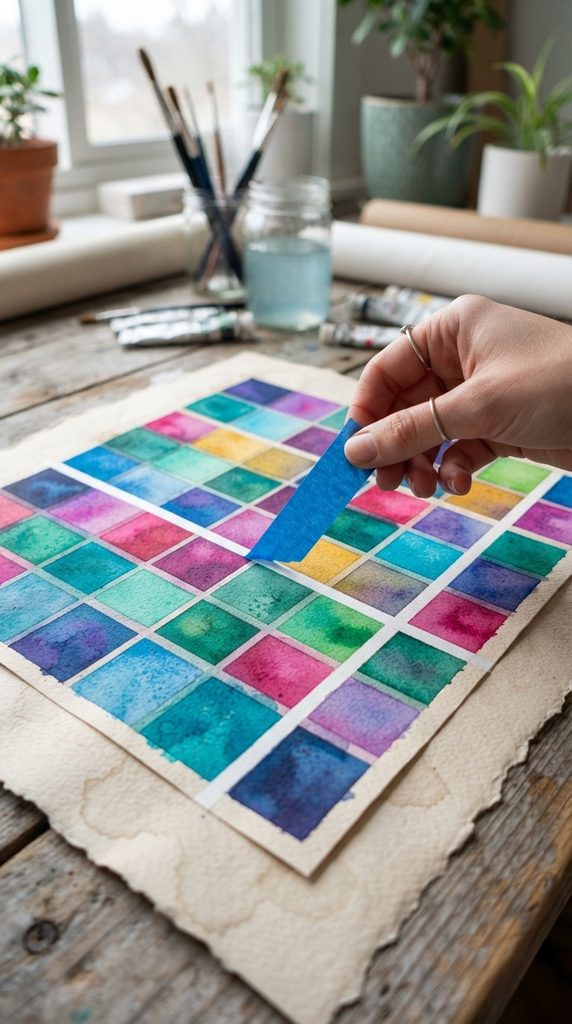
10. Geometric Tape-Resist Watercolor Blocks Crisp lines combined with vibrant watercolor washes teach children about shapes while producing sharp, graphic art that feels remarkably contemporary.
- How to Make It: Take a sheet of heavy watercolor paper and apply blue painter’s tape across it in various intersecting straight lines to create a dynamic geometric grid of triangles and rectangles. Let your child paint inside each taped section using different watercolor washes, encouraging them to alternate dark and light shades for contrast. Let the entire sheet dry completely before carefully peeling away the tape to reveal razor-sharp, white geometric borders.
- Tips and Variations: Leave some geometric spaces completely unpainted to enhance the minimalist, architectural vibe of the final piece.
- Materials Needed: Watercolor paper, blue painter’s tape, watercolors, soft brush.
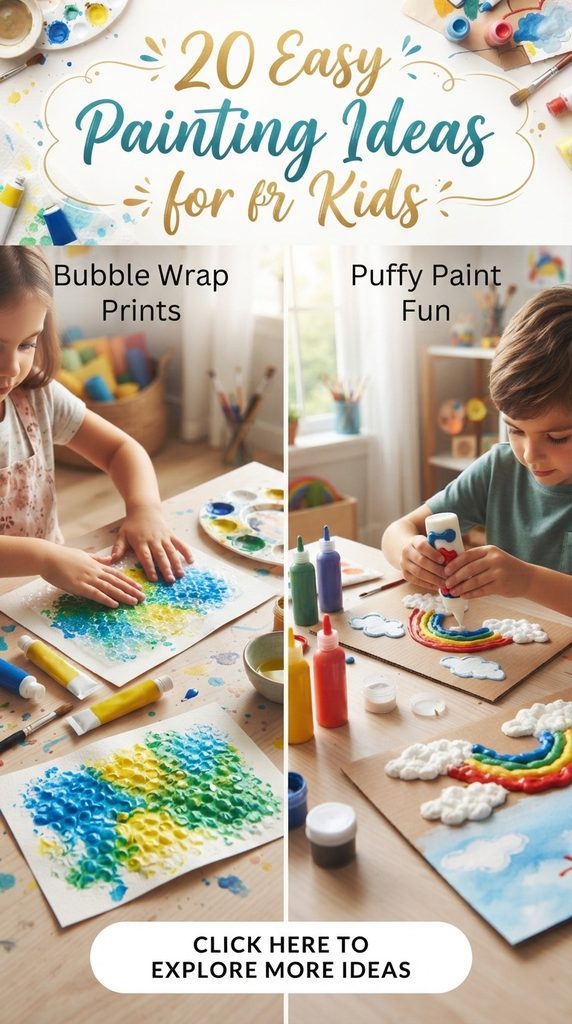
11. Bubble Wrap Textured Stamping Bubble wrap is a universally loved packing material that transforms into an incredible, uniform texture tool for abstract landscape art.
- How to Make It: Cut a square of large-bubble packing wrap and tape it securely to a small wooden block or a sponge to act as a handle. Have your child paint directly onto the bubble texture using soft blue, white, and teal acrylics. Stamp the painted bubble wrap onto heavy paper to create organic textures that look remarkably like ocean foam, coral reefs, or cloud fields.
- Tips and Variations: Use sunset tones like orange and magenta to transform the bubble-wrap texture into an abstract field of autumn wildflowers.
- Materials Needed: Bubble wrap, wooden block, tape, acrylic paints, paper.
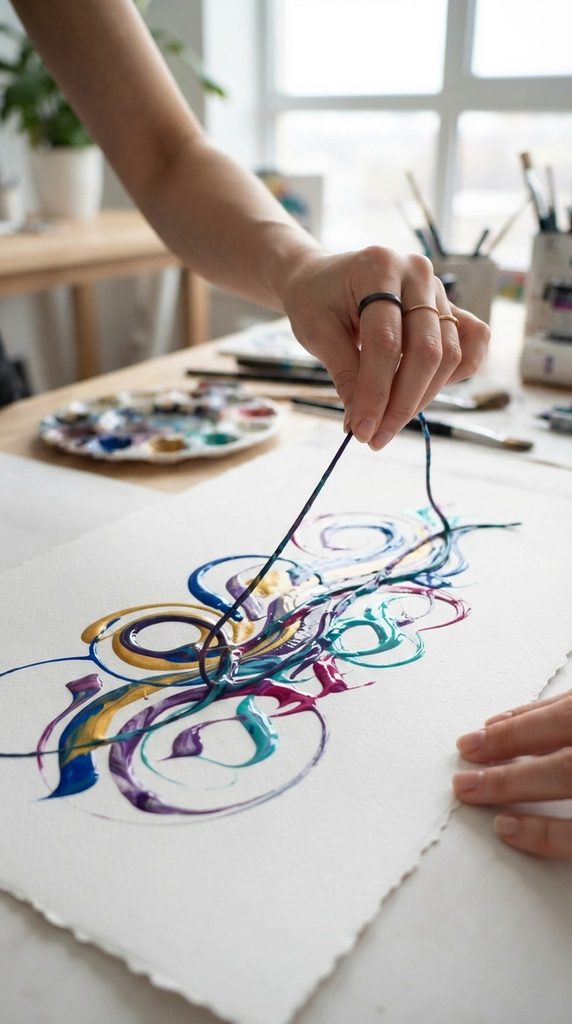
12. String Pull Botanical Abstract String pulling is an addictive technique that creates organic, flowing lines resembling delicate blossoms, stems, or abstract heart formations.
- How to Make It: Cut a piece of cotton string about twelve inches long. Dip the string into a cup filled with fluid acrylic paint, holding one end clean so your fingers stay tidy. Place the paint-laden string in a looping, winding pattern onto the bottom half of a folded piece of heavy paper, leaving the clean end hanging out. Fold the top half of the paper over, press down firmly with one hand, and pull the string smoothly out from the side. Unfold the paper to reveal a breathtaking, symmetrical abstract composition.
- Tips and Variations: Try using contrasting colors against a dark, moody background like charcoal gray or deep navy blue.
- Materials Needed: Cotton string, fluid acrylic paint, heavy paper, cups.
13. Stencil Silhouette Golden Hour Skies Combining a hand-painted gradient background with a clean black stencil silhouette creates a striking contrast that looks like professional graphic design.
- How to Make It: Paint a quick, dreamy watercolor gradient background using warm sunset tones of yellow, orange, and soft pink on thick paper. Let it dry thoroughly. Take a cardboard stencil cut into the shape of a mountain range, animal, or simple house, and hold it firmly against the painted background. Have your child dab black acrylic paint lightly over the cut-out areas using a dense sponge brush. Lift the stencil to reveal a sharp, dramatic silhouette against the colorful sky.
- Tips and Variations: Use gold leaf adhesive and gold foil instead of black paint for a dazzling, luxurious finish that catches the light.
- Materials Needed: Watercolor paper, watercolor paints, pre-cut stencils or cardboard, black acrylic, sponge dauber.
14. Expressive Palette Knife Meadow Using a plastic or wooden palette knife instead of a paintbrush introduces children to impasto art, encouraging thick, tactile texture and bold strokes.
- How to Make It: Give your child a small canvas and a palette knife. Load the flat edge of the knife with thick blobs of acrylic paint in vibrant floral colors like crimson, sunshine yellow, and violet. Teach them to press and sweep the knife flat against the canvas to lay down rich, sculptural dabs of paint that look like wildflowers swaying in a meadow. Add simple green stem lines underneath with a fine brush.
- Tips and Variations: Allow the heavy paint layers to dry completely over 24 hours to preserve the gorgeous three-dimensional texture.
- Materials Needed: Canvas, plastic or metal palette knife, thick heavy-body acrylic paints.
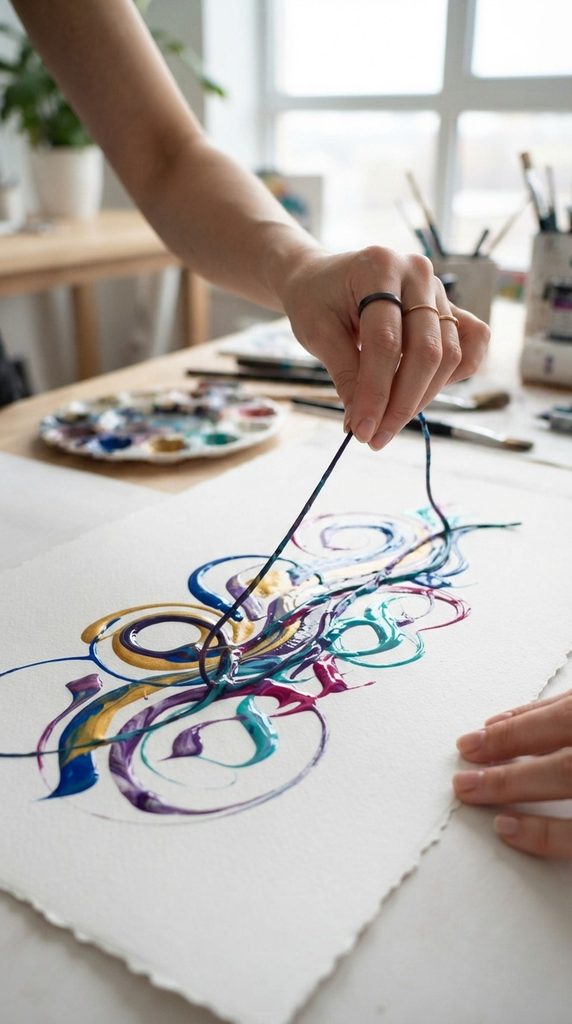
15. Minimalist Line Art and Watercolor Wash This technique pairs loose, carefree watercolor bleeding with clean, deliberate fine-line ink drawing for an effortless modern bohemian aesthetic.
- How to Make It: Let your child wet a watercolor paper with clean water and drop random splashes of warm watercolor pigments onto the damp surface, allowing the colors to bleed and blend organically into soft, amorphous clouds. Once the paper is completely dry, take a fine-point black waterproof pen and draw simple, minimalist continuous-line illustrations—such as a sleeping face, a simple vase, or abstract botanical stems—right over the watercolor blooms.
- Tips and Variations: Frame these in simple natural wood frames for an understated, high-end gallery aesthetic that fits any modern nursery or living room.
- Materials Needed: Watercolor paper, watercolor palette, fine-point black permanent marker or ink pen.
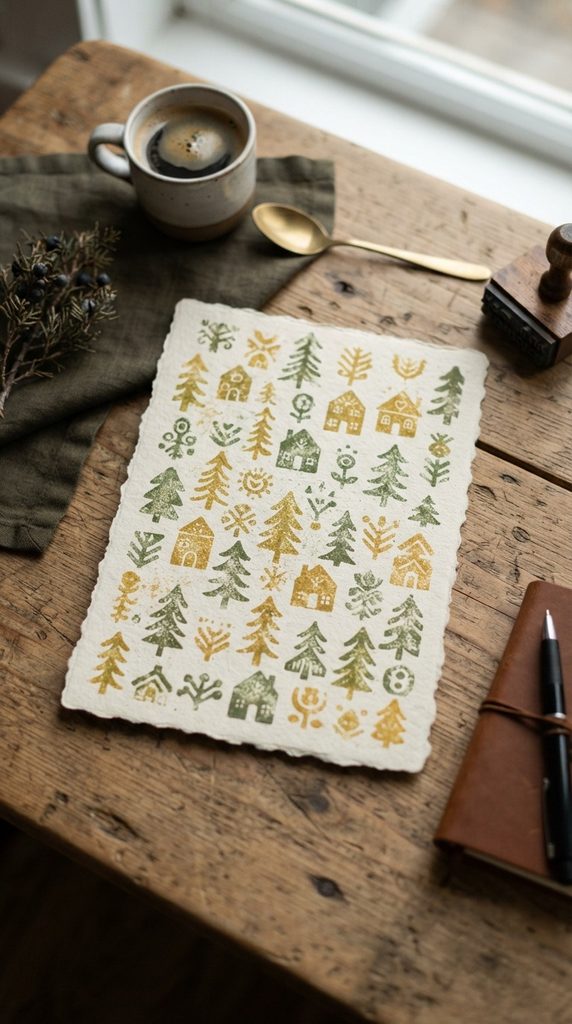
16. Sponge-Stamped Nordic Folk Trees Simplifying complex holiday and nature motifs into blocky geometric shapes creates a clean, cozy folk-art charm that looks gorgeous year-round.
- How to Make It: Cut an ordinary kitchen sponge into simple triangular wedges and rectangular trunks. Dip the triangular sponge into muted Nordic-inspired paint colors like forest green, burnt orange, and warm mustard. Stamp a row of charming, minimalist pine trees across a textured piece of cream cardstock. Use a fine brush or marker to add a simple line underneath as ground.
- Tips and Variations: Create a seasonal winter forest by adding a gentle splatter of white acrylic paint across the top to look like falling snow.
- Materials Needed: Kitchen sponge, scissors, acrylic paint, cream cardstock, black fine liner.
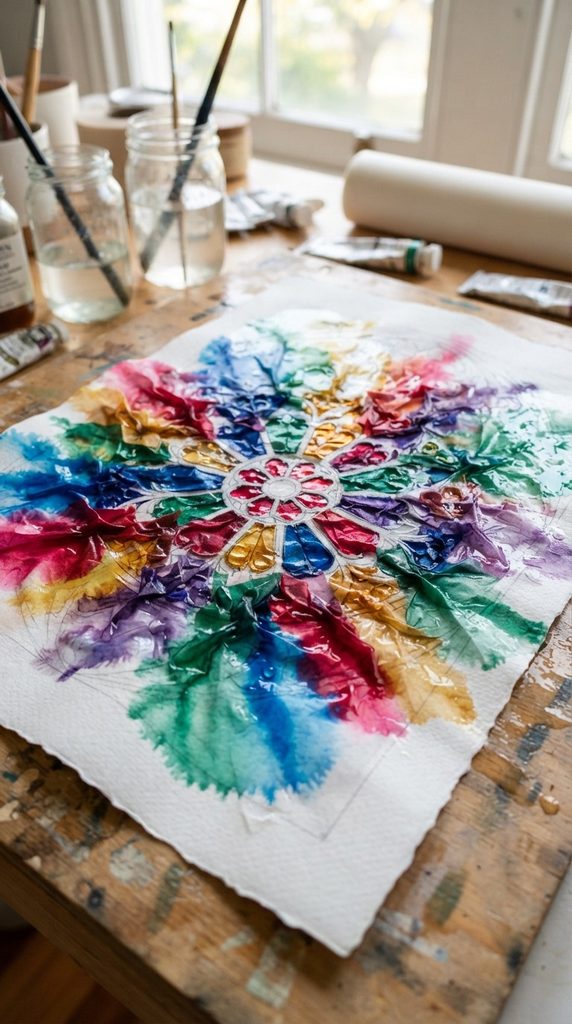
17. Bleed Tissue Paper Canvas Art Bleeding tissue paper transfers its vibrant, translucent dyes directly onto wet paper, producing luminous, stained-glass-like color fields with zero brush-skill required.
- How to Make It: Brush a generous layer of clean water across a heavy watercolor paper. Give your child colorful pieces of bleeding tissue paper (ensure they are bleed-safe) and let them arrange squares, circles, and overlapping shapes all over the wet surface. Smooth the tissue down so it is saturated. Once the paper is completely dry, peel away the tissue paper flakes to reveal vibrant, stained-glass watercolor stains left behind on the canvas.
- Tips and Variations: Cut the tissue paper into organic abstract leaf or petal shapes before application for a more defined, botanical design.
- Materials Needed: Bleeding art tissue paper, watercolor paper, foam brush, water.
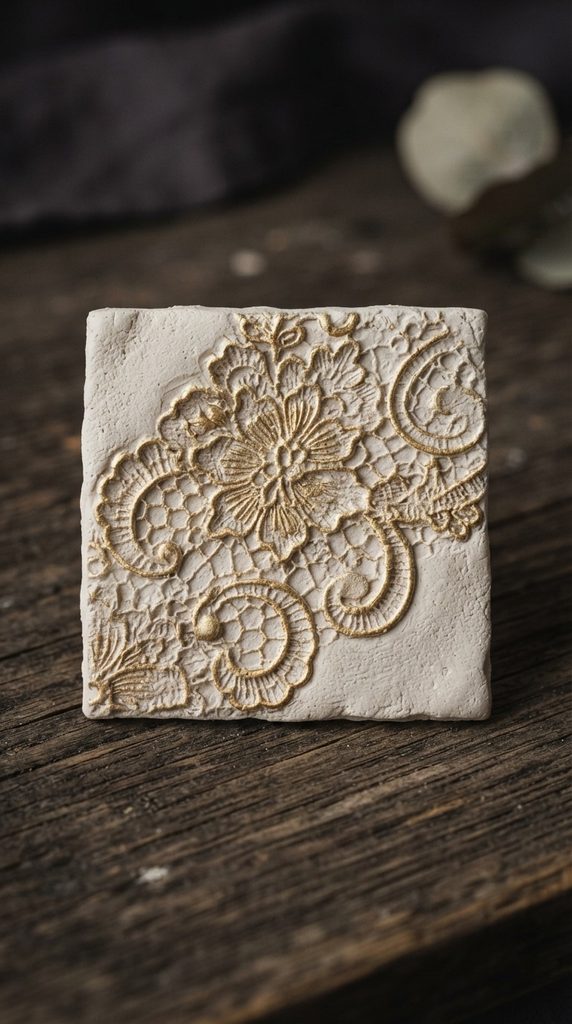
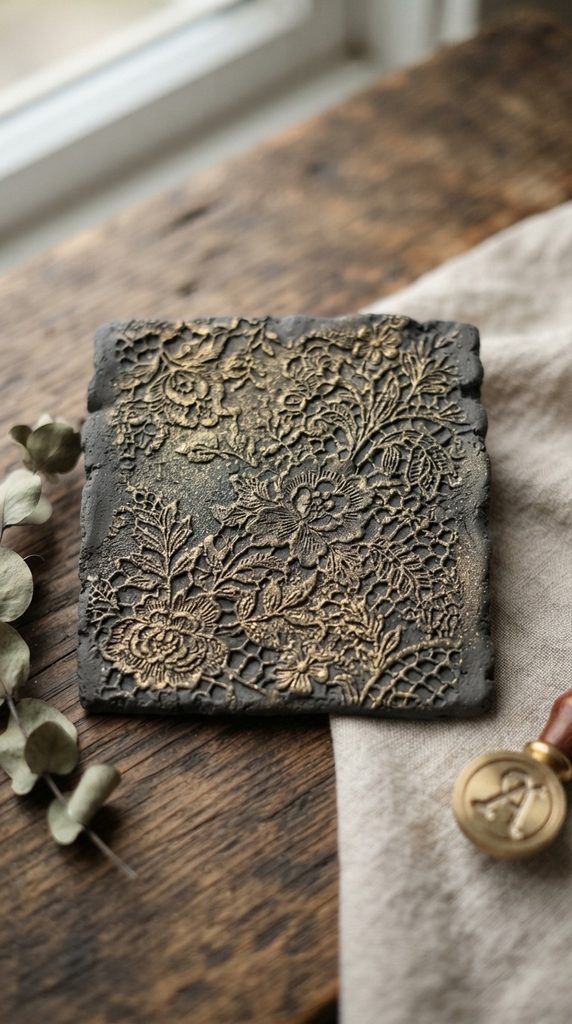
18. Minimalist Earthy Clay Stamp Art By combining printed impressions with tactile framing, kids can create sophisticated modern art pieces that mimic expensive boutique minimalist decor.
- How to Make It: Roll out a thin slab of air-dry clay on a parchment-lined board. Have your child press found objects with rich textures—such as lace, vintage keys, or ribbed leaves—deeply into the clay. Cut the clay into clean geometric squares or circles using a butter knife. Let the pieces dry completely, then use a soft brush to lightly dust metallic gold or bronze acrylic paint across the raised textures to highlight the details.
- Tips and Variations: Mount the finished clay pieces onto a backing of dark linen fabric inside a shadow box frame for maximum aesthetic impact.
- Materials Needed: Air-dry clay, rolling pin, textured objects, metallic acrylic paints, paintbrushes.
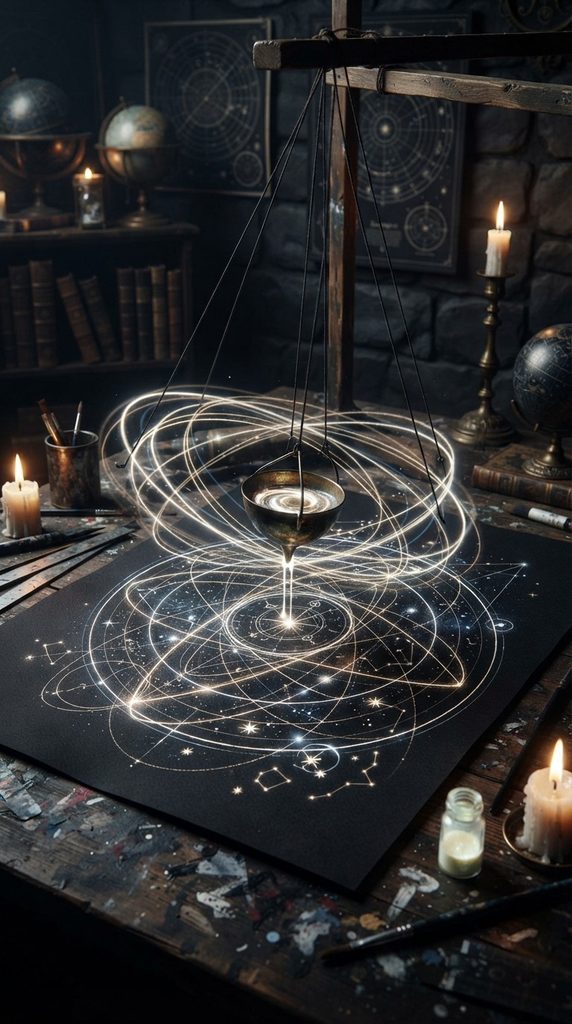
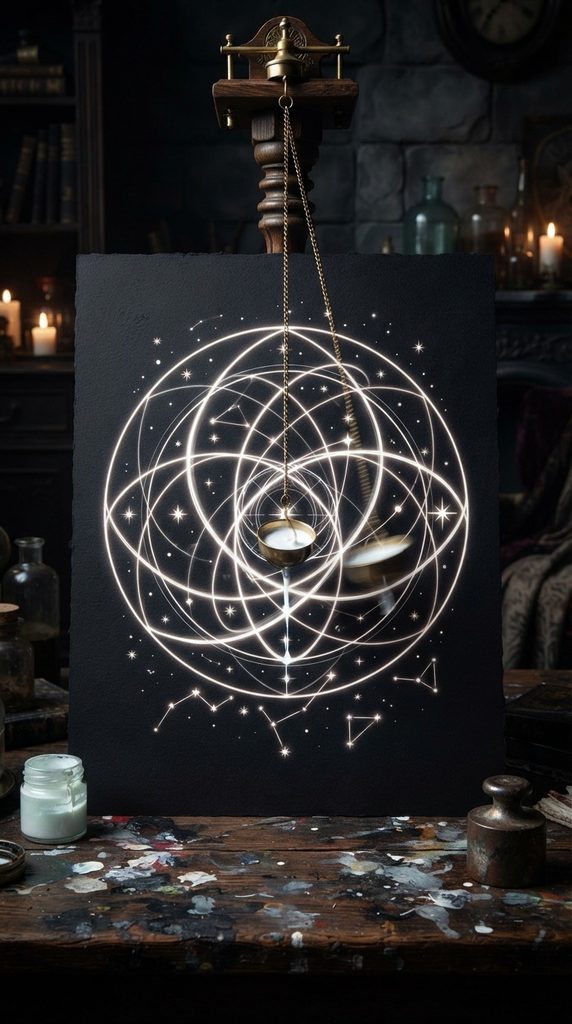
19. Spun Pendulum Gravity Painting Transforming physics into art, this pendulum swing creates mesmerizing, orbital geometric patterns that look like celestial star charts or modern graphic art.
- How to Make It: Suspend a small paper cup with a tiny hole poked in the bottom from a secure overhead point or a sturdy doorway pull-up bar using string. Place a large square of black or dark navy paper directly underneath. Fill the swinging cup with fluid white, gold, and silver acrylic paint. Set the cup swinging in gentle pendular arcs and watch as it leaves graceful, curving orbital trails across the dark paper.
- Tips and Variations: Use metallic silver and gold paints on a black background to make the final piece look like a mesmerizing astronomical map.
- Materials Needed: Paper cup, string, hanging support, fluid acrylic paints, dark poster paper.
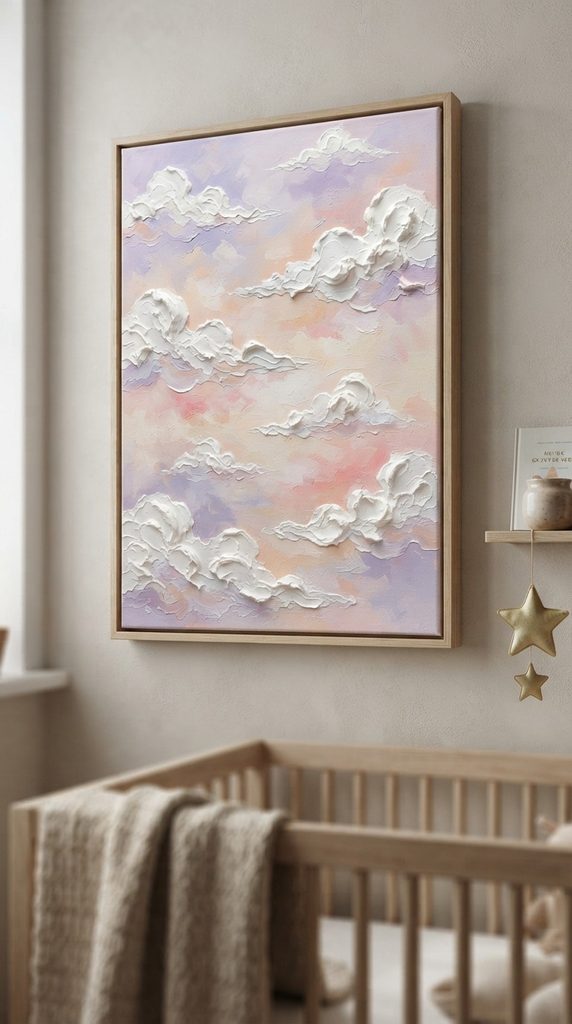
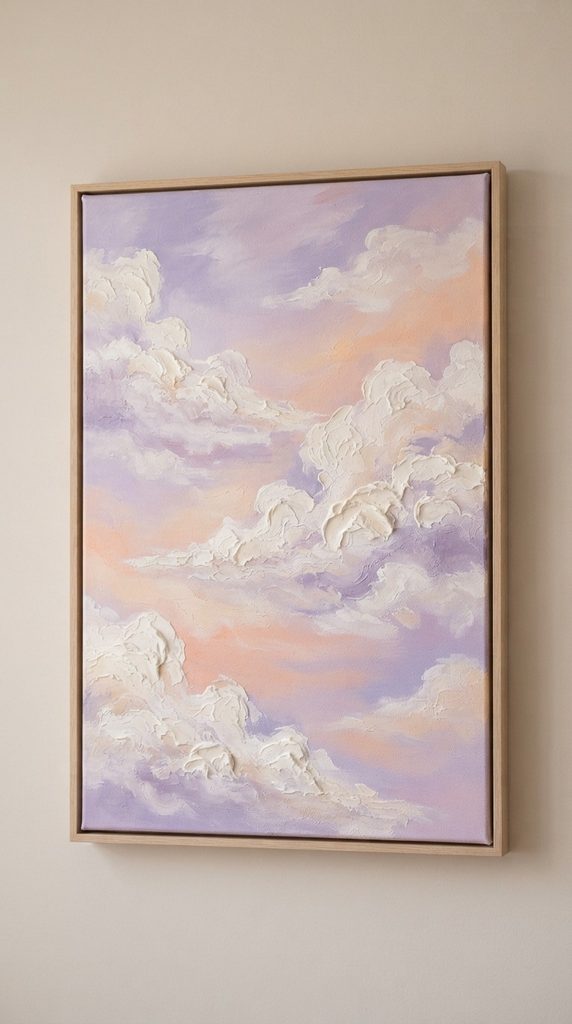
20. Atmospheric Cloudscape Cotton Wash Soft, dreamy clouds floating across a pastel sky create a deeply calming and serene visual centerpiece for any child’s bedroom or playroom.
- How to Make It: Apply a soft, hazy background wash of pastel lavender, baby blue, and peach on canvas. While the background is still slightly damp, take a cotton ball or a makeup sponge dabbed in thick white acrylic paint and gently tap fluffy, billowing cloud shapes across the upper portion of the canvas, softening the edges by blending them gently into the wet sky.
- Tips and Variations: Add a tiny, delicate silhouette of a bird or a hot air balloon drifting peacefully in the distance for an extra touch of storytelling wonder.
- Materials Needed: Canvas, pastel and white acrylic paints, cotton balls or makeup sponges.
More ideas to come in future addition