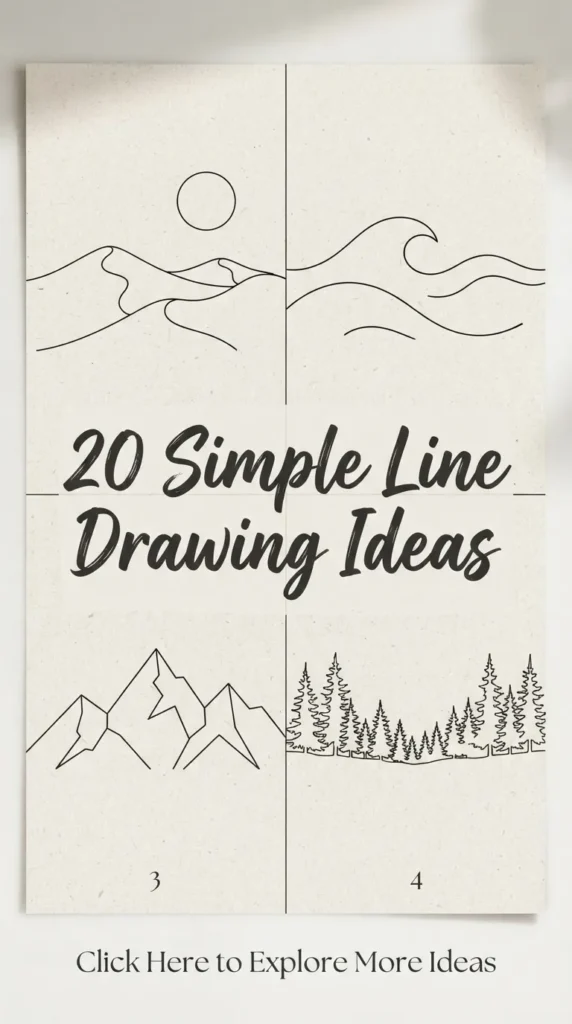
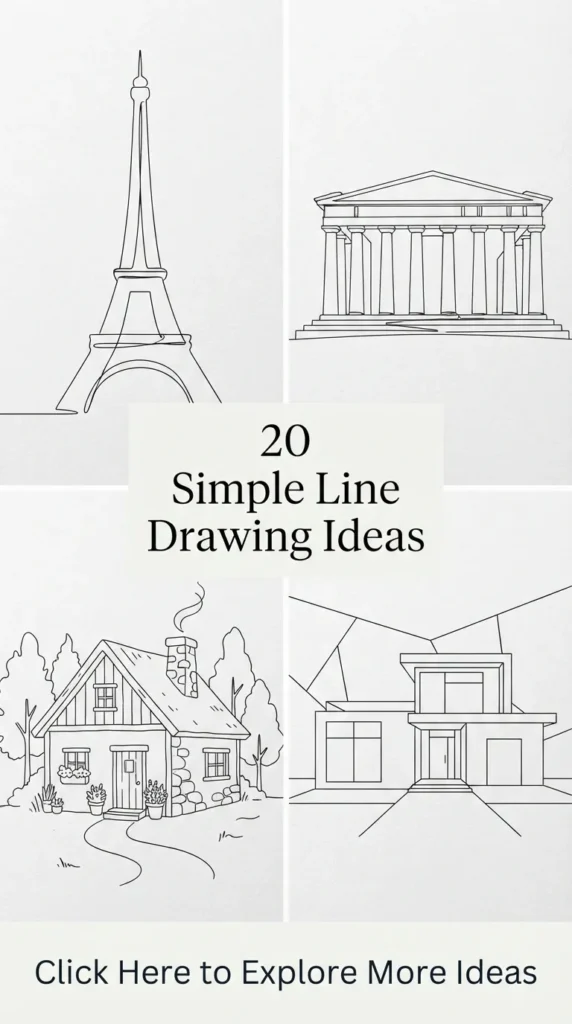
Line drawing transforms everyday simplicity into expressive visual art. By stripping away heavy shading, dense color palettes, and intricate textures, line art relies purely on contour, flow, and negative space. It offers a meditative creative outlet that is accessible to beginners while remaining visually striking for modern interior decor, digital journals, personal branding, and art prints.
Whether you work with a fine-liner on cold-press paper or a digital stylus on a tablet canvas, mastering simple line compositions develops hand-eye coordination and spatial awareness. The following 20 curated ideas break down core concepts, practical execution steps, creative variations, and material needs to inspire your next creative project.
Essential Materials for Line Art
Before exploring individual concepts, setting up a reliable workspace ensures clean strokes and uninterrupted creative flow:
- Archival Fine-Liner Pens: Technical pens (sizes 0.05 mm to 0.8 mm) provide uniform ink delivery without bleeding.
- Fountain or Dip Pens: Flexible nibs allow dynamic line variation from delicate hairlines to bold downstrokes.
- Heavyweight Paper: Smooth Bristol board or 200–300 GSM hot-pressed watercolor paper prevents feathering and buckling.
- Digital Tools: A drawing tablet paired with a vector or raster brush set replicating monoline ink or subtle graphite grain.
- Soft Graphite Pencils & Kneaded Erasers: A 2H or HB pencil allows faint structural outlines that lift cleanly without paper damage.
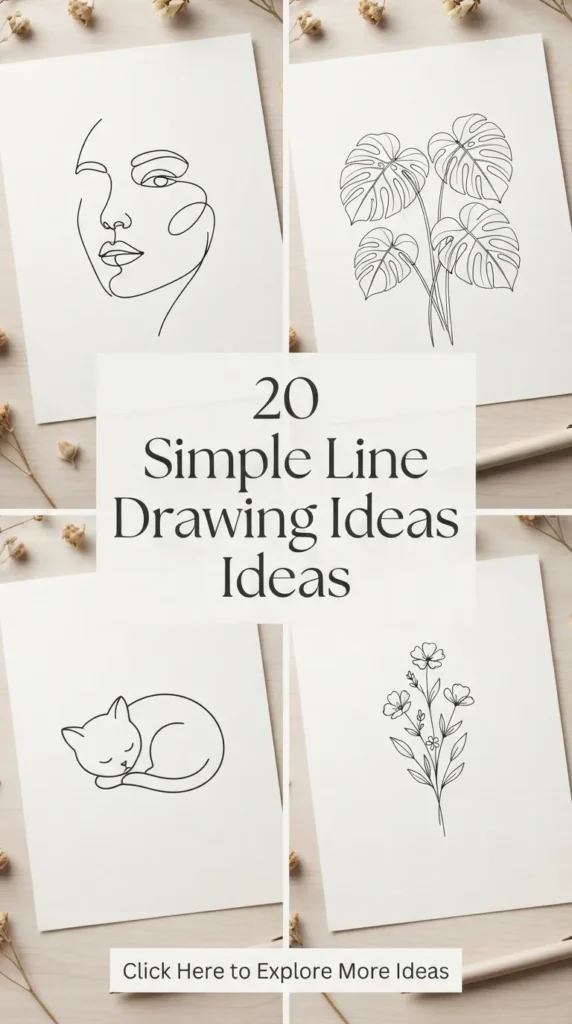
1. The Continuous Profile
Introduction
The continuous profile is a staple of contemporary minimalism, capturing the expressive curves of a side-angle human face in one unbroken, flowing gesture.
What This Idea Means
This concept celebrates organic continuity. Instead of constructing anatomical features through multi-layered construction lines, the artwork relies on confident line confidence and the balance between positive line work and negative background space.
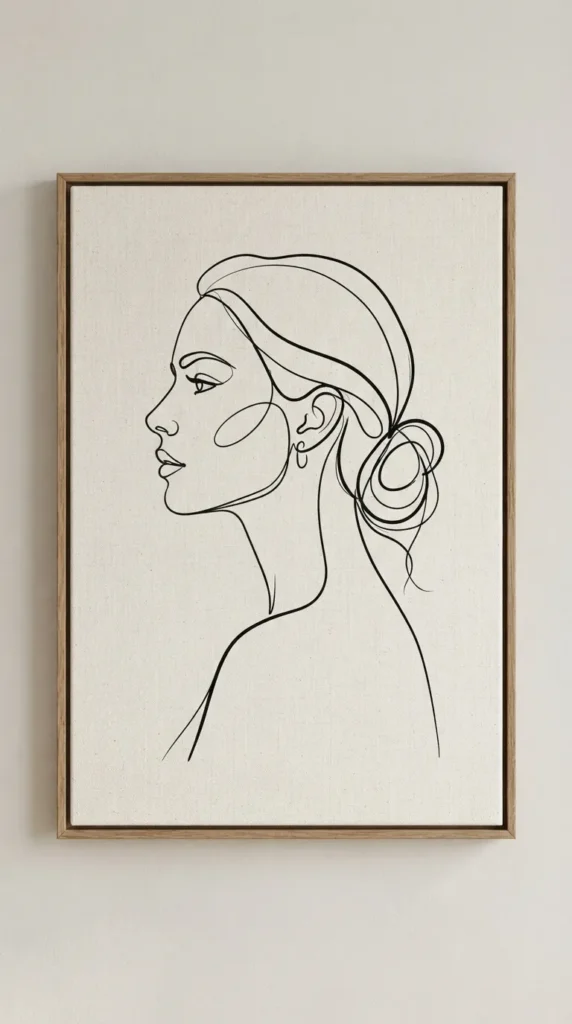
How to Make It
- Start at the upper forehead with your pen tip touching the paper firmly.
- Glide down smoothly to create the gentle bridge of the nose, angling out slightly for the tip.
- Tuck inward for the philtrum, define the upper and lower lips with soft curves, and sweep outward for the chin.
- Continue along the jawline toward the ear, finishing in a downward stroke down the neck without lifting your pen.
Tips and Variations
- Keep your wrist loose and draw from your elbow or shoulder to prevent jittery marks.
- Variation: Integrate a single closed eyelid with light lashes or merge the jawline directly into a botanical leaf stem.
Materials Needed
- Smooth 250 GSM mixed-media paper
- 0.5 mm black pigment fineliner
2. Botanical Monstera Leaf
Introduction
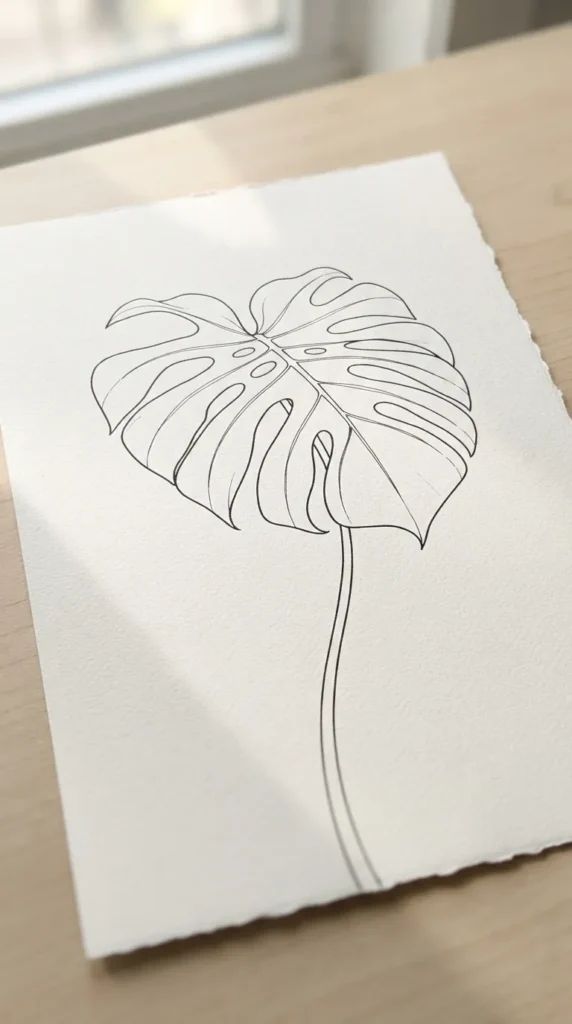
The broad, perforated silhouette of a Monstera Deliciosa leaf is an instantly recognizable motif that brings a lush, tropical aesthetic to modern spaces.
What This Idea Means
It represents balance between structured symmetry and organic irregularity, using deliberate fenestrations (the natural leaf splits) to establish visual rhythm.
How to Make It
- Draw a central, gently curved vertical line to serve as the main stem.
- Outline the outer perimeter of the leaf, creating deep, rounded cutouts that reach toward the central stem.
- Connect the leaf tips into an overall heart-like silhouette.
- Add secondary vein lines arching gracefully outward between each cut section.
Tips and Variations
- Vary the spacing and depth of the leaf splits so both halves feel balanced yet natural.
- Variation: Pair the leaf inside a minimal geometric border, such as a thin hairline arch or circle.
Materials Needed
- Cold-press watercolor cardstock
- 0.3 mm and 0.8 mm micro-pens
3. The Graceful Ballet Dancer
Introduction
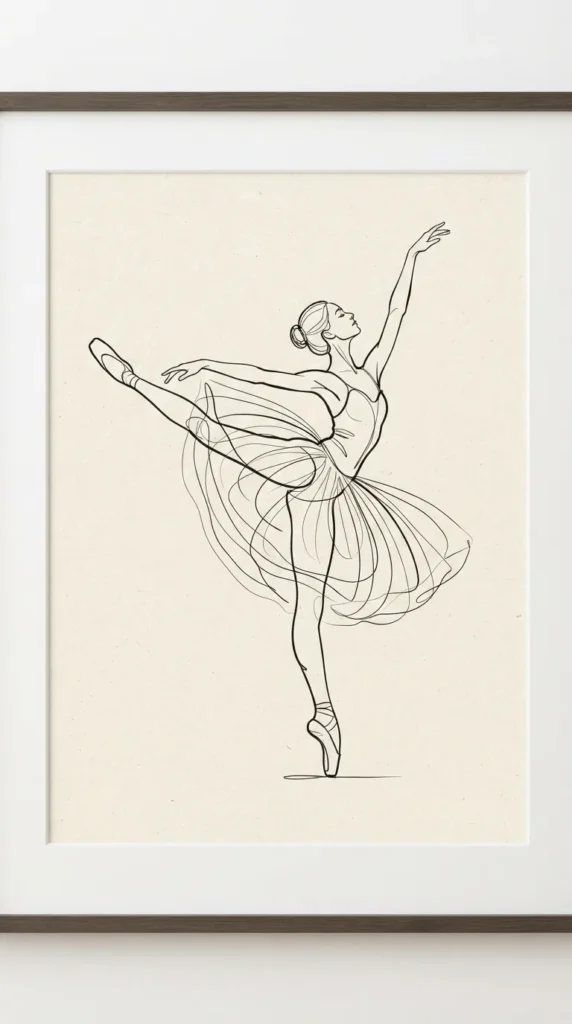
Line drawing captures the kinetic energy and delicate precision of a ballet dancer in mid-motion with minimal linework.
What This Idea Means
This idea focuses on gesture and poise, communicating movement, muscle tension, and balance rather than fine anatomical detail.
How to Make It
- Sketch a light, sweeping line of action indicating the dancer’s spine and leg extension.
- Draw the clean contour of the arching back, neck, and tilted head.
- Trace the arms extending outward into soft, rounded hand positions.
- Suggest the tulle skirt with three or four rhythmic, overlapping curved swoops.
Tips and Variations
- Avoid drawing individual fingers; suggest hands through simple, tapered ovals.
- Variation: Emphasize the pointe shoes with delicate ribbon cross-ties winding up the ankle.
Materials Needed
- Hot-pressed watercolor paper
- Flexible brush pen or 0.4 mm fineliner
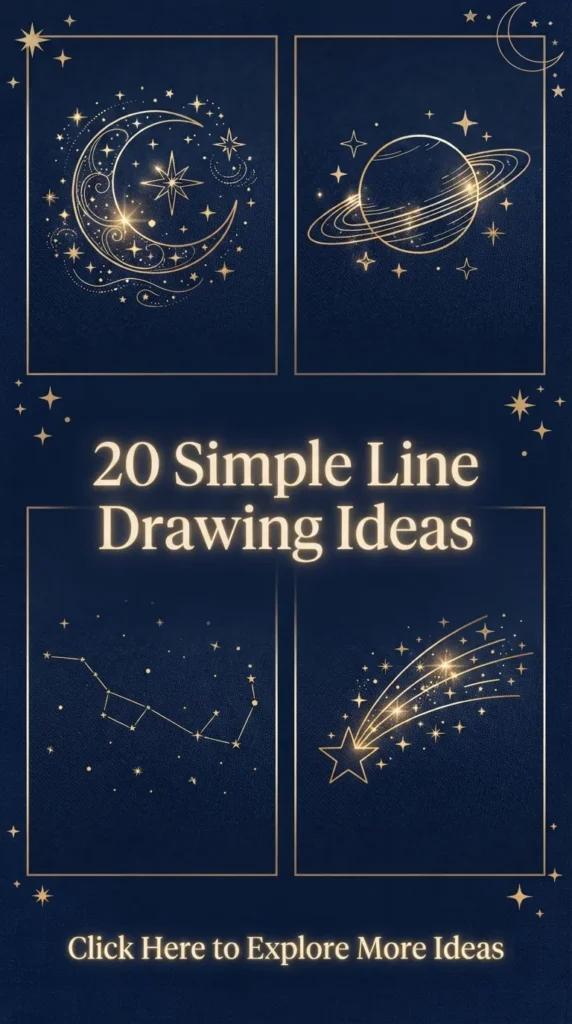
4. Celestial Sun and Crescent Moon Union
Introduction
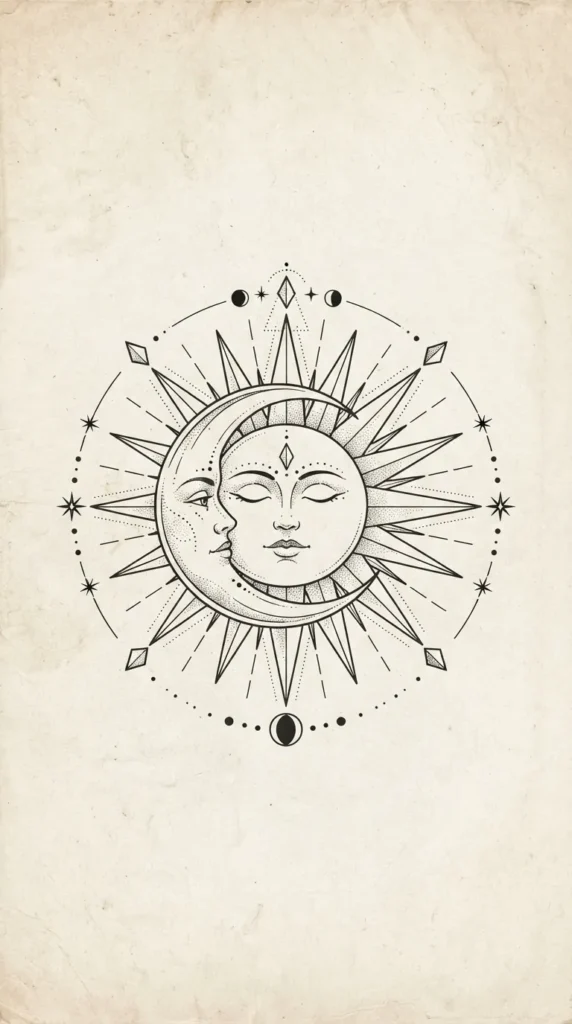
Merging the radiant geometry of the sun with the calm curve of a crescent moon creates an enduring, mystical aesthetic.
What This Idea Means
A visual representation of duality—day and night, warmth and stillness—distilled into harmonious geometric curves and straight rays.
How to Make It
- Draw an open circle, transitioning into the profile of a crescent moon along one side.
- Add closed, peaceful facial contours within the crescent curve.
- Extend straight, measured radiating lines from the outer edge to represent sunbeams.
- Intersperse small stippled dots or minimal four-point stars between the rays.
Tips and Variations
- Use a compass or circular template for the primary sphere to keep the geometry clean.
- Variation: Alternate between long, solid lines and delicate dotted rays for textural contrast.
Materials Needed
- Drafting compass and ruler
- 0.2 mm and 0.5 mm technical pens
5. Delicate Hands Holding Wildflowers
Introduction
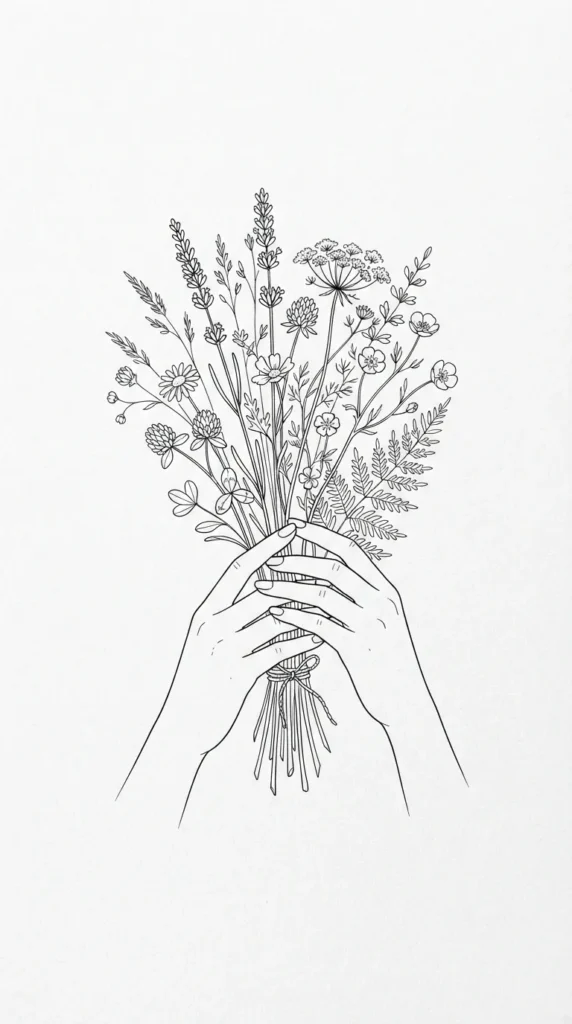
A timeless subject depicting two hands gently cupping or presenting a loose bouquet of wild meadow stems.
What This Idea Means
Symbolizing care, connection, and appreciation for nature, this artwork focuses on organic gestures interacting with botanical elements.
How to Make It
- Outline the wrist and the gentle sweep of the palms coming together.
- Draw the gentle curves of the fingers overlapping, keeping the knuckles soft and unshaded.
- Extend slender flower stems upward from the grasp of the fingers.
- Cap each stem with simple daisy, poppy, or lavender outlines.
Tips and Variations
- Keep finger lines simple and continuous to avoid an overly technical or skeletal look.
- Variation: Add small falling petals drifting beneath the wrists to enhance movement.
Materials Needed
- Heavyweight sketch paper (200 GSM)
- 0.3 mm pigment pen
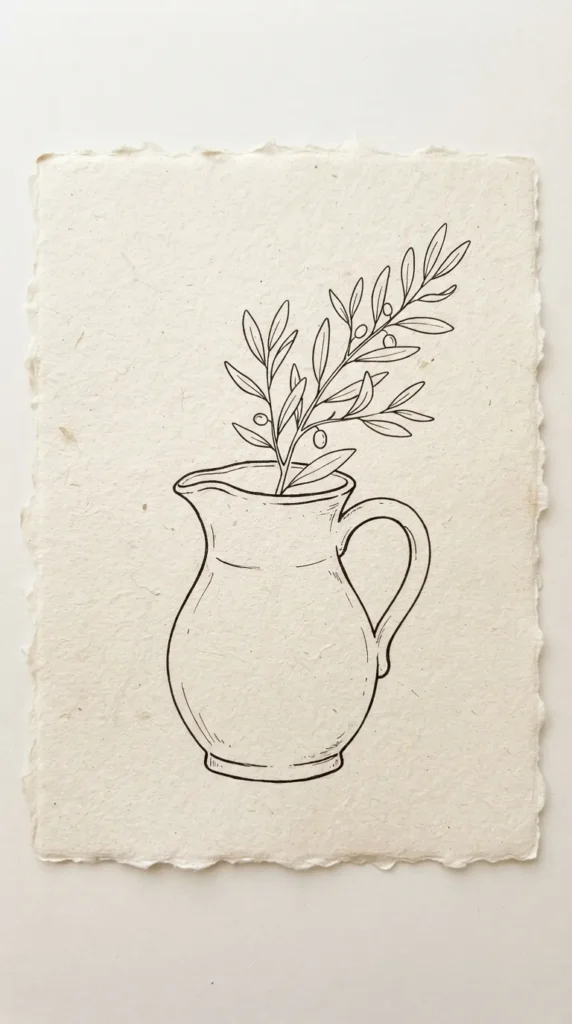
6. Minimalist Ceramic Pitcher and Olive Branch
Introduction
An ode to Mediterranean simplicity, combining the smooth geometry of artisanal pottery with the organic foliage of an olive sprig.
What This Idea Means
This still-life piece highlights tactile form, quiet living, and rustic modernism through clean curves and balanced negative space.
How to Make It
- Draw the smooth, cylindrical neck and rounded belly of a ceramic jug.
- Add a clean, loop handle anchored to the neck and shoulder of the vessel.
- Draw a slender branch extending out of the jug opening.
- Attach alternating oval leaves with tiny circular olives along the stem.
Tips and Variations
- Keep the base of the pitcher slightly curved rather than flat to suggest cylindrical volume.
- Variation: Leave the jug body open and unshaded to let the background breathe.
Materials Needed
- Textured rag paper
- 0.5 mm archival ink pen
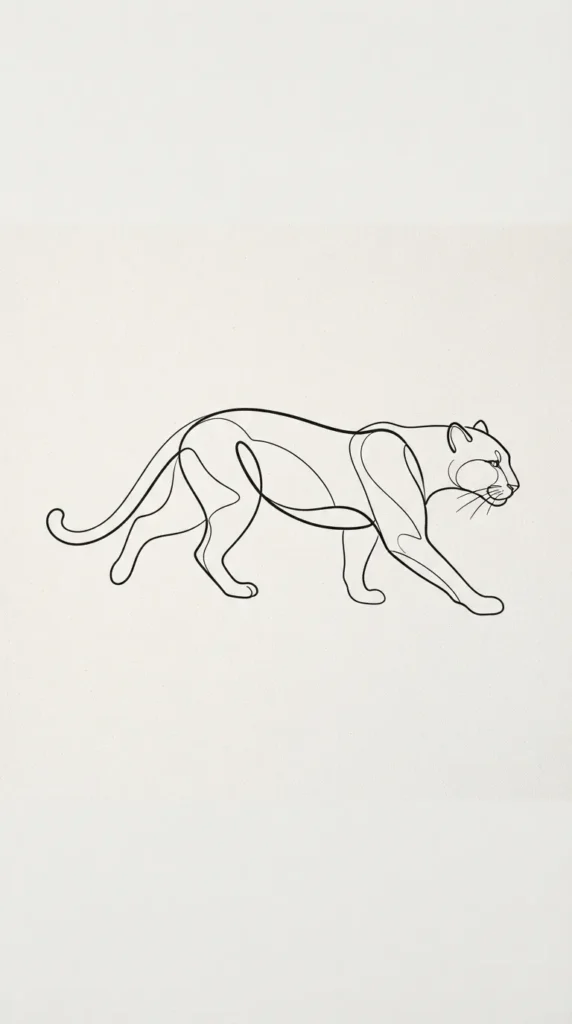
7. Single-Line Wild Cat Prowling
Introduction
A dynamic continuous-line artwork capturing the sleek form and athletic posture of a feline in motion.
What This Idea Means
It explores fluidity, tension, and power, utilizing single-stroke rhythm to convey speed and stealth.
How to Make It
- Begin at the tip of the tail, curving forward along the spine.
- Form the ears and face contour in one smooth motion, angling down into the chest.
- Extend into the front extended paw, loop into the underbelly, and draft the rear muscular leg.
- Return smoothly to complete the silhouette without lifting the pen.
Tips and Variations
- Practice the motion quickly several times on scrap paper to build confidence in the stroke speed.
- Variation: Add a single unbroken line indicating the animal’s gaze or whisker angle.
Materials Needed
- Smooth bleed-proof Bristol board
- Medium felt-tip monoline pen (0.6 mm)
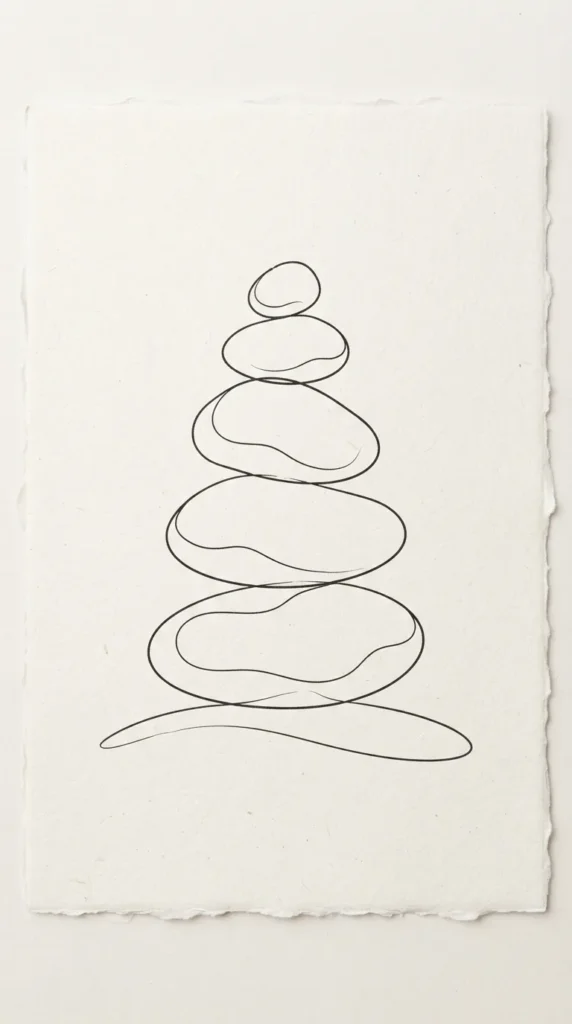
8. Stacked Pebble Zen Cairn
Introduction
A vertical balance of smooth river stones stacked naturally atop one another.
What This Idea Means
Rooted in mindfulness, patience, and balance, this design uses pure organic geometry to create a peaceful focal point.
How to Make It
- Draw a wide, flattened oval at the base with soft, rounded edges.
- Stack progressively smaller, slightly asymmetrical rounded stones on top.
- Angle each stone slightly off-center to suggest organic equilibrium.
- Finish the apex with a small, smooth pebble.
Tips and Variations
- Avoid drawing identical ovals; give each pebble subtle flat spots and natural quirks.
- Variation: Draw a single vertical plumb line running straight down through the center of the stack.
Materials Needed
- Premium smooth drawing paper
- 0.4 mm drawing pen
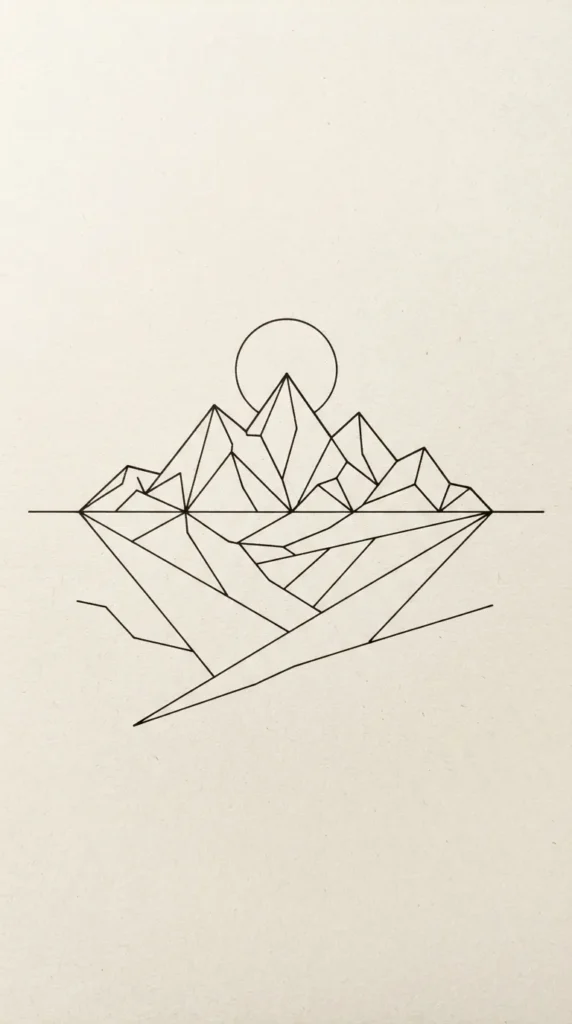
9. Geometric Mountain Range and Horizon
Introduction
A clean interpretation of majestic alpine peaks paired with crisp horizontal and circular landscape lines.
What This Idea Means
It strips expansive outdoor landscapes down to fundamental geometric lines, representing stability and perspective.
How to Make It
- Draw a clean horizontal horizon line across the lower third of the canvas.
- Construct overlapping triangular forms with varying slopes to establish mountain ridges.
- Draw simple jagged central spine lines down each peak to divide light and shadow planes.
- Place a clean, open circular sun setting behind the lowest ridge.
Tips and Variations
- Keep lines razor-sharp; use a straightedge for the base and sun alignments if desired.
- Variation: Fill one side of each peak with parallel vertical hatching to add subtle geometric depth.
Materials Needed
- Acid-free smooth board
- Precision metal ruler and 0.2 mm technical pen
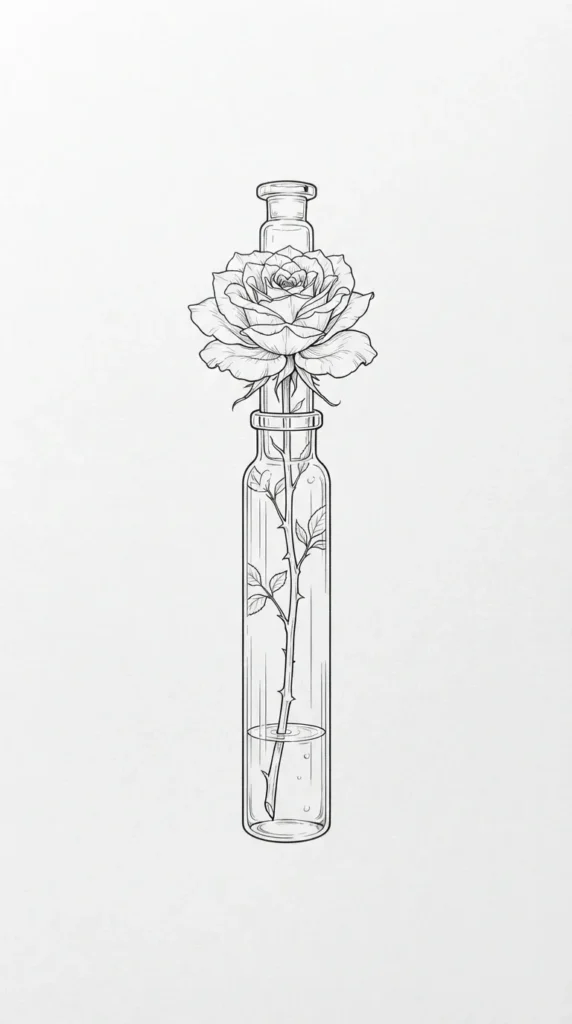
10. Single Rose in a Thin Glass Vial
Introduction
A solitary long-stemmed rose standing inside a transparent laboratory-style test tube or slender bud vase.
What This Idea Means
A study in contrast: the delicate, organic softness of unfolding petals juxtaposed with the clean, manufactured geometry of glassware.
How to Make It
- Draw two parallel vertical lines with a rounded bottom curve to create the vial.
- Add a tiny lip at the top of the glass container.
- Draw the stem rising through the neck with a few thorn notches and leaves.
- Construct the rose blossom using spiraling, overlapping curved petal lines.
Tips and Variations
- Draw the submerged stem section with a slight offset to mimic optical refraction through glass.
- Variation: Add a single fallen petal resting beside the base of the glass.
Materials Needed
- Hot-pressed cotton paper
- 0.1 mm and 0.4 mm fineliners
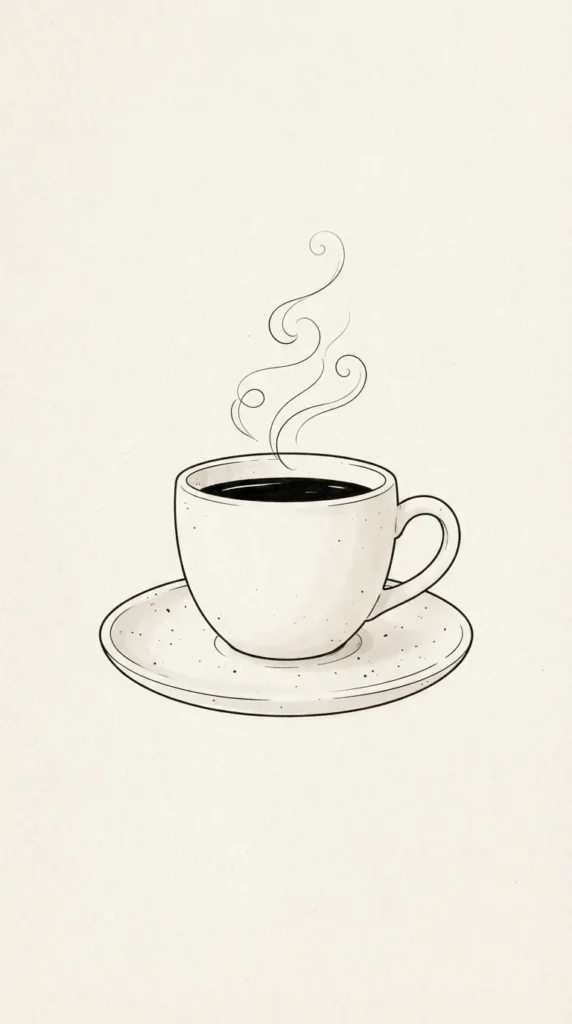
11. Minimalist Coffee Cup and Steam Whims
Introduction
A warm ceramic mug or demitasse cup accompanied by simple swirling lines of rising aromatic steam.
What This Idea Means
Evoking morning calm, mindfulness, and sensory comfort through simple curved geometry.
How to Make It
- Draw an open horizontal ellipse for the mug rim, followed by a matching inner curve for the liquid level.
- Sweep the side walls downward into a rounded base.
- Attach a clean ear-shaped handle on one side.
- Draw two or three gently spiraling, parallel vertical lines rising upward into empty space.
Tips and Variations
- Keep the steam lines loose and asymmetrical so they feel natural.
- Variation: Draw a delicate botanical sprig leaning against the saucer at the mug’s base.
Materials Needed
- Heavy sketchbook paper
- 0.5 mm drawing pen
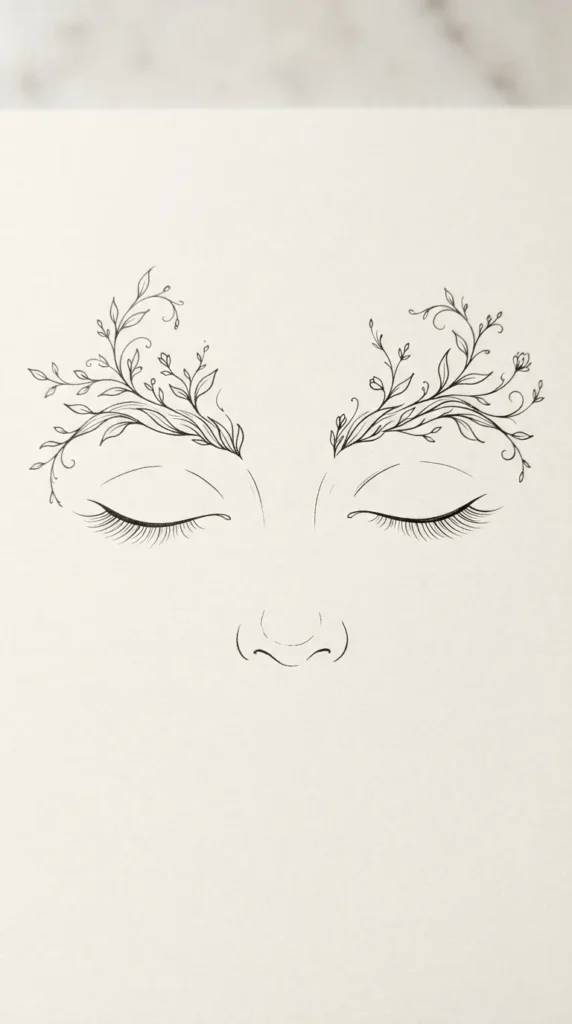
12. Whispering Woman’s Eyes with Botanical Brows
Introduction
A striking beauty illustration focusing exclusively on serene, closed eyes where the eyebrows seamlessly transition into leafy foliage.
What This Idea Means
Symbolizes the harmony between human thought and nature, conveying serenity, intuition, and artistic elegance.
How to Make It
- Draw two gentle, downward-curving arcs to define relaxed, closed upper eyelids.
- Add short, evenly spaced downstroke lines along the curves to represent eyelashes.
- Above each eye, draw an arching branch stem in place of traditional eyebrows.
- Branch off tiny, elegant leaves along the brow stems, tapering toward the temples.
Tips and Variations
- Keep the spacing between both eyes roughly equal to the width of one eye for natural proportions.
- Variation: Add a faint teardrop or starburst beneath one eye.
Materials Needed
- Fine-grain cartridge paper
- 0.3 mm micro-pen
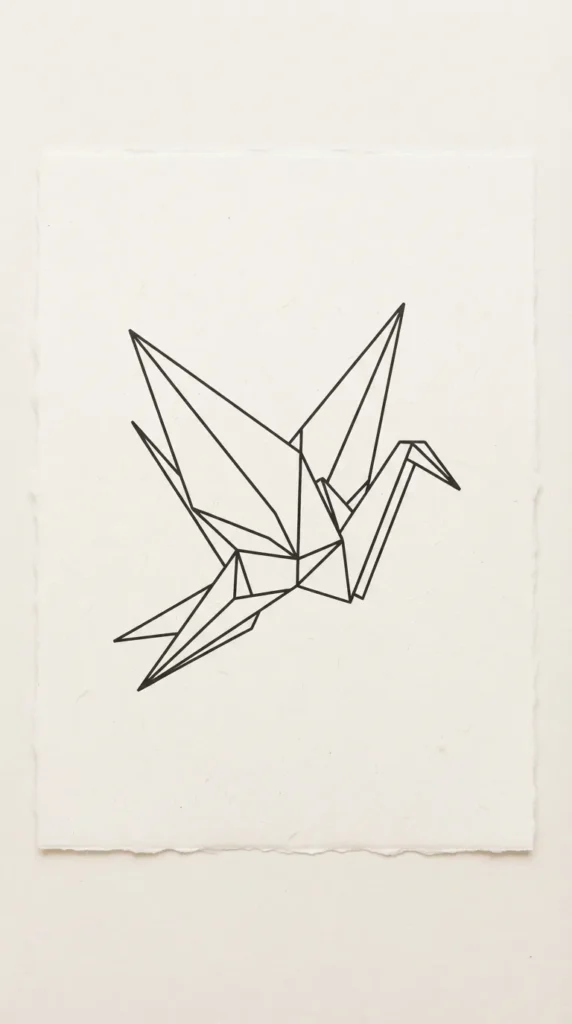
13. Fluttering Origami Paper Crane
Introduction
A minimalist interpretation of the traditional folded paper crane, drawn using crisp diagonal lines.
What This Idea Means
A traditional symbol of peace, hope, and longevity translated into modern visual minimalism.
How to Make It
- Draw a central diamond shape to anchor the crane’s body.
- Extend sharp diagonal lines outward and upward to form angular, folded wings.
- Add a slender neck terminating in an angular folded head, and balance with a sharp tail crease.
- Connect the inner fold lines with clean, straight segment strokes.
Tips and Variations
- Ensure all intersecting lines meet cleanly at sharp vertices without overlapping or overshooting.
- Variation: Draw three cranes in diminishing sizes to create a sense of dynamic flight and depth.
Materials Needed
- Bristol smooth paper
- 0.3 mm technical pen and clear ruler
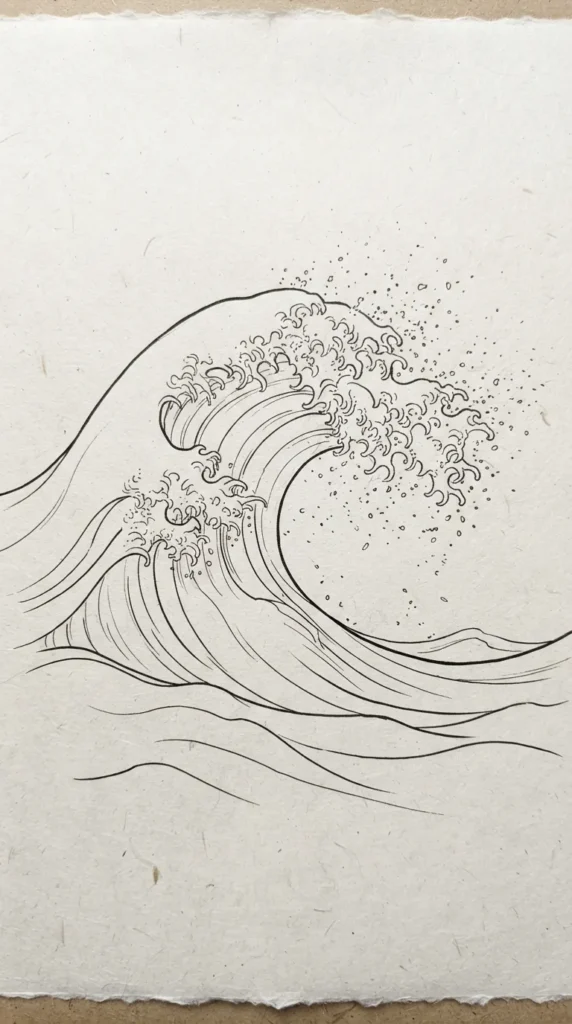
14. Serene Ocean Wave Crest
Introduction
A stylized single-line wave capturing the rhythmic curve and energy of ocean surf just before breaking.
What This Idea Means
Represents momentum, balance, and the fluid grace of natural water cycles.
How to Make It
- Start low on the page and sweep a long upward curve rising into an overhanging crest.
- Curl the tip of the crest inward into a tight, circular spiral.
- Trace parallel contour lines along the curve to suggest the wave’s hollow barrel.
- Add fine droplets using precise, tiny unshaded circles around the curl.
Tips and Variations
- Keep line weights heavier on the bottom of the swell and lighter at the foaming crest.
- Variation: Frame the wave inside a sharp circular or arch-shaped boundary line.
Materials Needed
- Smooth mixed-media paper
- 0.2 mm and 0.7 mm ink pens
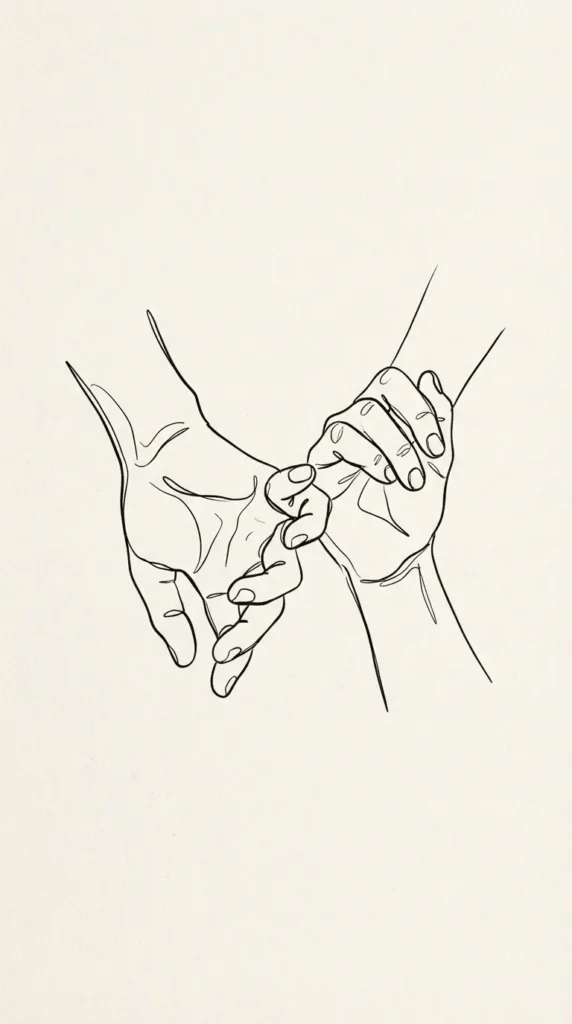
15. The Intertwined Hands of Friendship
Introduction
Two hands gently holding pinky fingers or with palms overlapping, rendered in clean contour linework.
What This Idea Means
A celebration of human bonding, quiet trust, and empathy conveyed through minimalist anatomy.
How to Make It
- Sketch faint reference shapes for both hands to establish their shared position.
- Outline the first hand’s wrist and finger joints with continuous, confident pen lines.
- Interlock the fingers of the second hand around the first, keeping overlap lines crisp and clean.
- Erase pencil guidelines, leaving only pure, interconnected contours.
Tips and Variations
- Focus on the negative shapes between the fingers to preserve balanced proportions.
- Variation: Draw a continuous unbroken line that forms both hands in a single pass.
Materials Needed
- 250 GSM illustration paper
- 0.4 mm pigment pen
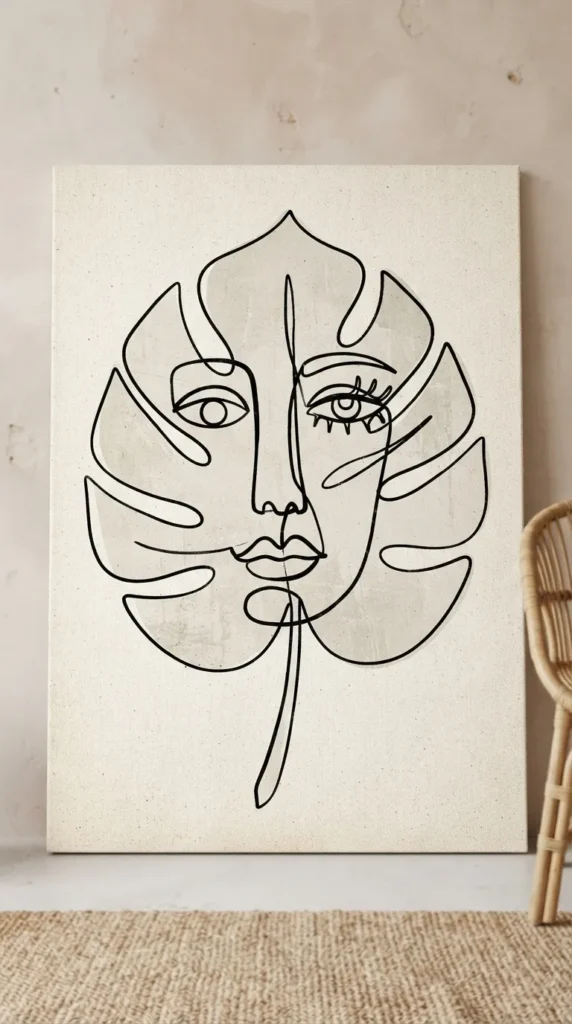
16. Modernist Abstract Face within a Monstera Leaf
Introduction
A surreal fusion where an abstract human face is integrated directly into the natural contours of a tropical leaf.
What This Idea Means
Drawing from Picasso-esque Cubism and modern line art, this piece explores identity and our deep connection with nature.
How to Make It
- Draw a sweeping outer Monstera leaf contour with broad side cutouts.
- Inside the leaf body, incorporate continuous lines that form an abstract nose bridge, an almond eye, and lips.
- Blend the jawline contour seamlessly with one of the leaf’s outer lobes.
- Add secondary organic vein lines extending from the facial features to complete the silhouette.
Tips and Variations
- Don’t worry about realistic facial proportions; embrace abstract shapes and asymmetrical forms.
- Variation: Add a single, bold filled circle for the eye pupil to anchor the composition.
Materials Needed
- Heavy mixed-media paper
- 0.5 mm and 1.0 mm felt-tip pens
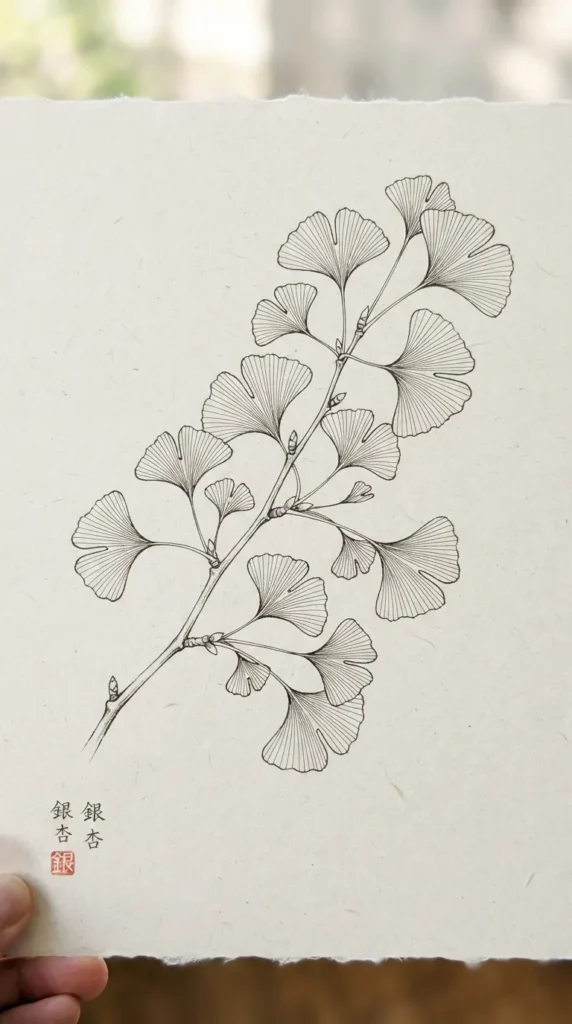
17. The Whispering Ginkgo Biloba Branch
Introduction
The distinctive, fan-shaped leaves of the ancient Ginkgo tree, detailed with fine radiating line patterns.
What This Idea Means
Symbolizing endurance, timeless elegance, and natural grace, this piece emphasizes clean radial linework.
How to Make It
- Draw a slender, gently curving wooden stem with small lateral nodes.
- Outline two or three fan-shaped leaf silhouettes with a subtle central notch along the top edge.
- Draw fine, parallel striation lines running from the base of the leaf outward to the fluted edge.
- Keep the spacing between striations uniform and light.
Tips and Variations
- Use your finest pen nib for the interior leaf lines to keep the leaf delicate.
- Variation: Draw one leaf actively detaching and drifting downward from the main branch.
Materials Needed
- Hot-pressed watercolor cardstock
- 0.05 mm and 0.3 mm micro-liners
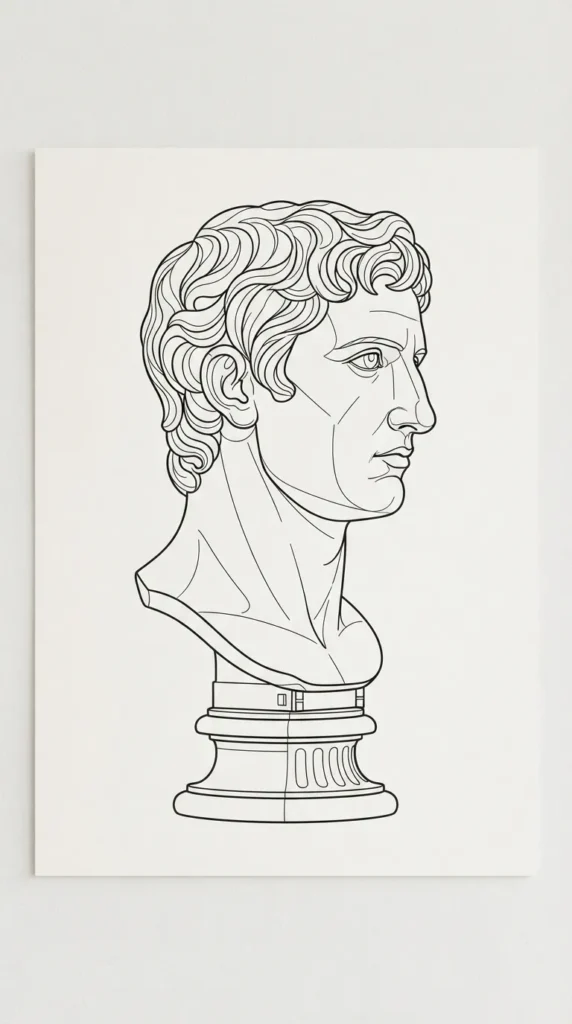
18. Modern Classical Roman Bust Sculpture
Introduction
A modern line interpretation of an antique classical marble statue, capturing architectural beauty in minimal strokes.
What This Idea Means
A bridge between historical antiquity and modern minimalism, exploring structure, form, and classical proportions.
How to Make It
- Establish the clean oval of the head and the classical slope of the neck and pedestal base.
- Draw idealized facial features: a straight Grecian nose, defined lips, and blank, statuesque eyes.
- Outline carved wavy hair with simplified, rhythmic curlicue lines.
- Suggest the cut marble torso with a clean horizontal base curve.
Tips and Variations
- Keep lines crisp and firm to convey the look of carved stone rather than soft flesh.
- Variation: Draw a modern geometric rectangle passing behind the head for an editorial fine-art look.
Materials Needed
- Smooth Bristol board
- 0.3 mm and 0.5 mm pigment pens
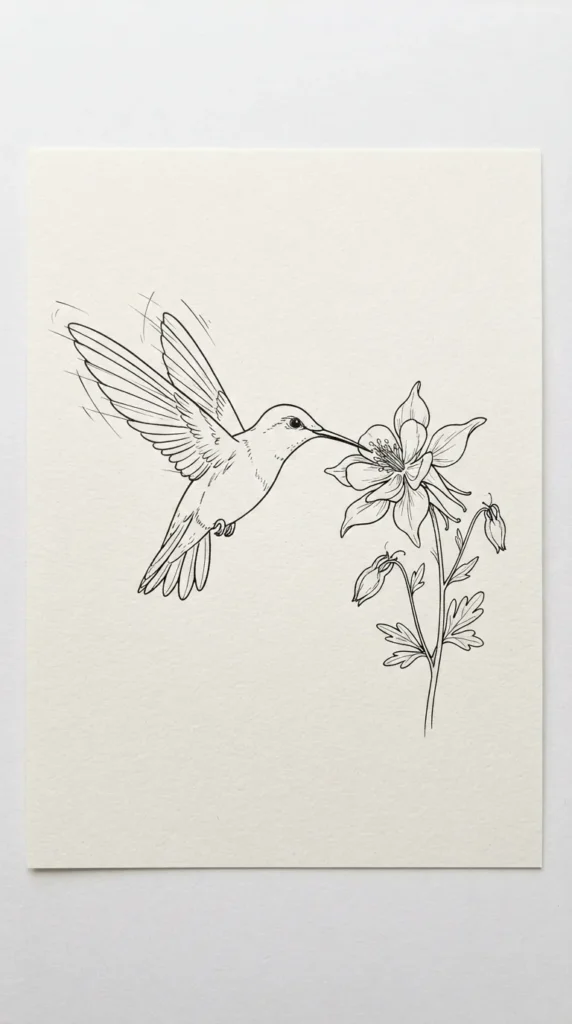
19. The Solitary Hummingbird in Flight
Introduction
A graceful hummingbird hovering beside an open flower, captured mid-beat in clean contour lines.
What This Idea Means
A study in lightness, precision, and agility, showcasing delicate anatomy and movement.
How to Make It
- Draw the slender, down-curved needle beak leading into the small head and eye.
- Sweep backward along the sleek body, extending outward into swept-back, tapered wings.
- Outline the fan of the tail feathers below the body.
- Draw a single bell-shaped trumpet flower opening toward the hummingbird’s beak.
Tips and Variations
- Use sweeping, continuous lines for the wingtips to suggest fast, effortless motion.
- Variation: Draw subtle radiating motion lines behind the wings to accentuate the hover effect.
Materials Needed
- Archival sketch paper
- 0.2 mm fine drawing pen
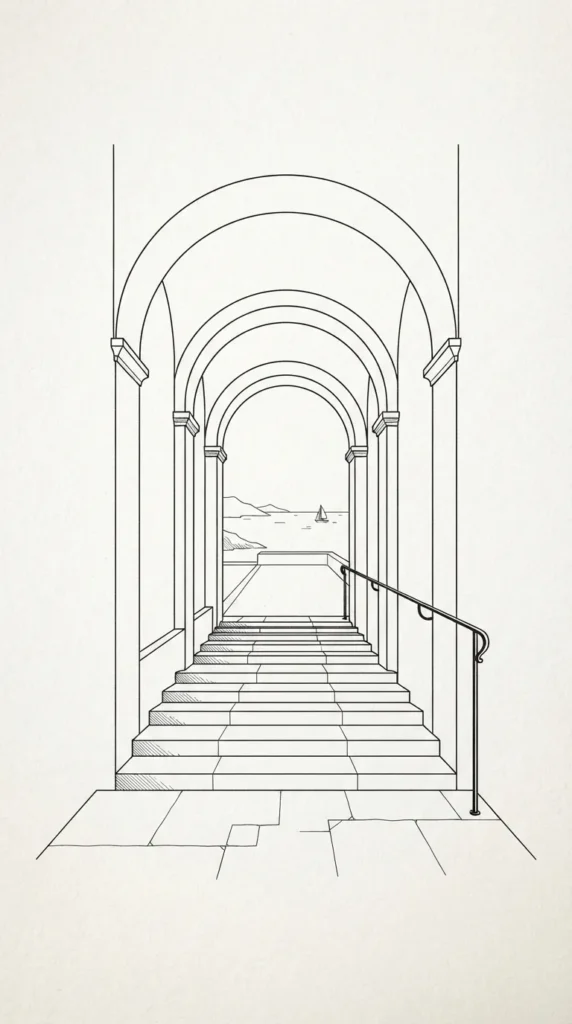
20. Minimalist Architectural Archway and Staircase
Introduction
A perspective-driven composition featuring clean Mediterranean arches and a cascading staircase leading into open space.
What This Idea Means
Explores architectural perspective, negative space, and dimensional depth using clean, straight lines and smooth curves.
How to Make It
- Draw a tall, perfectly symmetrical semicircular archway framing the canvas.
- Inside the arch opening, draw a series of descending horizontal and vertical step lines to construct a staircase.
- Add a clean horizon line visible in the deep background beyond the steps.
- Draw an open sphere resting on the landing to ground the spatial depth.
Tips and Variations
- Use a straightedge and set square to keep all vertical and horizontal lines strictly perpendicular.
- Variation: Add the organic silhouette of a climbing vine wrapping around one side of the arch.
Materials Needed
- Smooth high-density Bristol paper
- 0.3 mm and 0.8 mm technical drafting pens, metal ruler