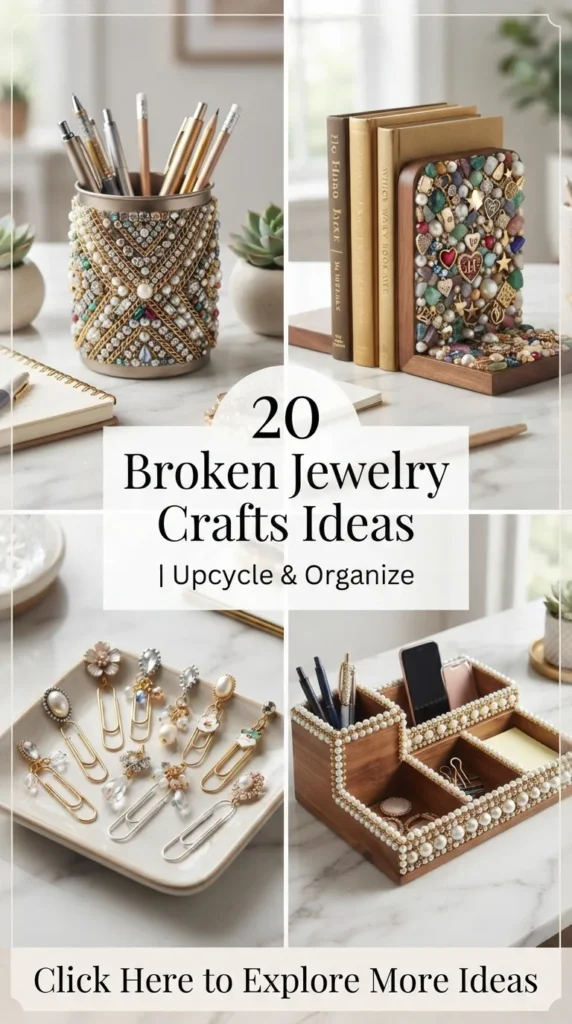
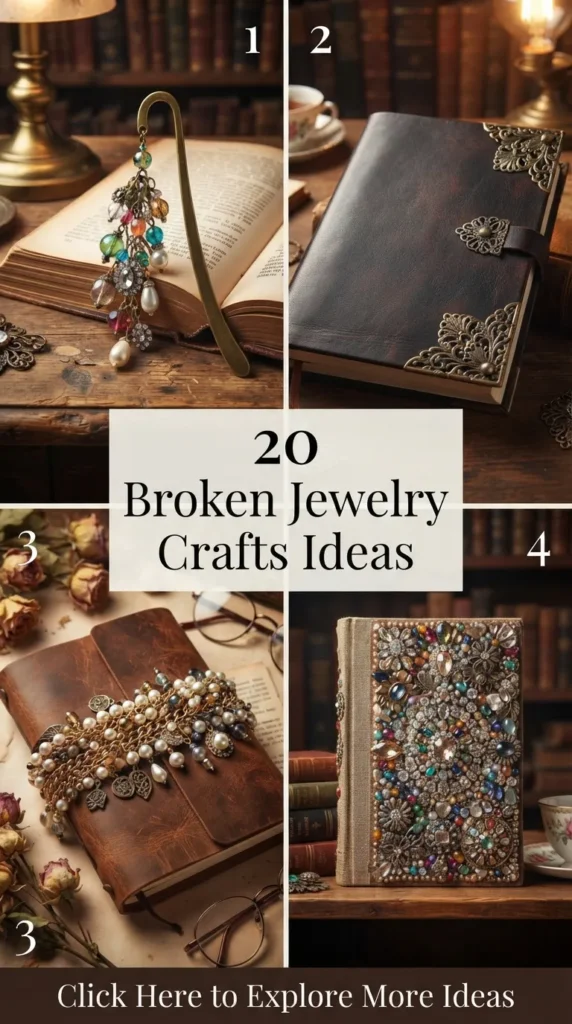
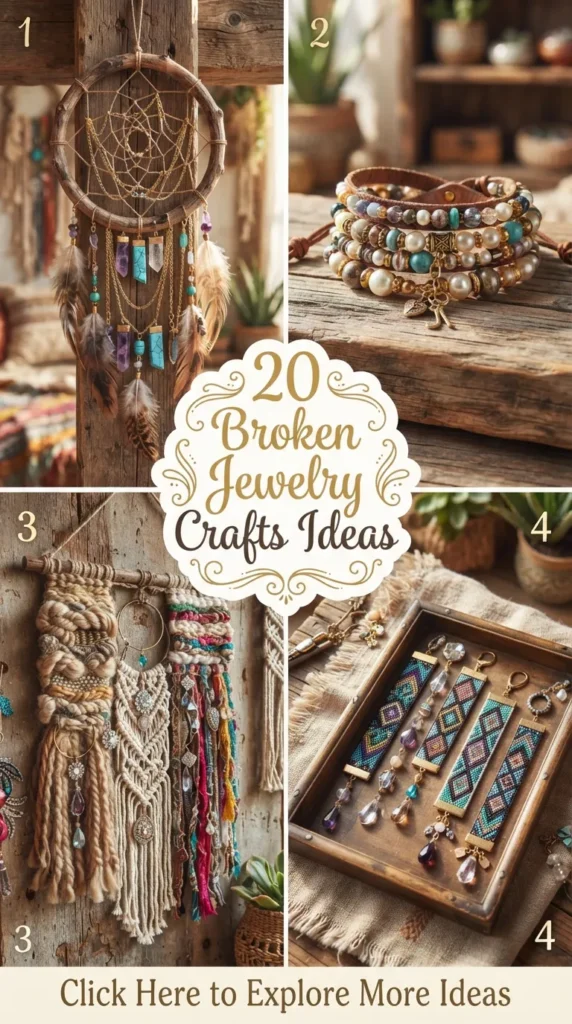
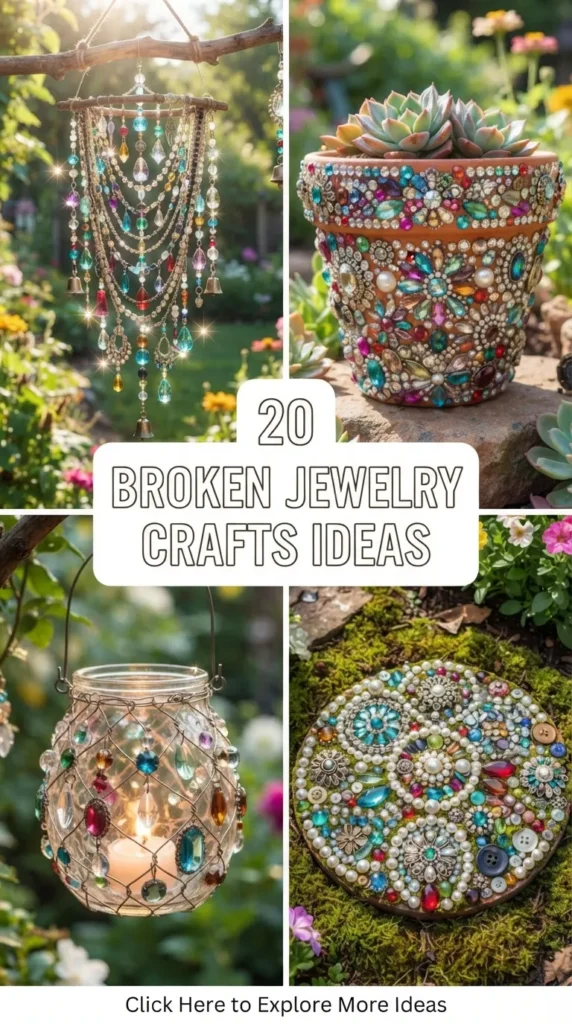
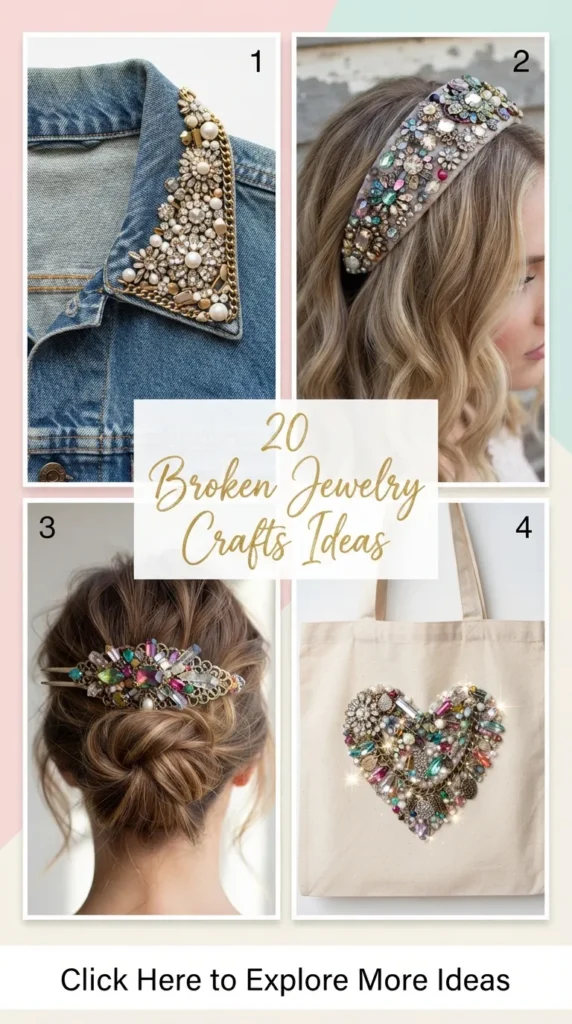
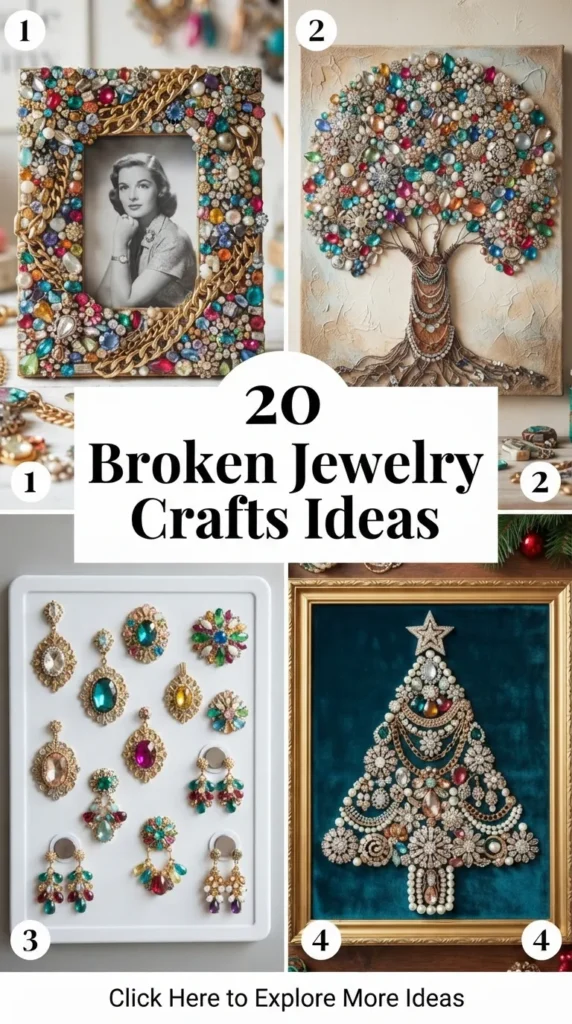
A solitary earring without its pair, a vintage necklace with a snapped chain, or a mid-century rhinestone brooch missing its pin clasp often ends up forgotten at the bottom of a velvet-lined drawer. Discarded jewelry carries history, intricate metalwork, cut glass, and luminous faux pearls that modern mass-produced craft items rarely replicate. Transforming broken and orphan accessories into functional, decorative lifestyle accents preserves family sentimentality while creating sustainable, tactile luxury for living spaces.
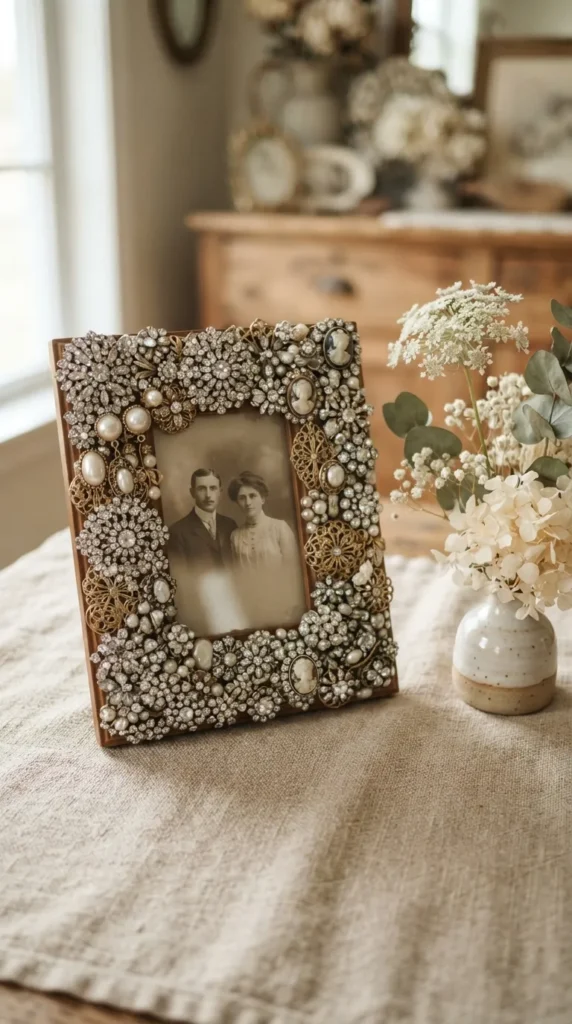
1. Vintage Brooch Mosaic Picture Frame
Turn mismatched rhinestones, faux pearls, and floral filigree brooches into an opulent, dimensional frame border that elevates vintage portraits, pressed botanicals, or architectural sketches.
- What This Idea Means: This project rescues orphan jewelry pieces and arranges them in an overlapping, raised collage around a picture frame border. The resulting texture turns an ordinary thrifted wooden or resin frame into an antique display piece reminiscent of Baroque and Victorian decorative arts.
- Materials Needed:
- Wooden or flat resin picture frame (bevel-free works best)
- Assorted broken brooches, single earrings, and pendant charms
- Heavy-duty jewelry cutters or wire snips
- Industrial adhesive (such as E6000) or two-part epoxy
- Toothpicks or micro-applicators
- Rubbing alcohol and microfiber cloth
- How to Make It:
- Wipe down the frame surface with rubbing alcohol to remove grease, wax, and dust.
- Use jewelry snips to clip away pin bars, clip-on backings, and hanging loops from the backs of your jewelry so they sit flat.
- Dry-fit the pieces before applying glue. Place larger statement brooches in opposite corners to establish visual weight, then fill the gaps with medium pendants and tiny rhinestone clusters.
- Lift each piece individually, dab a generous amount of industrial adhesive onto its base, and press firmly against the frame.
- Fill small pinhole gaps with loose rhinestones or seed pearls using tweezers and a toothpick dipped in glue.
- Allow the frame to cure horizontally for a full 24 hours before inserting glass and artwork.
- Tips and Variations:
- Monochrome Luxe: Spray-paint mismatched metal pieces in a uniform matte plaster white, satin gold, or deep black before gluing for a modern textural look.
- Gradient Effect: Arrange pieces by color tone, transitioning from light champagne pearls at the top to deep amber and smoky quartz crystals at the bottom.
2. Beaded Pendant Garden Suncatcher
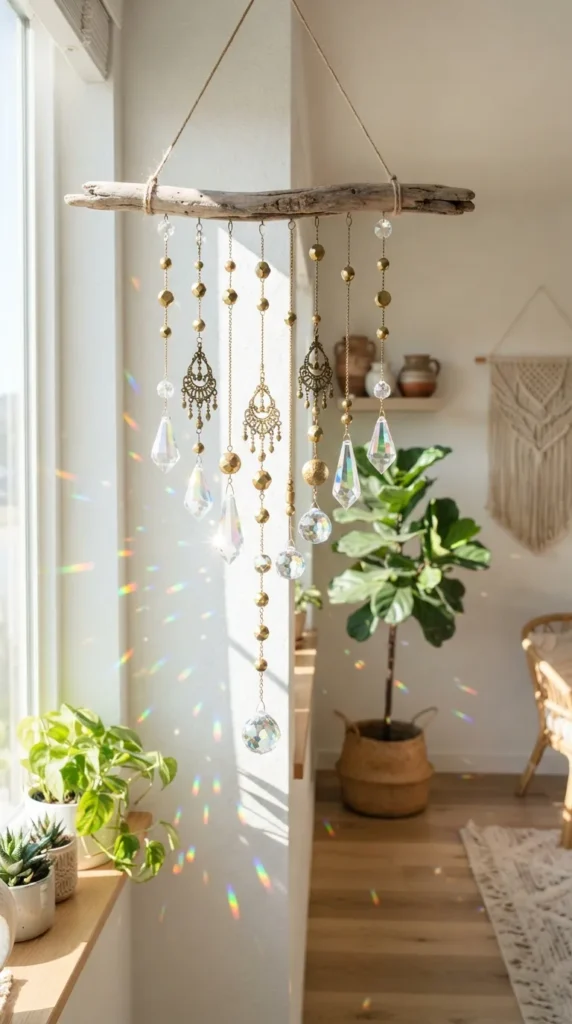
Catch morning window light with an organic, cascading mobile built from broken crystal drops, orphaned chandelier earrings, and faceted glass beads.
- What This Idea Means: A suspended light-catcher that turns damaged crystal strands and sparkling earrings into kinetic art. Hung in front of a sunny window, garden pergola, or sunroom, it refracts natural sunlight into rainbow patterns across walls.
- Materials Needed:
- Broken chandelier earrings, faceted crystal drops, and glass beads
- Braided beading wire (0.018-inch or 49-strand nylon-coated)
- Crimp beads and crimping pliers
- Brass craft hoop, small metal branch, or driftwood twig (5–8 inches wide)
- Jump rings and split rings
- Suction cup window hook or ceiling eyelet
- How to Make It:
- Cut three to five strands of beading wire at varying lengths (between 8 and 18 inches).
- Secure one end of each wire to the top suspension bar (driftwood or brass ring) using a crimp bead and crimping pliers.
- Thread broken beads, crystal drops, and chandelier earring pendants along the strands, alternating sizes and shapes to create visual rhythm.
- Anchor heavy crystal pendants at the bottom terminal of each strand using double crimp beads to prevent slipping.
- Attach a central hanging wire to the top bar with a sturdy jump ring.
- Tips and Variations:
- Botanical Pairing: Incorporate dried botanical stems or raw quartz shards along the wire strands between metal components.
- Wind Accent: Add small vintage brass charms or bell pendants to the bottom of the strands so they produce a delicate chime when brushed by a breeze.
3. Rhinestone & Filigree Trinket Tray
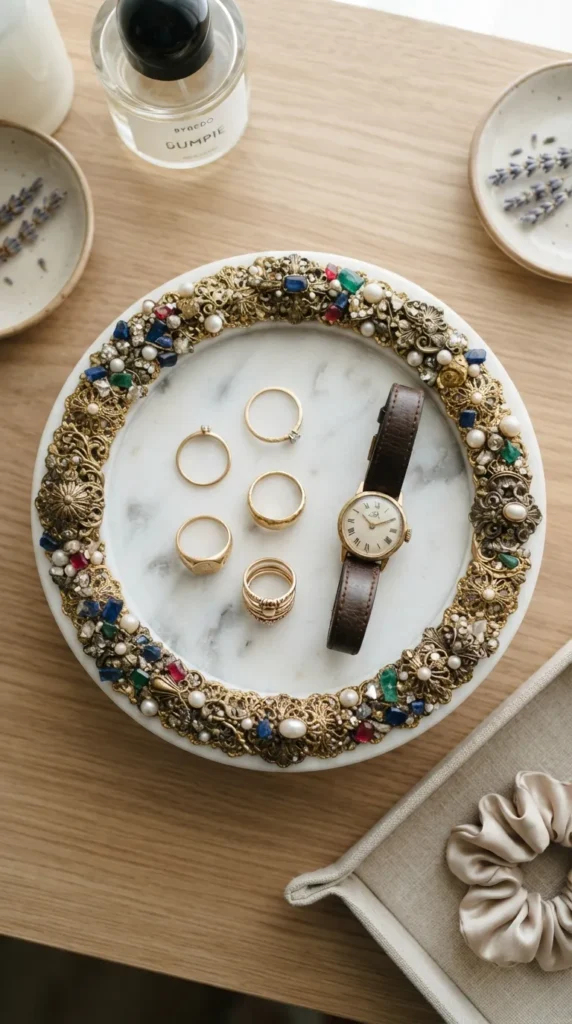
Transform plain porcelain saucers or carved marble catchalls into gilded, jewel-encrusted vanity dishes for rings, keys, and daily watches.
- What This Idea Means: A jewelry catchall accented with metal filigree, broken cufflink faces, and crystal clusters along its rim or interior center, offering an organized staging station with historic charm.
- Materials Needed:
- Shallow ceramic saucer, marble coaster, or small vintage plate
- Assorted flat-backed broken jewelry parts, metal crests, or ring tops
- Two-part transparent epoxy resin
- Metal nippers
- Gold or silver leafing pen (optional)
- How to Make It:
- Clean the ceramic or stone surface thoroughly. If desired, edge the lip of the dish using a gold leafing pen for an antique rim.
- Snip away functional posts, prongs, or loops from the selected jewelry pieces until they lie flush against the curved rim or bottom base.
- Mix a small batch of two-part clear epoxy according to the package directions.
- Apply epoxy to the back of the jewelry elements and affix them along the rim, forming a crescent or continuous border.
- If placing pieces inside the bottom of the dish, pour a thin, 1/8-inch clear self-leveling resin layer over the top to lock the jewels under a smooth, glass-like finish.
- Let cure undisturbed in a dust-free environment for 24 to 48 hours.
- Tips and Variations:
- Center Medallion: Instead of a border, mount a single ornate brooch or large ring face directly in the dead center of a minimalist white porcelain dish.
- Decoupage Underlay: Apply a botanical scrap or vintage script paper to the base of a clear glass dish before cementing jewelry pieces around the top edges.
4. Pearl & Charm Hairpins and Barrettes
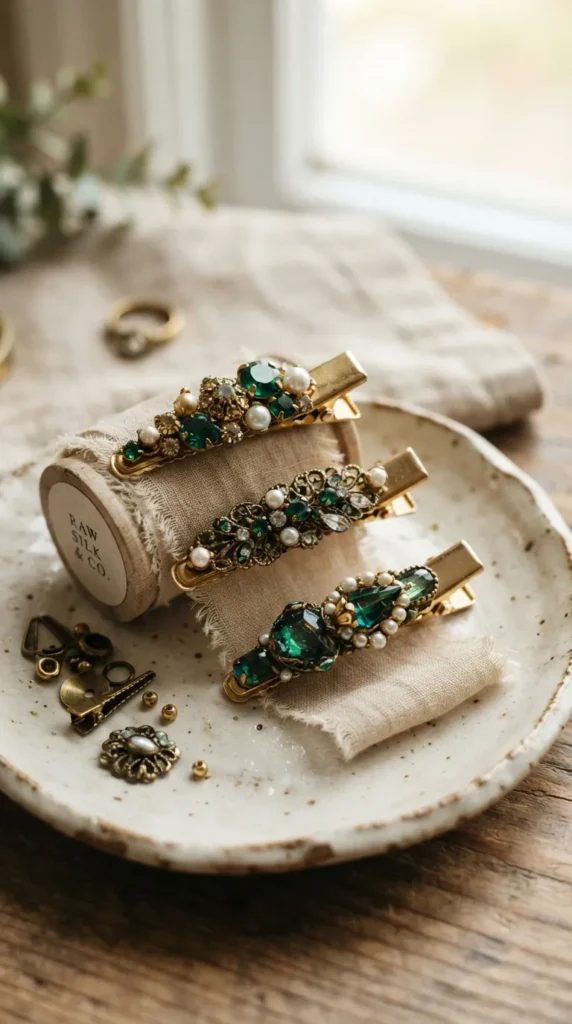
Convert orphaned earrings, broken charm bracelet links, and loose faux pearl strands into heirloom-worthy hair accessories for daily wear or special events.
- What This Idea Means: Breathing quick, functional life into miniature jewelry remnants by mounting them onto modern hair hardware like alligator clips, French barrettes, and bobby pins.
- Materials Needed:
- Blank metal alligator hair clips, bobby pins, or French barrette blanks
- Small broken jewelry: single stud earrings, charms, pearl clusters, crystal navettes
- Industrial jewelry glue (E6000) or jewelry-grade wire (26-gauge brass/silver)
- Fine-grit sandpaper
- How to Make It:
- Lightly scuff the smooth top surface of the metal hairpin with fine-grit sandpaper to give the adhesive better mechanical grip.
- Remove posts from stud earrings or links from bracelet charms using flush cutters.
- Apply a dab of industrial adhesive to the hair clip.
- Carefully seat the jewelry pieces along the barrette, holding them in place for 30 seconds.
- For open filigree or irregular pieces, wrap 26-gauge craft wire tightly around the piece and through the hairpin base for extra security before finishing with glue.
- Let dry for at least 12 hours before wearing.
- Tips and Variations:
- Bridal Vines: Attach continuous small pearl and rhinestone clusters to a long U-shaped hair pin to tuck into textured buns or loose braids.
- Minimalist Stud Pins: Glue single, large faux pearls or vintage crystal studs to the ends of classic black bobby pins for subtle, everyday sparkle.
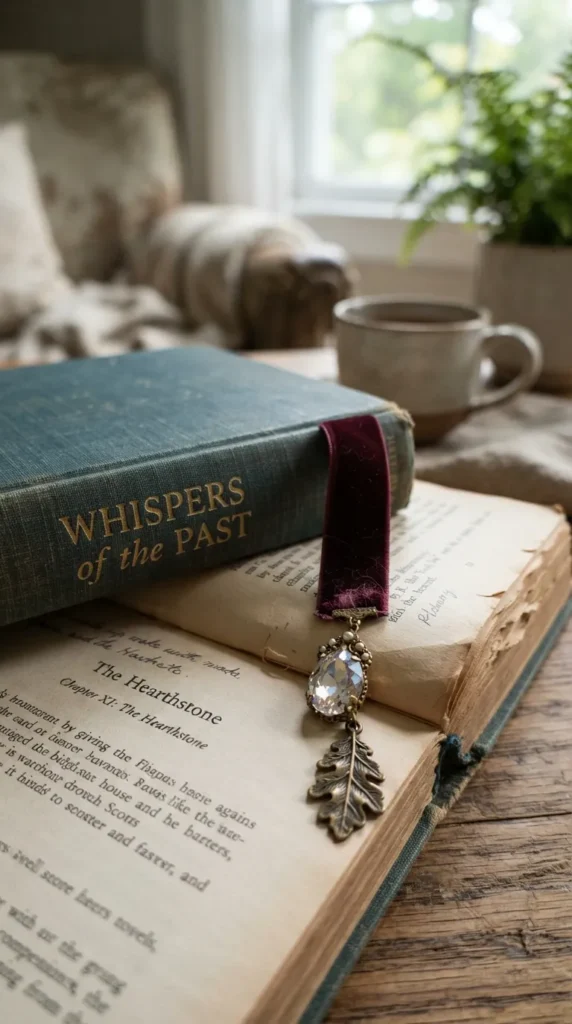
5. Broken Earring Bookmarks
Turn orphaned pendant earrings, heavy charms, and intricate metal links into elegant page keepers for hardcovers, planners, and art journals.
- What This Idea Means: A reading accessory that combines flat metal shepherd hooks, velvet ribbon, or vintage brass book thongs with dangling broken jewelry components.
- Materials Needed:
- Metal shepherd’s hook bookmark blanks or 3/8-inch double-faced velvet ribbon
- Ribbon crimp clamp ends (if using velvet)
- Broken dangling earrings, watch fobs, or pendant drops
- Jump rings and needle-nose jewelry pliers
- How to Make It:
- Method A (Metal Blank): Use needle-nose pliers to open a jump ring, thread it through the loop of a metal hook bookmark blank, insert the hanging loop of the broken earring, and twist the jump ring closed.
- Method B (Velvet Ribbon): Cut ribbon to the height of your favorite book plus 3 inches. Clamp a metal ribbon end onto both raw fabric edges. Attach a small jewelry charm to the top and a heavier broken pendant to the bottom using jump rings.
- Tips and Variations:
- Double-End Marker: Use two complementary single earrings—one anchored at the top of the spine and one resting past the bottom edge of the pages.
- Tassel Integration: Combine a dangling crystal drop with a mini silk embroidery floss tassel for added movement and tactile feel.
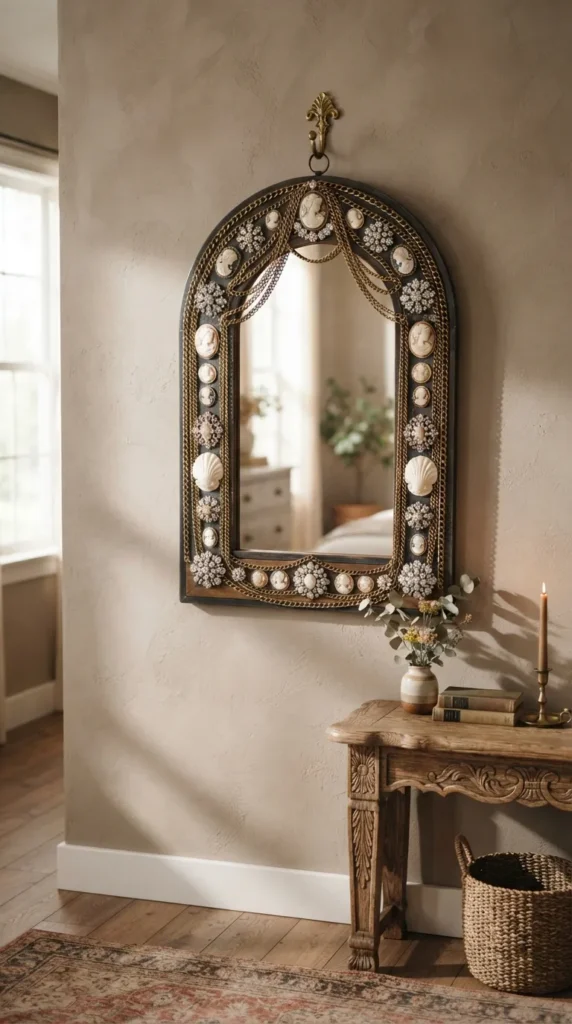
6. Ornate Cameo & Chain Wall Hanging Mirror
Transform a plain, frameless, or narrow-edged vanity mirror into an opulent wall mirror framed with layered vintage chains, filigree pieces, and cameo centers.
- What This Idea Means: A bohemian, vintage-luxe statement wall mirror trimmed with intertwined broken gold and brass chains, interspersed with broken cameos, lockets, and crystal accents.
- Materials Needed:
- Frameless round or arched wall mirror (8–14 inches)
- Assorted broken metal chains (curb, rope, snake, box chains in varying weights)
- Large broken brooches, cameos, or locket fronts
- High-strength hybrid polymer adhesive or clear silicone glue
- Painter’s masking tape
- How to Make It:
- Lay the mirror flat on a soft, level work surface.
- Clean the outer 2-inch border of the mirror glass using glass cleaner and let dry.
- Run a thin bead of adhesive around the mirror perimeter and coil the thickest chains along the outer edge. Secure temporarily with painter’s tape while drying.
- Layer thinner chains inside the outer perimeter, varying metals from antique bronze to soft gold.
- Anchor four focal broken brooches or cameos at cardinal points (top, bottom, left, right) directly on top of the layered chains with heavy glue.
- Allow the adhesive to cure flat for 48 hours before hanging securely.
- Tips and Variations:
- Chain Waterfall: Let several loose lengths of chain drape freely from the bottom edge of the mirror to create a dynamic macramé-inspired look.
- Dark Gothic Aesthetic: Use oxidized silver, gunmetal chains, and black jet crystal jewelry around an oval mirror for a moodier look.
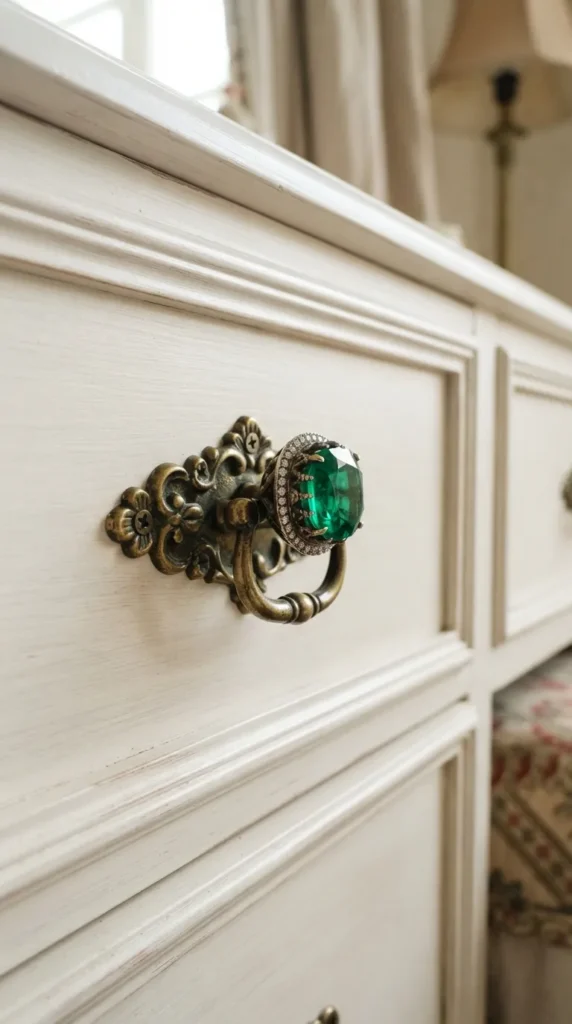
7. Gemstone Knob Dresser Drawer Pulls
Upgrade basic nightstand drawers, closet cabinets, or wardrobe doors by transforming chunky cocktail rings and bold brooches into custom decorative hardware.
- What This Idea Means: Replacing standard mass-manufactured cabinet knobs with bespoke hardware crowned with statement broken cocktail rings, natural stone settings, or heavy metal emblems.
- Materials Needed:
- Plain wooden, flat brass, or acrylic drawer knobs
- Chunky broken cocktail ring tops, large brooches, or belt buckle elements
- Two-part metal-bonding epoxy (e.g., JB Weld or quick-set clear epoxy)
- Dremel tool or metal file
- How to Make It:
- Cut the ring band off the back of the cocktail ring using a rotary tool, Dremel, or heavy nippers, then file the surface flat.
- Lightly sand the face of the blank cabinet knob to ensure strong adhesive grip.
- Mix equal parts of the two-part epoxy.
- Apply a thick bead to the center of the knob and press the jewelry piece down firmly.
- Ensure the piece is aligned symmetrically and maintain gentle pressure until initial bonding occurs (5–10 minutes).
- Let the knobs cure for 24 hours before screwing them back onto your furniture.
- Tips and Variations:
- Mismatched Suite: Use different complementary jewel-toned rings (emerald green, sapphire blue, ruby red) across different drawers of a single dresser for an eclectic look.
- Backplate Accents: Mount an oversized filigree brooch behind a simple brass knob, letting the lace-like metal fan out against the drawer front.
8. Wire-Wrapped Broken Ring Plant Markers
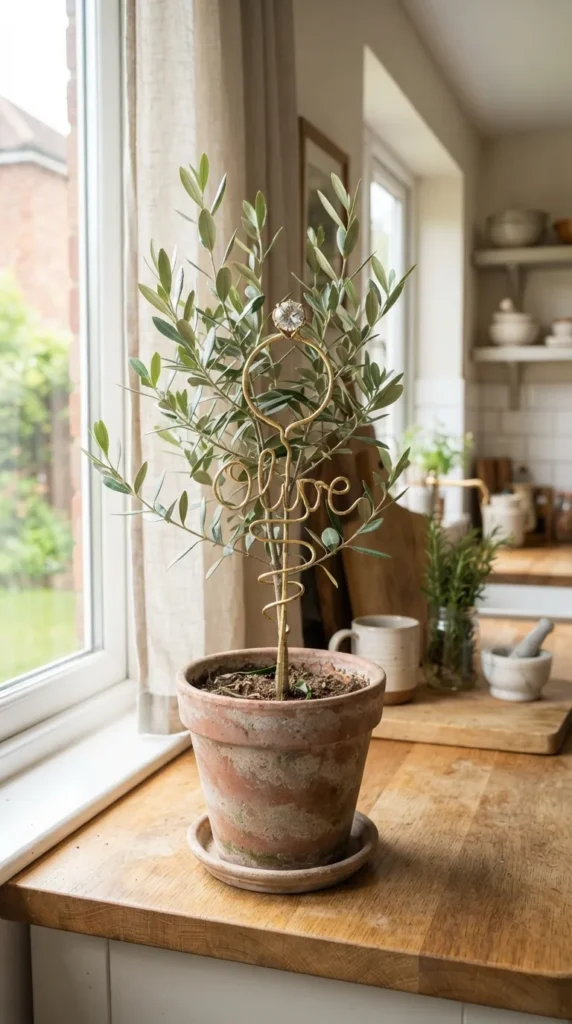
Add a touch of elegance to indoor herb pots, terrariums, and potted houseplants with handmade botanical markers adorned with vintage jewelry.
- What This Idea Means: Slender copper or brass plant stakes coiled with broken crystal rings, single drop earrings, and loose stone settings, serving as decorative plant identifiers.
- Materials Needed:
- 14-gauge and 22-gauge brass, copper, or stainless steel craft wire
- Broken rings, gemstone settings, or decorative earring pendants
- Round-nose and wire-cutting pliers
- Metal stamping kit and blank metal tags (optional for plant names)
- How to Make It:
- Cut a 10-inch to 12-inch length of heavy 14-gauge wire to serve as the main vertical stake.
- Form a decorative loop or spiral at the top of the stake using round-nose pliers.
- Take a 12-inch length of flexible 22-gauge wire and anchor it to the stake by wrapping it tightly 4–5 times below the top loop.
- Thread the broken jewelry piece, ring top, or crystal charm onto the thin wire.
- Wrap the thin wire securely through and around the jewelry piece and down the main stake, locking the jewel firmly in place.
- Trim excess wire, tuck in sharp ends, and insert the finished stake into indoor potted soil.
- Tips and Variations:
- Stamped Names: Hang a small brass blank stamped with “Monstera” or “Rosemary” from the bottom loop of the jewelry setting.
- Air Plant Perch: Twist the heavy top wire into a wide cage cradle to hold a small air plant (Tillandsia), accented with small rhinestones underneath.
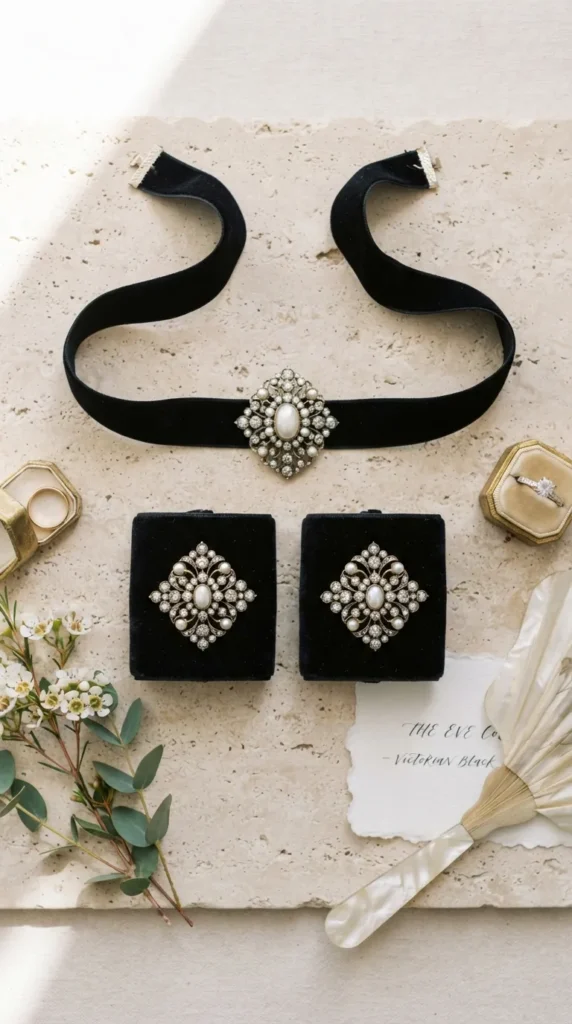
9. Antique Brooch Velvet Ribbon Choker & Cuff Set
Repurpose broken statement brooches and ornate clasp elements into comfortable, bespoke fabric chokers and statement wrist cuffs.
- What This Idea Means: Reimagining historical pins with broken fasteners as focal centerpieces on rich velvet, silk satin, or grosgrain ribbons for customized, modern evening wear.
- Materials Needed:
- 1-inch to 1.5-inch wide double-faced velvet ribbon
- Ornate vintage brooch or large earring pair (with broken pins removed)
- Ribbon clamp ends, jump rings, and lobster claw clasps
- Jewelry glue or needle and heavy-duty upholstery thread
- How to Make It:
- Measure the circumference of your neck or wrist, subtracting 0.5 inches to accommodate the metal clasp hardware. Cut ribbon to length.
- Attach ribbon clamp ends to both cut fabric edges using flat-nose pliers, squeezing firmly to lock the teeth into the weave.
- Attach a lobster clasp to one end and an extender chain to the other with jump rings.
- Position the broken brooch face-up in the dead center of the ribbon.
- If the brooch has an open openwork back, sew it securely to the velvet using fine thread loops at multiple anchor points.
- For solid metal backs, adhere using a flexible, permanent fabric-to-metal adhesive.
- Tips and Variations:
- Layered Ribbon: Stack a narrow 1/4-inch gold metallic ribbon centered atop a wider black velvet band before mounting an emerald or pearl center.
- Wrist Cuff Pair: Make matching wrist cuffs using smaller broken clip-on earring tops as decorative button studs.
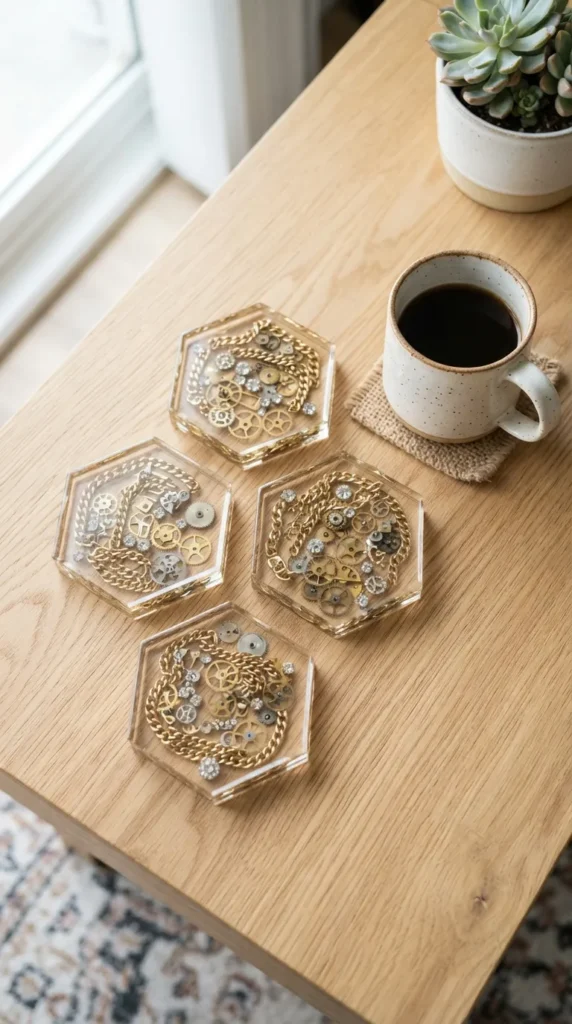
10. Mixed-Metal Jewelry Mosaic Coasters
Cast broken jewelry shards, chains, and flat components into durable, crystal-clear resin coasters that display mixed metals and stones while protecting table surfaces.
- What This Idea Means: Functional tabletop art that suspends metallic odds, watch gears, rhinestone chains, and pearl fragments in clear, heat-resistant casting resin.
- Materials Needed:
- Silicone coaster molds (hexagonal, round, or square)
- Two-part clear casting epoxy resin (heat-resistant up to 150°F/65°C)
- Broken jewelry bits: chains, rhinestone cups, watch movements, pearl studs
- Mixing cups, wooden stir sticks, and a heat gun or torch
- Cork backing sheet (optional)
- How to Make It:
- Clean and dry the silicone molds.
- Mix resin and hardener according to the manufacturer’s exact ratio, stirring slowly for 3 full minutes to reduce air bubbles.
- Pour a thin 1/8-inch foundation layer into the molds. Pass a heat gun quickly over the surface to pop bubbles.
- Let the base layer cure to a tacky, firm gel (roughly 3–4 hours depending on the brand).
- Arrange your broken jewelry pieces carefully face-up across the tacky surface.
- Pour the second batch of clear resin over the top, completely submerging the jewelry items by at least 1/16-inch.
- Pop surface bubbles with heat, cover the molds to keep dust away, and cure for 48 hours. De-mold and stick adhesive cork circles underneath.
- Tips and Variations:
- Tinted Glass Look: Add a single drop of translucent amber, emerald, or sapphire alcohol ink to the resin base before embedding gold-tone jewelry.
- Geometric Concentric Rings: Coil broken rhinestone cup chains in expanding concentric circles outward from a central pearl stud.
11. Dangling Charm Wind Chime
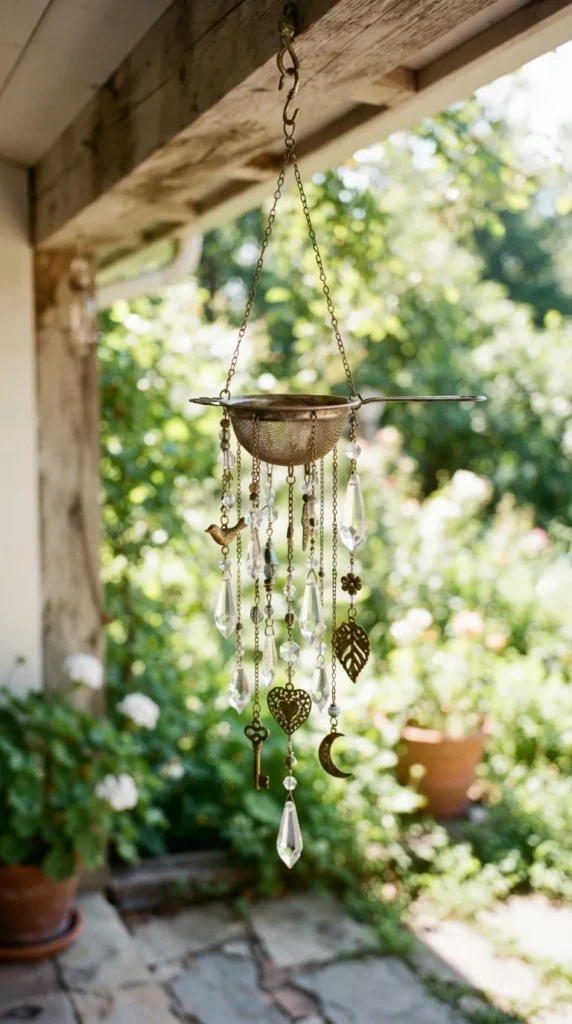
Assemble delicate, tinkling patio chimes by hanging hollow vintage metal pieces, chandelier crystals, chains, and broken charm bracelets from an upcycled base.
- What This Idea Means: A melodic, light-catching mobile designed for sheltered patios and porches, using the acoustic resonance of vintage metal charms and cut crystals.
- Materials Needed:
- Antique metal tea strainer, small upside-down brass tart pan, or curved cutlery handle
- Heavy-duty monofilament (fishing line) or stainless steel bead wire
- Assorted heavy broken jewelry: metal charms, hollow locket cases, crystal drops
- Drill with small metal-boring bit (if creating new holes in the top base)
- Split rings and jump rings
- How to Make It:
- Prepare the top base (e.g., punch or drill 4 to 6 evenly spaced holes around the rim of an antique metal strainer).
- Cut strands of bead wire between 6 and 12 inches long.
- Thread broken charms, empty lockets, and metal jewelry pieces along each strand, spacing them with small crimp beads.
- Attach heavy crystal prisms or solid metal pendants to the very bottom of each strand to provide weight.
- Tie and crimp the top of each wire strand securely through the drilled holes of the base.
- Attach a 3-strand top harness through the center of the base with an S-hook for hanging.
- Tips and Variations:
- Tonal Diversity: Mix glass crystal drops with hollow brass charms so breezes create both bright light reflections and a subtle, high-pitched metallic chime.
- Silver Tea Theme: Use an orphan silver-plated creamer base or sugar tong upside down as the central canopy.
12. Resin Cast Broken Jewelry Paperweights
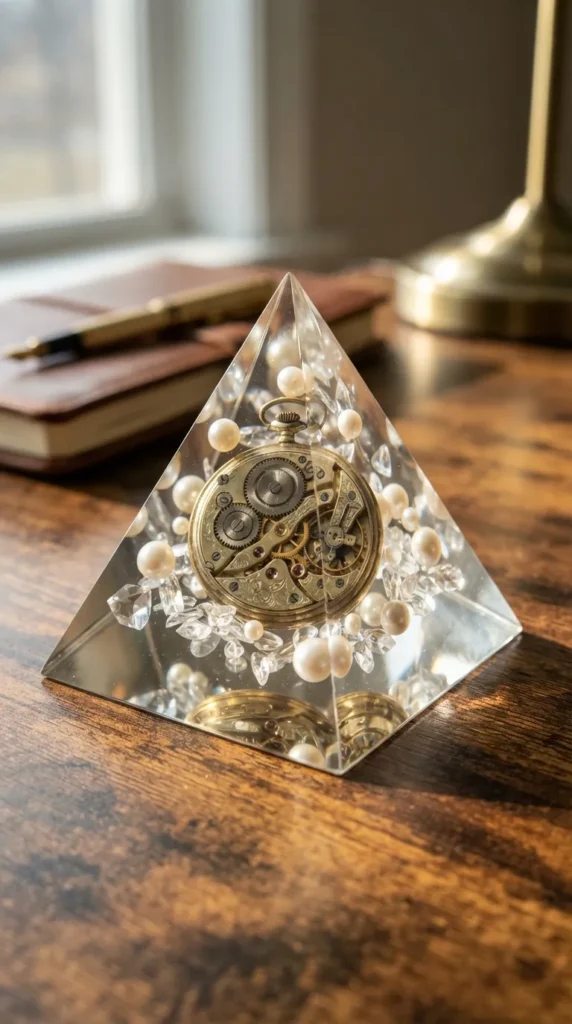
Create dimensional, tactile desk sculptures by casting multi-layered compositions of broken jewelry inside smooth geometric resin molds.
- What This Idea Means: A desktop accessory and conversation starter that preserves intricate, sentimental, or damaged family heirlooms inside crystal-clear spheres, pyramids, or domes.
- Materials Needed:
- High-depth silicone molds (pyramid, sphere, or faceted gem)
- Deep-pour epoxy casting resin (low-viscosity, slow-cure formula)
- Broken heirloom jewelry, loose stones, small watch movements, pearls
- Fine glitter or gold mica flakes (optional)
- How to Make It:
- Plan the layered composition: heavier, larger brooches or watches will sit at the bottom or middle, while small crystal stars and pearls float throughout.
- Mix the deep-pour resin thoroughly and pour a 1-inch layer into the mold.
- Lower the main focal jewelry piece into the resin using long tweezers.
- Sprinkle micro-pearls or tiny flecks of gold leaf around the jewelry piece.
- Allow the layer to reach a semi-cured state so the next layer of embellishments won’t sink to the bottom.
- Pour the final layer of resin to fill the mold, pop any surface bubbles with a heat tool, and let cure undisturbed for 72 hours.
- Demold and polish the flat base with high-grit micro-mesh sanding pads for clarity.
- Tips and Variations:
- Time Capsule Sphere: Encapsulate an old broken pocket watch face, snapped watch bands, and loose watch jewels in a spherical mold for a steampunk-inspired paperweight.
- Botanical Blend: Pair broken jewelry parts with pressed real flowers (like deep blue hydrangeas or pansies) for an organic aesthetic.
13. Embellished Glass Bottle Decanter / Perfume Flacon
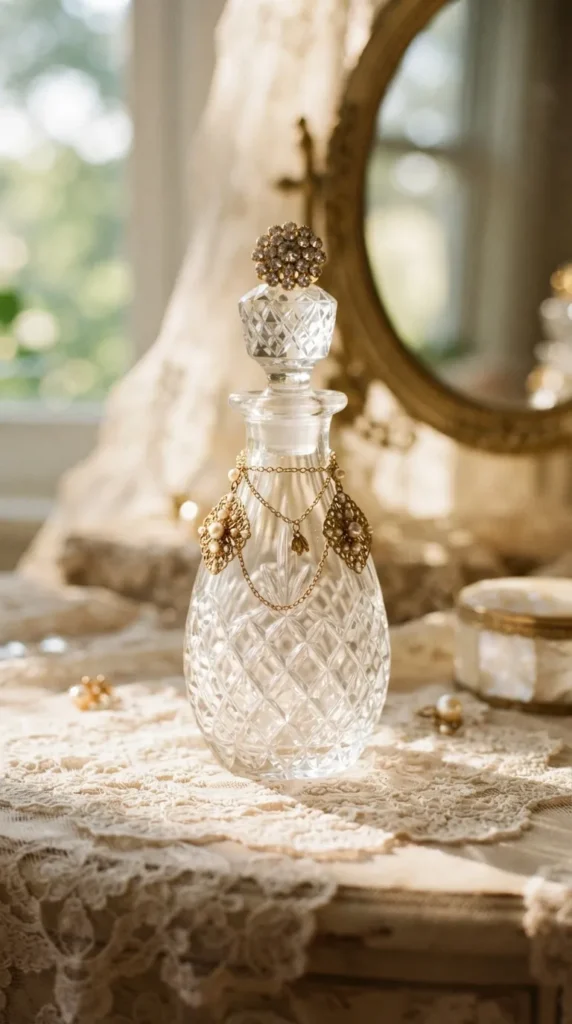
Give plain glass bottles, apothecary vials, and empty perfume containers a high-end, vintage vanity aesthetic by adorning necks, bodies, and stoppers with broken filigree and jewels.
- What This Idea Means: Upcycling thrifted glassware or favorite finished fragrance bottles into ornate, Victorian-style boudoir decanters through strategic jewelry embellishment.
- Materials Needed:
- Clear, frosted, or tinted glass bottles with glass/cork stoppers
- Broken filigree earrings, rhinestone rings, ornate brooch segments
- Clear industrial glass-to-metal adhesive (such as silicone adhesive or UV resin)
- Metallic cord or thin chain
- How to Make It:
- Strip labels and thoroughly clean the glass surface with alcohol to remove residues.
- Snip away backings from broken stud earrings or brooch pins.
- Apply a focused bead of glass-bonding glue to the back of the largest jewelry component and center it on the bottle’s front face.
- Wrap a length of thin broken jewelry chain around the neck of the bottle 3–4 times, gluing the ends behind the central emblem.
- Glue a broken statement ring top or small floral brooch directly atop the glass stopper to act as an ornamental crown.
- Let the adhesive set fully for 24 hours before filling with bath oils, floral waters, or displaying on a vanity.
- Tips and Variations:
- Potion Bottle Look: Use dark amber or cobalt blue glass bottles, adding antiqued brass filigree and deep red garnet or amber stones.
- Neck Cords: Drape small chandelier earrings from the bottle’s neck with silk velvet cording rather than adhering them directly to the glass.
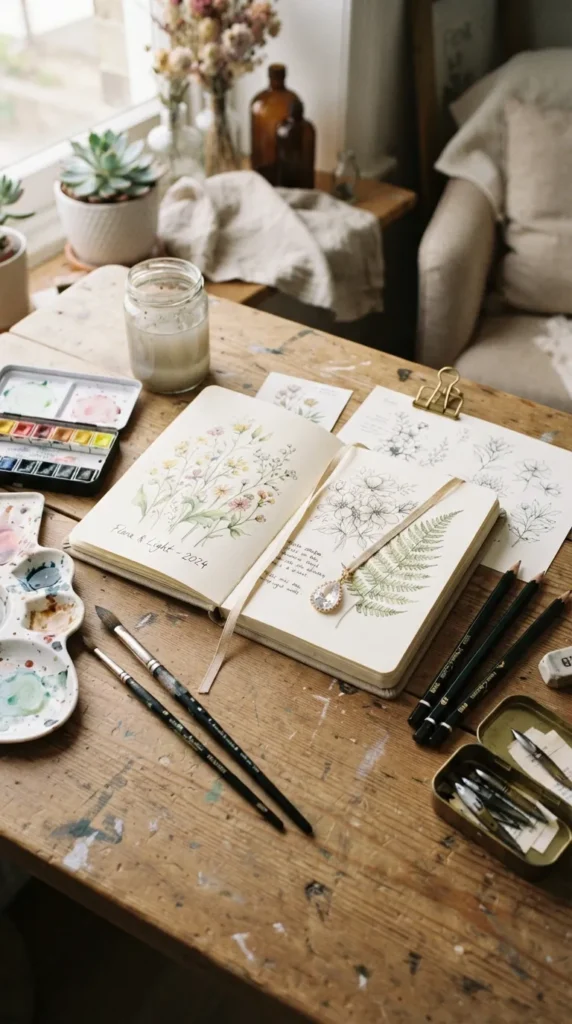
14. Vintage Crystal Bookmark Ribbons / Journal Spine Accents
Upgrade sketchbooks, bullet journals, and reading diaries by integrating broken jewelry directly into the spine binding and ribbon bookmarks.
- What This Idea Means: Embellishing handmade or store-bought hardbound journals with dangling crystals along the spine or anchoring a statement brooch over an elastic closure band.
- Materials Needed:
- Hardcover journal or cloth-bound sketchbook
- 1/4-inch to 1/2-inch satin or grosgrain ribbon
- Broken pendant necklaces, crystal beads, small metal charms
- Bookbinding glue or hot bookbinder’s PVA, plus needle and thread
- How to Make It:
- Cut a length of ribbon 4 inches longer than the book’s vertical height.
- Apply a thin coat of PVA glue to the top 1.5 inches of ribbon and slip it down inside the hollow cavity of the journal’s spine with a bone folder.
- Thread the bottom hanging ribbon through the bail of a broken pendant or stitch a single crystal earring securely to its lower tip.
- To decorate the external spine: Glue flat, broken filigree components directly along the outer fabric spine using flexible textile/leather glue.
- Tips and Variations:
- Elastic Band Focal Point: Slide an ornate brooch face onto an elastic notebook band to create a removable closure strap for planners.
- Corner Protectors: Trim four matching corner earrings and glue them over the book’s cardboard corners to serve as decorative metal edge guards.
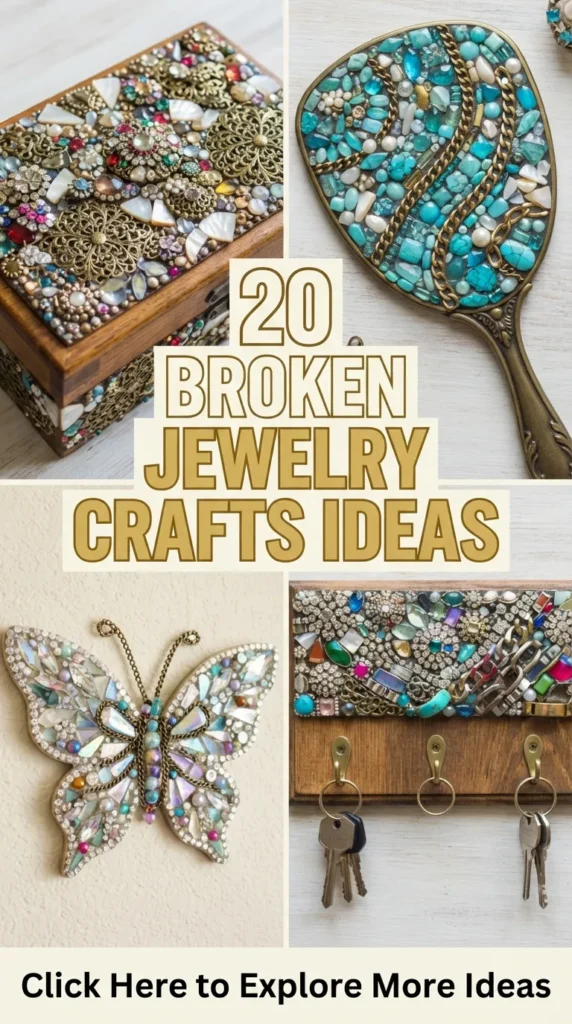
15. Decoupage & Jewel Memory Keepsake Box
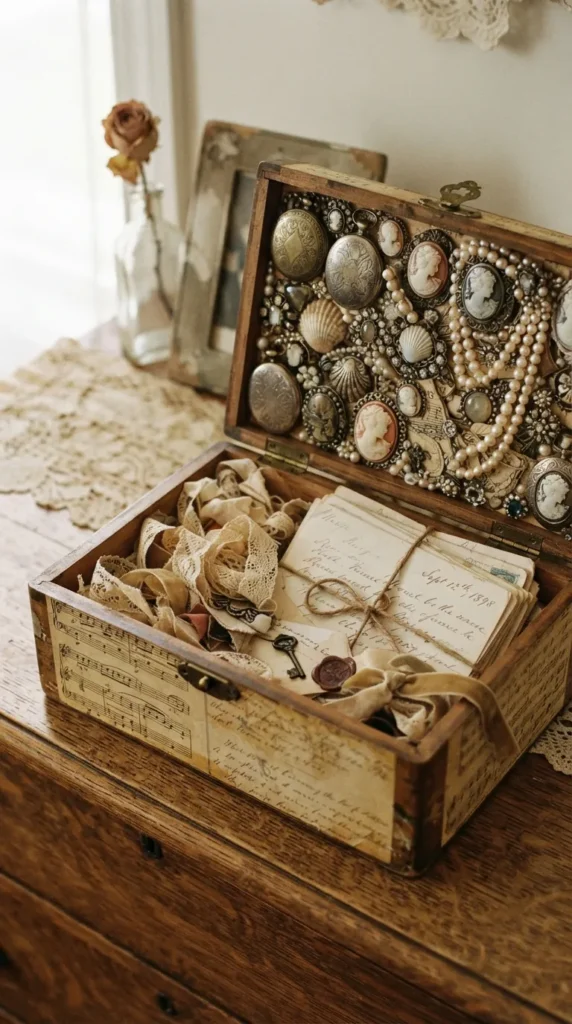
Turn a simple unfinished wooden box into an heirloom treasure chest featuring personal photographs, vintage sheet music, and dimensional jewel-encrusted lids.
- What This Idea Means: A customized storage box for letters, keepsakes, or jewelry that merges decoupage paper techniques with an ornate, jewel-encrusted top.
- Materials Needed:
- Unfinished or vintage wooden box with clasp
- Acrylic craft paint and matte decoupage medium (Mod Podge)
- Decorative paper (botanical prints, vintage maps, sheet music)
- Assorted broken jewelry: cameos, lockets, pearl strands, rhinestones
- Heavy craft adhesive
- How to Make It:
- Paint the interior and edges of the wooden box with acrylic paint and let dry completely.
- Decoupage your chosen paper onto the top and sides of the box using a flat brush, smoothing out any trapped air bubbles. Let dry.
- Apply an aging patina or distress the box edges with fine sandpaper if desired.
- Plan a layered cluster of broken jewelry on the top lid: place large flat pieces (such as cameo pendants or locket faces) down first.
- Coil snapped pearl or rhinestone chains around the central pieces, gluing them down in loops.
- Let the adhesive cure fully for 24 hours before using the box.
- Tips and Variations:
- Interactive Lockets: Glue down open lockets with miniature family portraits preserved under clear resin inside the locket chambers.
- Monogram Center: Use an old broken initial pendant as the primary centerpiece of the lid.
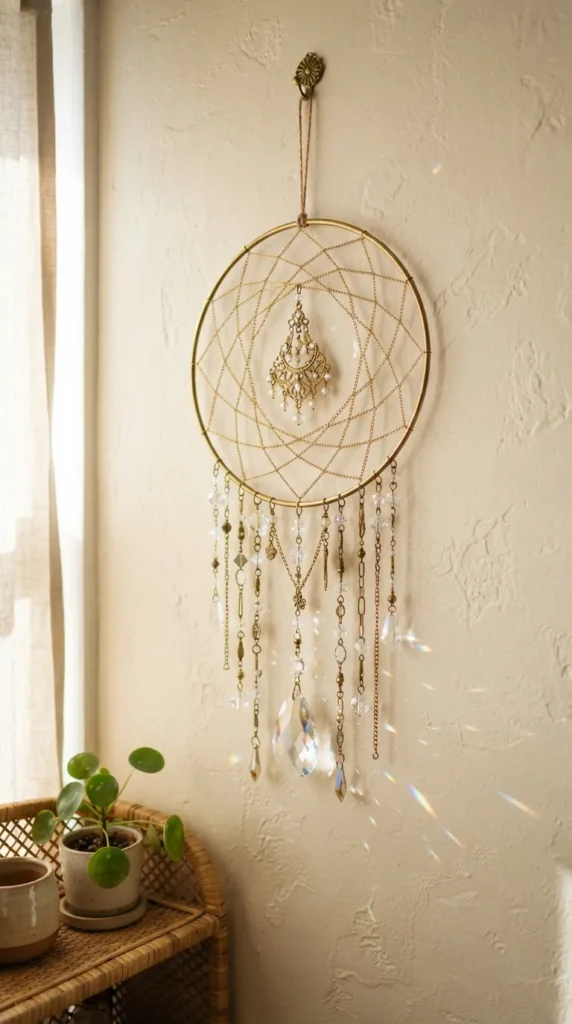
16. Layered Chain & Earring Dreamcatcher
Reinvent the traditional woven dreamcatcher by substituting synthetic fibers with layered antique chains, suspended broken chandeliers, and dangling gem drops.
- What This Idea Means: A refined, metallic interpretation of a dreamcatcher constructed within a brass or wooden hoop, laced with draped chains and suspended jewelry remnants.
- Materials Needed:
- 5-inch to 8-inch metal ring or wooden embroidery hoop
- Assorted broken metallic chains of varying lengths and finishes
- Broken chandelier earrings, dangling pendants, and teardrop crystals
- Fine craft wire (24-gauge) and jump rings
- Pliers (round-nose and chain-nose)
- How to Make It:
- Wrap the hoop frame with fine silk ribbon or bare polished copper wire for an even base.
- Instead of standard string webbing, string lengths of fine broken chain across the center of the hoop in geometric cross-sections, securing each end to the hoop with fine wire.
- Hang an ornate broken brooch or chandelier earring center in the exact middle intersection of the internal chains.
- Cut five descending lengths of chain and attach them to the bottom rim of the hoop.
- Anchor dangling crystal drops, single earrings, and filigree pieces to the bottom of each hanging chain strand using jump rings.
- Add a hanging loop at the top of the hoop.
- Tips and Variations:
- Feather and Metal Blend: Dip real goose or pheasant feathers in metallic gilding paint and clamp them alongside crystal drops on the lower chains.
- Crescent Moon Shape: Bend heavy wire into a crescent moon silhouette instead of a circle, anchoring dangling jewels between the two tips.
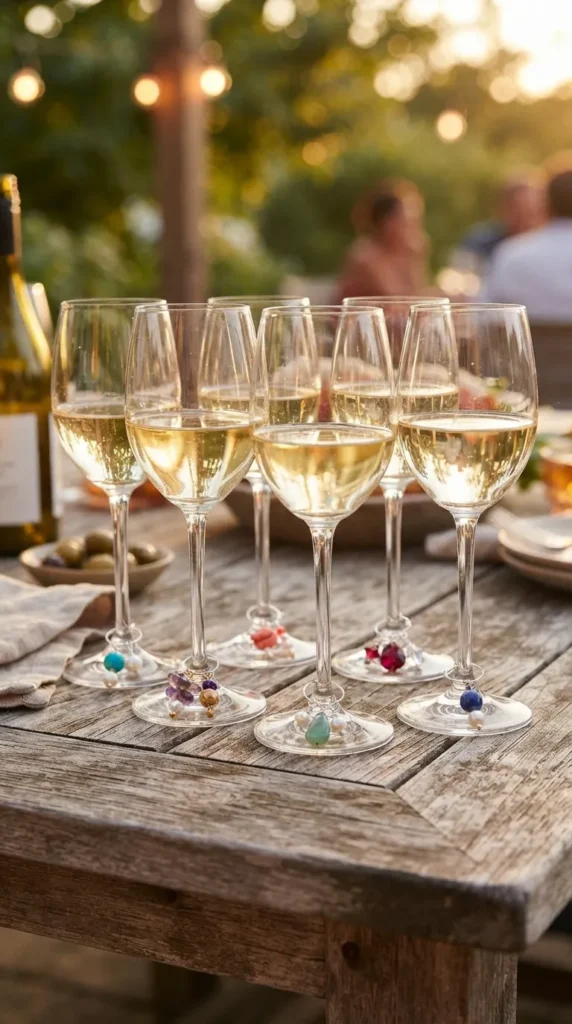
17. Statement Jewel Wine Glass Charms / Stopper Accents
Transform single earrings, bracelet links, and small colorful charms into sophisticated identifiers for stemware and custom accents for bottle stoppers.
- What This Idea Means: Functional, upscale entertaining accessories that make use of colorful broken jewelry elements so guests can identify their drinkware in style.
- Materials Needed:
- Wire wine charm hoops (standard 25mm memory wire loops)
- Assorted small broken jewelry charms, single drop earrings, and loose stone pendants
- Plain metal or silicone cone wine bottle stoppers
- E6000 industrial adhesive and round-nose pliers
- How to Make It:
- Stemware Charms: Open the loop of a wine charm hoop. Slide on a complementary glass bead, thread on a colorful broken earring drop or charm, add another bead, and bend the closure prong at a 90-degree angle using round-nose pliers.
- Bottle Stopper: Sand the flat top of a generic cone bottle stopper. Remove pin backings from an oversized statement brooch or broken ring. Secure the jewel to the top with industrial adhesive and cure for 24 hours.
- Tips and Variations:
- Themed Color Coding: Make a coordinated set of six charms using different colored stones from broken jewelry (e.g., amethyst, sapphire, topaz, ruby, emerald, citrine).
- Tassel Drops: Attach mini suede or metallic thread tassels behind each jewelry charm for extra flair.
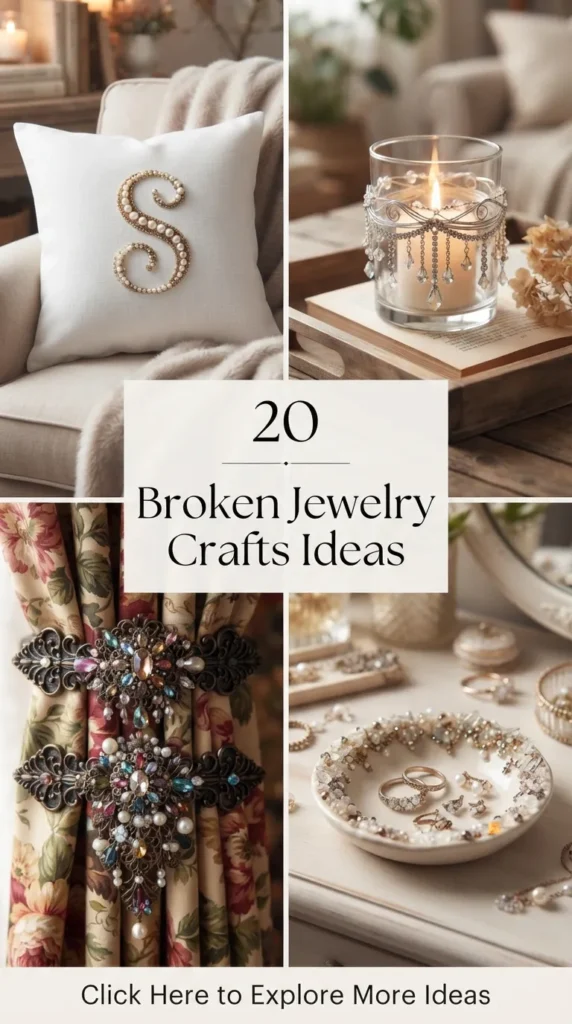
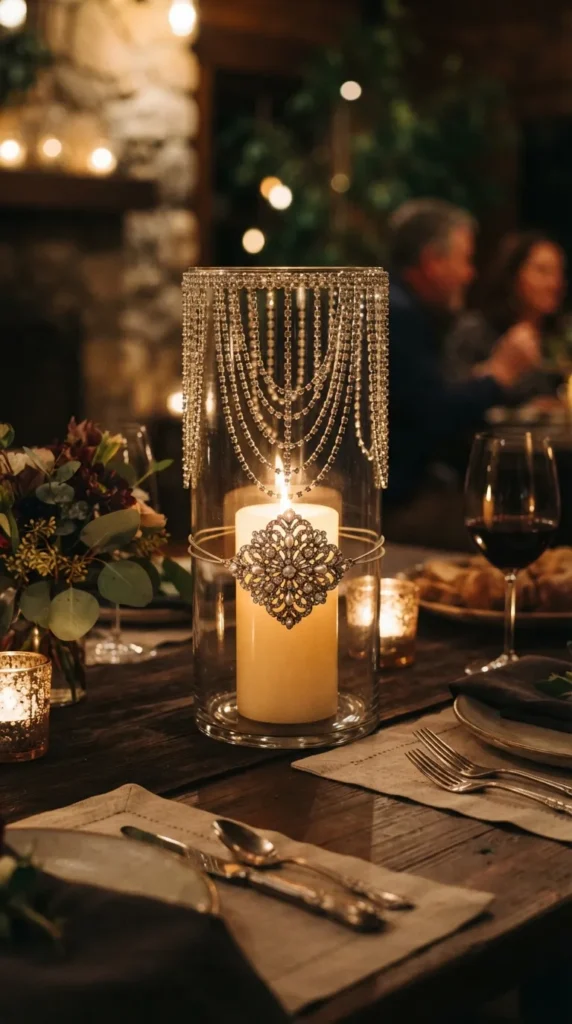
18. Bejeweled Candle Holder / Hurricane Glass
Transform basic glass cylinder vases, hurricane candle lanterns, or glass votives into luminous statement centerpieces with cascading jeweled trims.
- What This Idea Means: Accenting glass candle containers with broken rhinestone chains, pearl strands, and faceted glass brooches that refract glowing candlelight across tabletop settings.
- Materials Needed:
- Glass hurricane candle cylinders or heavy glass votive cups
- Broken rhinestone cup chains, pearl strands, and crystal pins
- High-temperature clear silicone adhesive or glass glue
- Pillar candles or LED flickering flame candles
- How to Make It:
- Clean the exterior surface of the glassware thoroughly using rubbing alcohol.
- Apply a clean line of clear silicone adhesive around the top rim of the hurricane glass.
- Wrap a continuous strand of broken rhinestone chain along the rim, cutting it to size with flush cutters.
- Create cascading vertical drops or swag patterns with thinner chains down the side of the glass, tacking key joints with small dots of clear adhesive.
- Anchor two or three large crystal brooches at the intersection points of the swag chains.
- Allow the adhesive to cure for 48 hours. Insert a pillar candle inside the vessel.
- Tips and Variations:
- Frosted Glass Contrast: Apply frosted glass spray paint to the jar before attaching high-shine rhinestones for a winter-inspired look.
- Floating Candle Bowl: Wrap the base and rim of a wide, shallow glass bowl with pearls and crystals, filling the interior with water and floating wax candles.
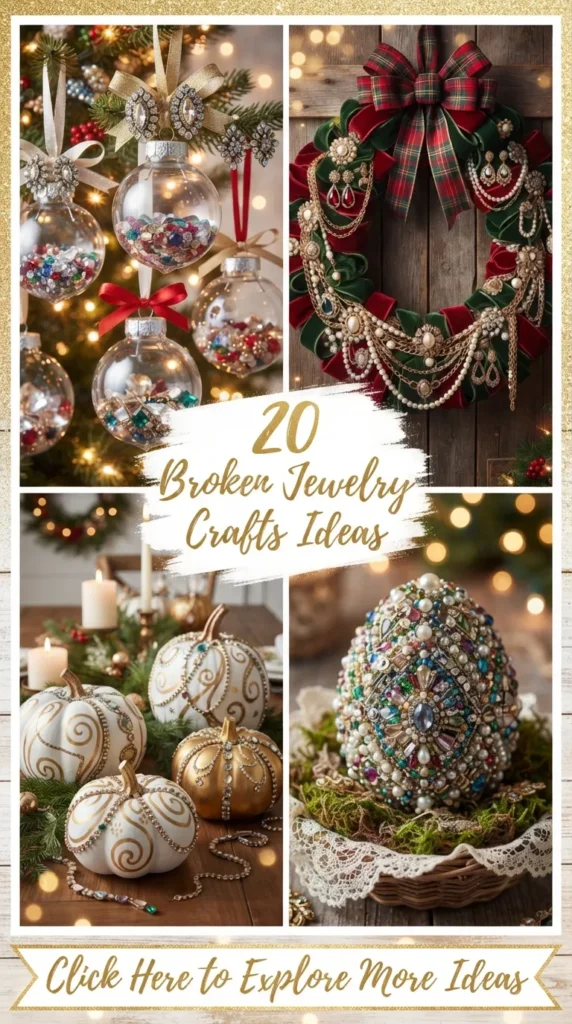
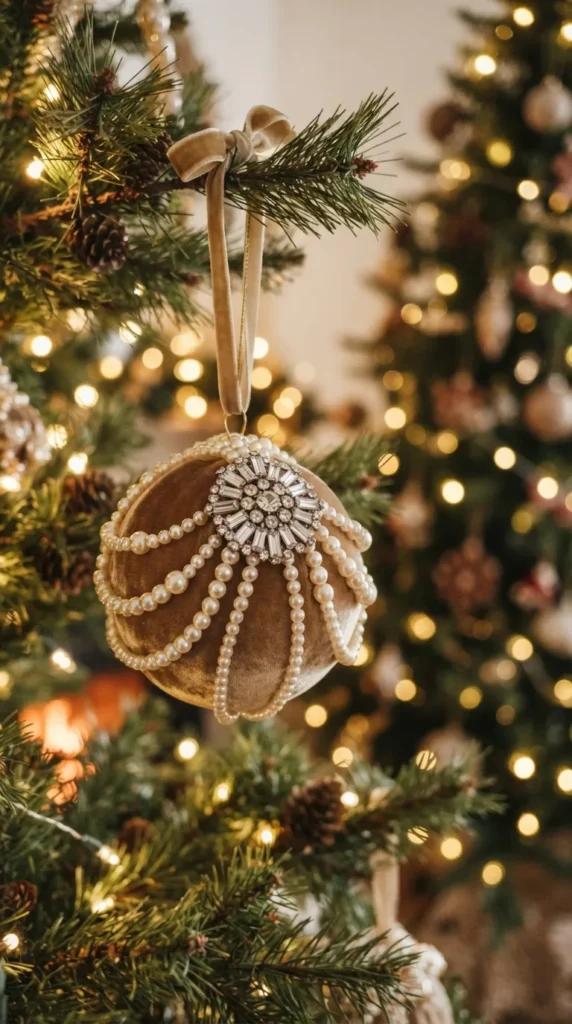
19. Heirloom Jewel Christmas / Holiday Ornaments
Build multi-generational holiday keepsakes by turning vintage brooches, dangling earrings, and broken beaded necklaces into heirloom holiday ornaments.
- What This Idea Means: Converting sentimental jewelry into timeless holiday ornaments—from crystal-encrusted velvet baubles to filigree starburst tree toppers.
- Materials Needed:
- Smooth foam spheres, velvet-wrapped ornament blanks, or clear glass bulbs
- Assorted broken jewelry: brooches, chandelier earrings, pearl necklaces
- Pearl-headed dressmaker pins or clear industrial glue
- Silk or velvet ribbon for hanging loops
- How to Make It:
- If using a foam or velvet-covered ball: Cut broken pearl necklaces into manageable 6-inch to 8-inch strands.
- Swag the pearl strands around the ornament, securing them at regular intervals by pushing pearl-headed pins through the chain links directly into the foam.
- Snip the clasps off large, sparkly broken brooches and mount them as focal medallions on the front and back of the ornament.
- Tuck smaller crystal studs and single earrings into any open gaps between the swags.
- Secure a folded velvet ribbon hanging loop to the top of the ornament with an extra-long pearl pin anchored with a drop of glue.
- Tips and Variations:
- Glass Bulb Interior: Drop loose broken rhinestone cups, pearls, and crystal drops directly inside a clear glass bulb for a floating jewel shaker ornament.
- Filigree Star: Arrange long, pointed chandelier earrings radiating outward around a central brooch to create a sparkling tree-topper star.
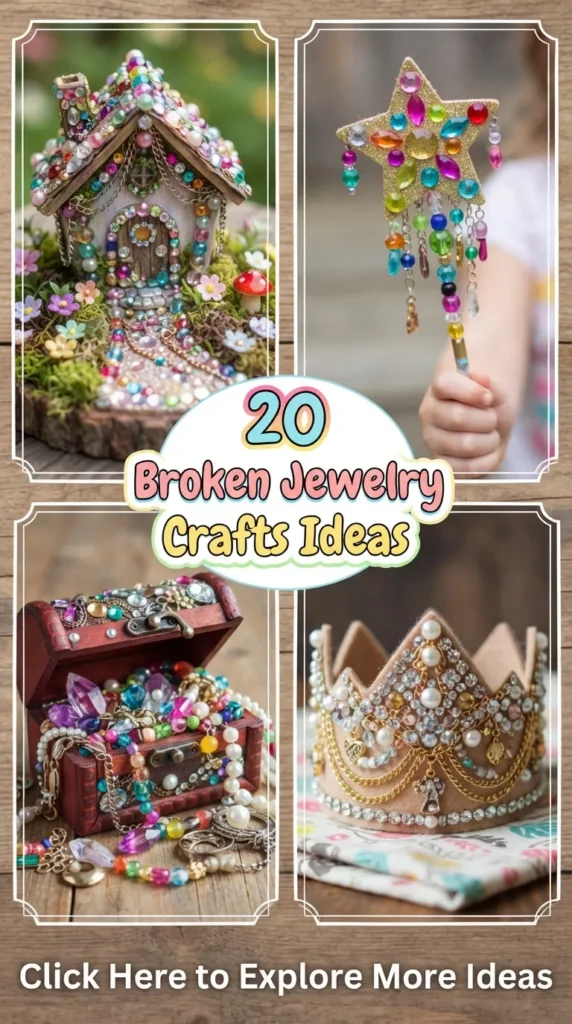
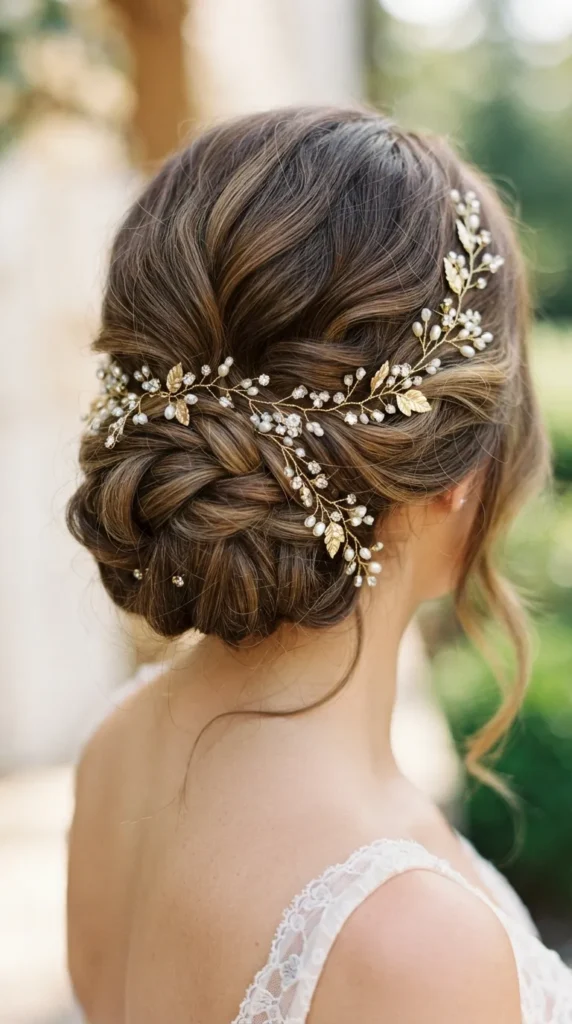
20. Sculptural Wire & Rhinestone Hair Vine / Headpiece
Craft bridal-worthy, bohemian hair vines and headbands using flexible jewelry wire woven with broken crystal settings, single pearls, and metal floral findings.
- What This Idea Means: A flexible, organic hair piece that can be woven through updos, half-up twists, or crowns, built from broken jewelry fragments and bendable craft wire.
- Materials Needed:
- 22-gauge and 26-gauge silver, gold, or rose-gold craft wire
- Assorted small broken jewelry fragments: single earrings, loose rhinestones in settings, small metal leaves, faux pearls
- Wire cutters and chain-nose pliers
- Bobby pins or ribbon ties for anchoring
- How to Make It:
- Cut a 36-inch length of 22-gauge wire to serve as the flexible spine of the vine. Fold it in half to create a small anchoring loop at one end.
- Cut a 24-inch piece of finer 26-gauge wire and wrap it several times around the base loop to anchor it.
- Thread a broken earring or pearl onto the thin wire, slide it down within 1/2 inch of the main spine, and twist the wire back on itself to create a delicate branch.
- Continue down the spine, adding broken rhinestone settings, leaf findings, and crystal beads on staggered side branches.
- Twist the main wires together between branches to maintain a natural vine look.
- Form a matching anchor loop at the far terminal end, snip excess wire, and tuck in any sharp ends with pliers.
- Tips and Variations:
- Rigid Headband Base: Instead of a flexible vine, wire the jewel branches directly across a plain metal arch headband.
- Asymmetric Comb: Anchor the entire jeweled wire structure onto a metal hair comb blank for an off-center accent to a chignon or bun.