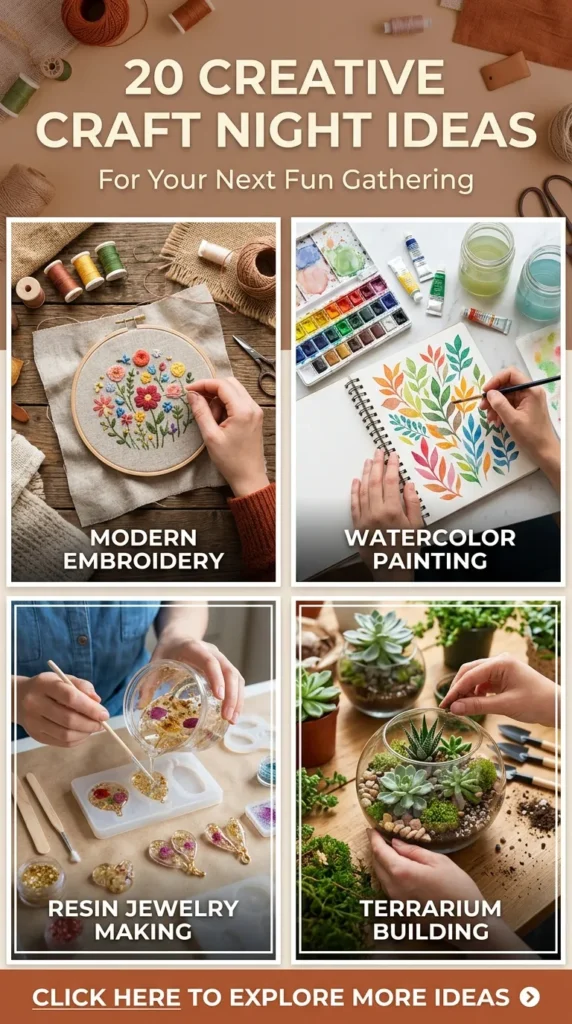
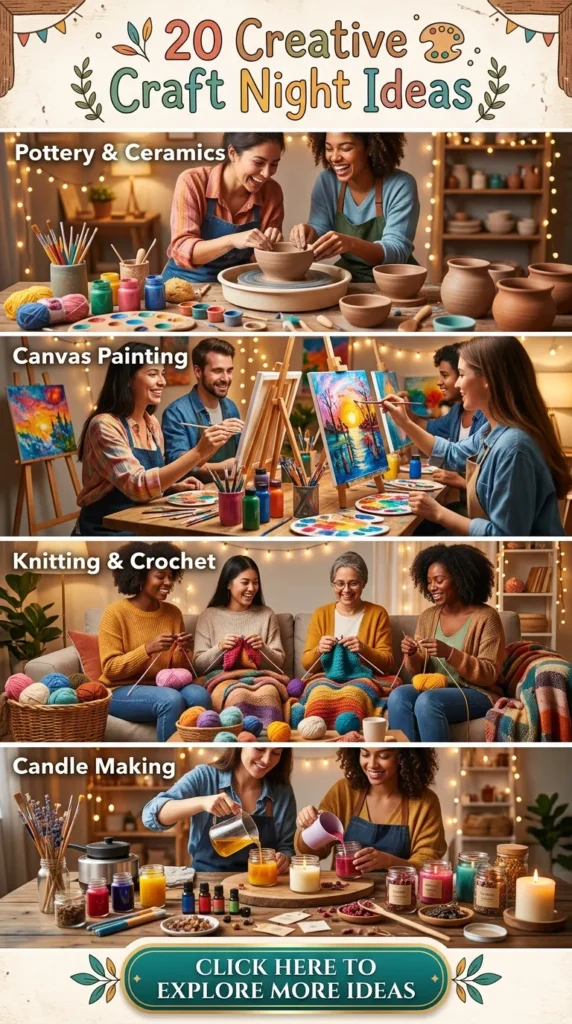
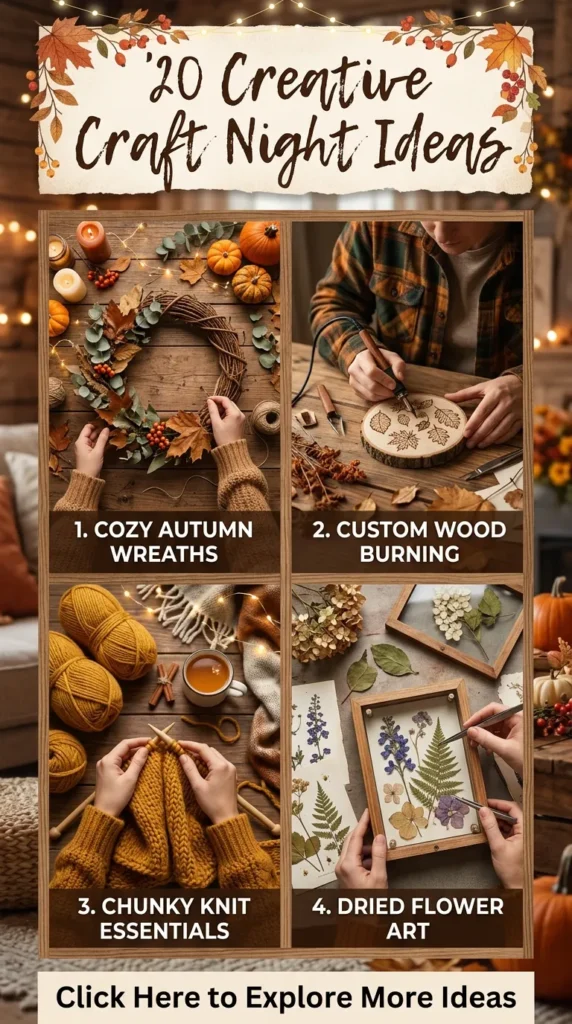
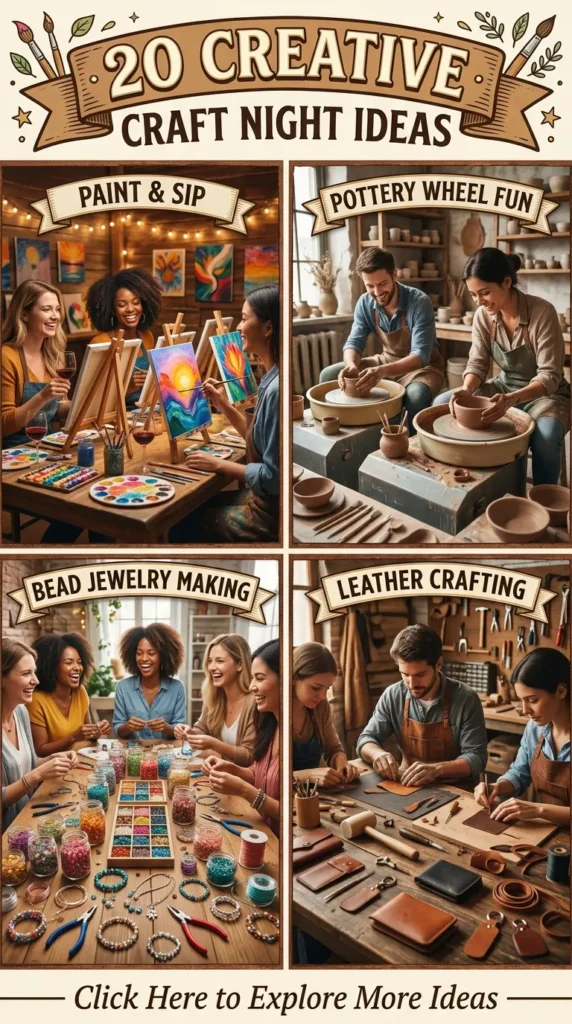
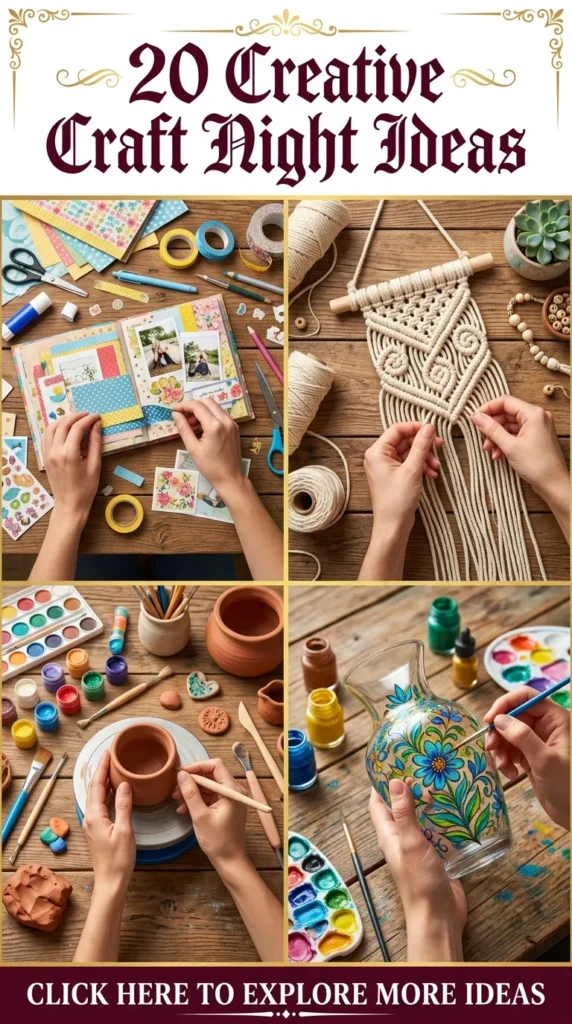
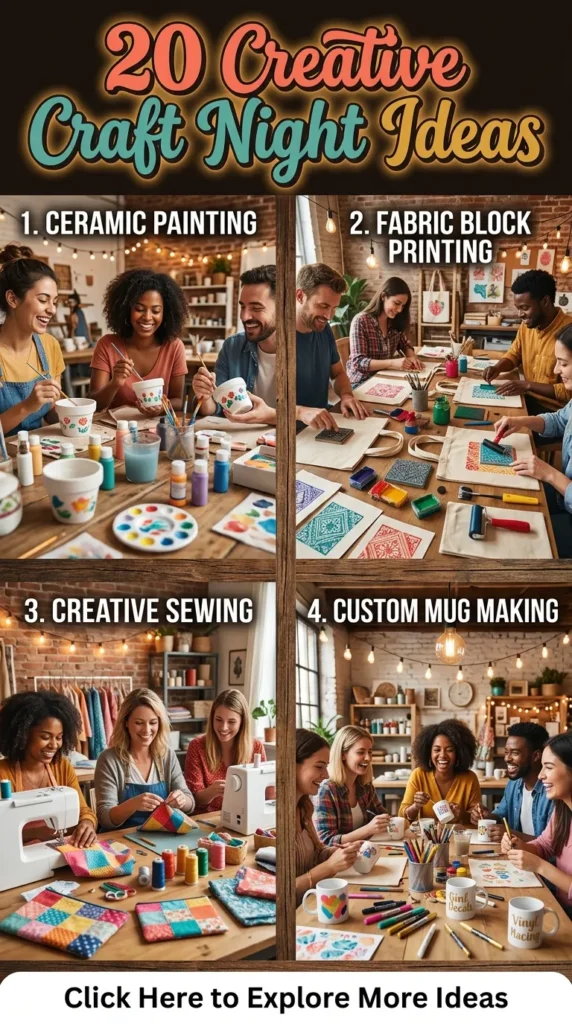
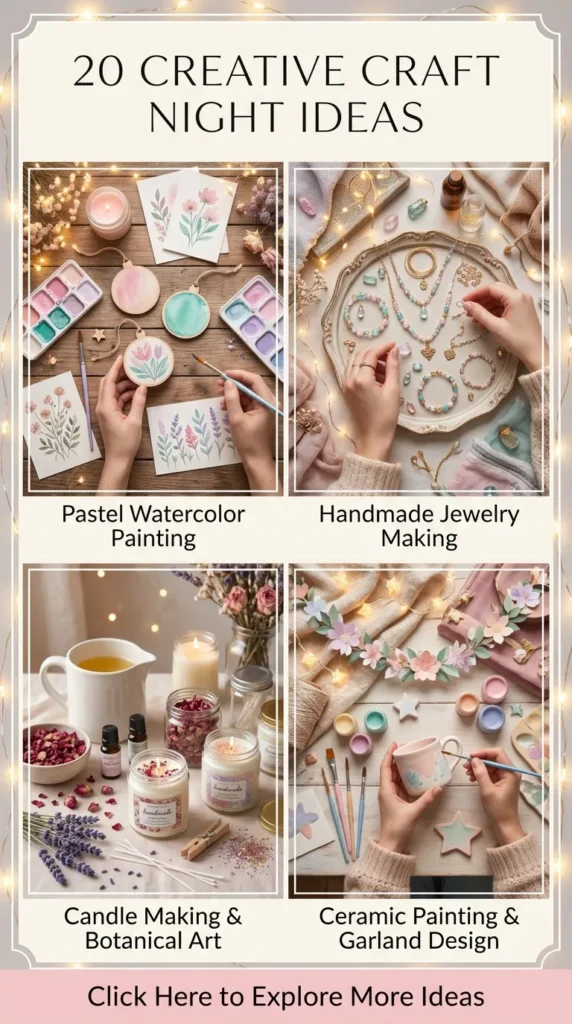
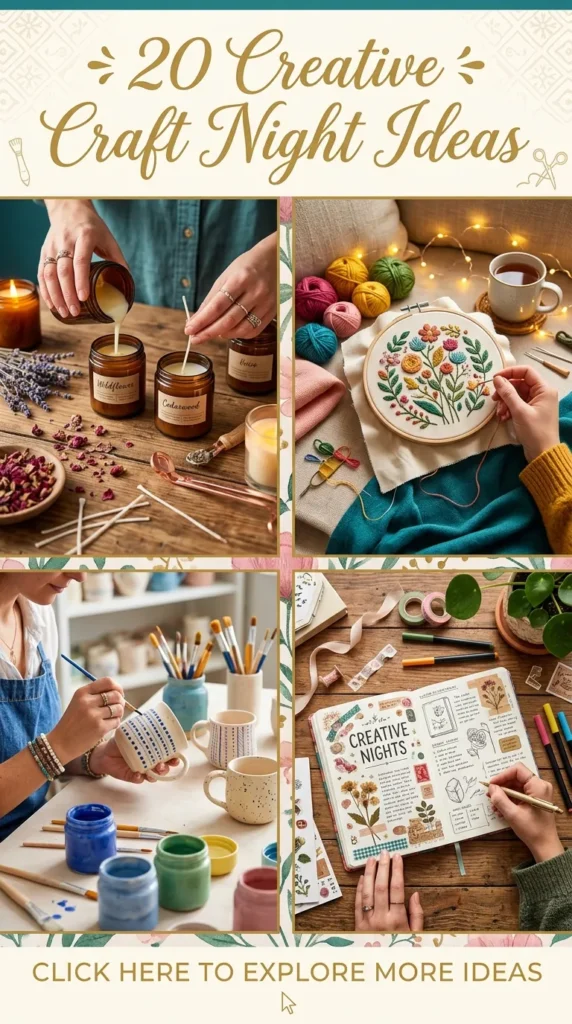
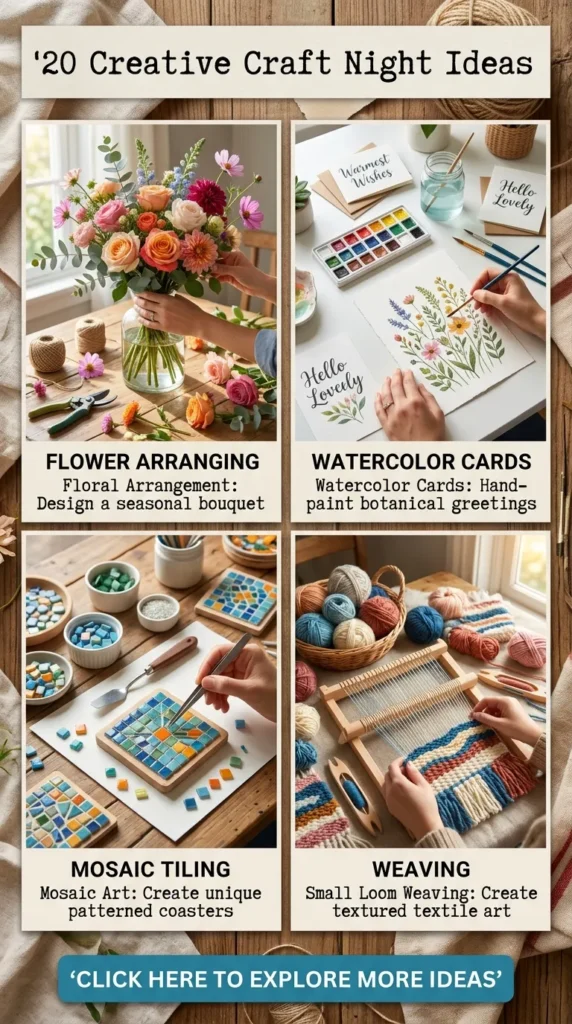
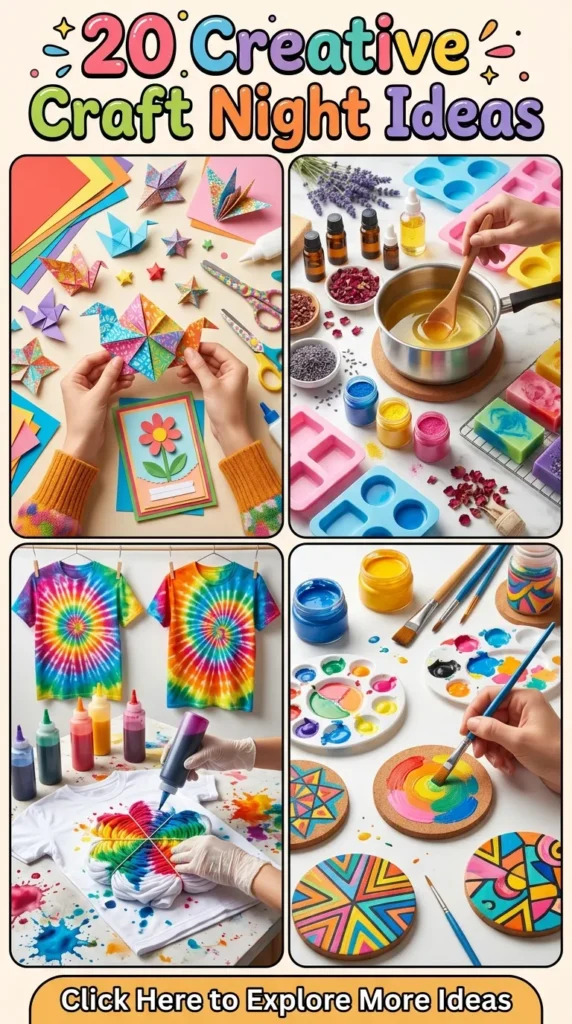
Gathering friends, family, or partners for a dedicated craft night is one of the most rewarding ways to unwind, reconnect with tactile creativity, and create beautiful objects for the home. Whether hosting an intimate evening or planning a larger community workshop, thoughtful DIY projects allow everyone to explore artistic expressions while taking home a personalized keepsake. Below are twenty sophisticated, highly aesthetic craft night ideas designed to inspire makers of all skill levels.
1. Hand-Poured Botanical Soy Candles
What This Idea Means
Botanical soy candles combine natural wax, custom essential oil blends, and dried florals to create eco-friendly, highly aesthetic home fragrance pieces. Unlike mass-produced alternatives, hand-poured candles can be fully customized with real botanicals like rose petals, lavender sprigs, and dried citrus, bringing a soft, organic beauty to any interior setting.
How to Make It
- Set up a double boiler on low heat and melt natural soy wax flakes until fully liquefied (around 185°F / 85°C).
- Prepare clean glass jars or vintage ceramic pots by securing a cotton or wooden wick to the bottom using a wick sticker or hot glue.
- Remove the melted wax from heat, allow it to cool slightly, and stir in your choice of essential oils (such as eucalyptus, vanilla, or cedarwood) for 2 minutes.
- Carefully pour the wax into each container, leaving half an inch of space at the top.
- As the wax begins to set and skin forms on the surface, delicately place dried botanicals along the top edges using tweezers.
- Let the candles cure undisturbed for 24 to 48 hours before trimming the wick to one-quarter inch.
Tips and Variations
- Tip: Avoid placing botanicals too close to the cotton wick to prevent burning dried leaves when lit.
- Variation: Swap traditional glass containers for thrifted teacups, marble bowls, or concrete pots to add distinct textures to your room decor.
What You Need
- Soy wax flakes
- Cotton or wooden wicks with wick holders
- High-quality essential oils
- Pressed dried flowers, herbs, and citrus slices
- Heat-proof glass jars or ceramic containers
- Double boiler and thermometer
- Tweezers and stirring spoons
2. Sculptural Polymer Clay Jewelry
What This Idea Means
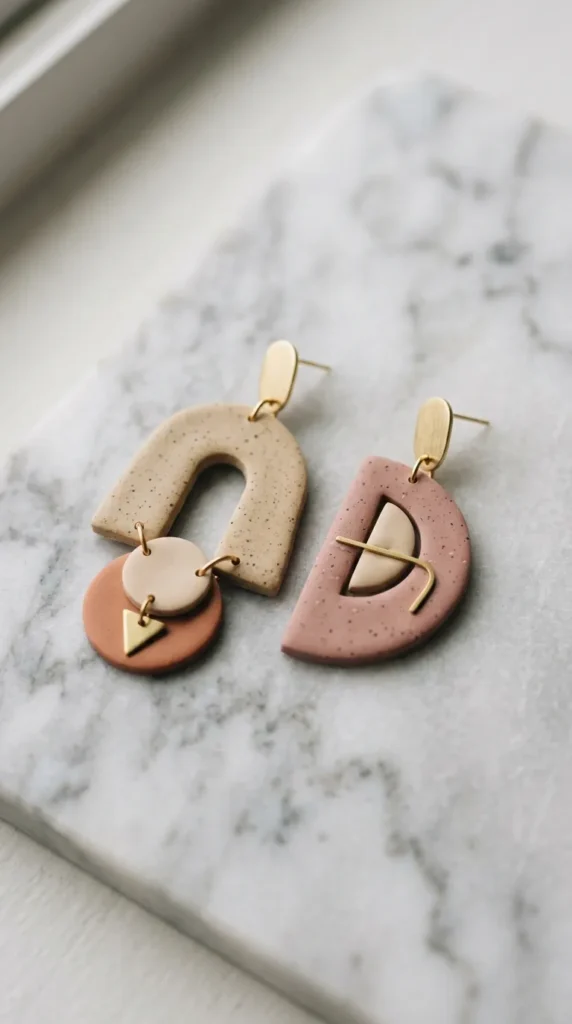
Sculptural polymer clay jewelry allows crafters to transform pliable oven-bake clay into modern, wearable art pieces like arch earrings, abstract pendants, and minimalist hair clips. The material is lightweight, remarkably durable, and accepts custom color mixing effortlessly.

How to Make It
- Condition polymer clay by rolling and kneading it until soft and pliable.
- Blend custom shades by mixing primary colors or adding white to create muted pastel tones.
- Roll the clay out evenly to a thickness of approximately 2 to 3 millimeters using an acrylic roller.
- Cut shapes using mini geometric clay cutters, arch shapes, or razor blades for organic freehand lines.
- Add subtle texture using rubber stamps, terrazzo clay flakes, or textured canvas pressed into the surface.
- Use a needle tool or toothpick to punch clean holes for jump rings before baking.
- Bake in a conventional oven according to the clay manufacturer’s instructions (typically 275°F / 135°C for 15–30 minutes).
- Once cooled, assemble the clay pieces using jump rings and attach surgical steel earring posts with craft glue.
Tips and Variations
- Tip: Rub a small amount of rubbing alcohol over unbaked clay with a cotton swab to eliminate dust specks and fingerprints.
- Variation: Create terrazzo patterns by dropping micro-sized bits of contrasting clay onto a base sheet before flattening.
What You Need
- Polymer clay in aesthetic neutral and pastel shades
- Acrylic clay roller and tile work surface
- Geometric clay cutters
- Jewelry findings (jump rings, earring posts, backings)
- Jewelry pliers
- Craft glue or UV resin
3. Pressed Flower Glass Frames
What This Idea Means
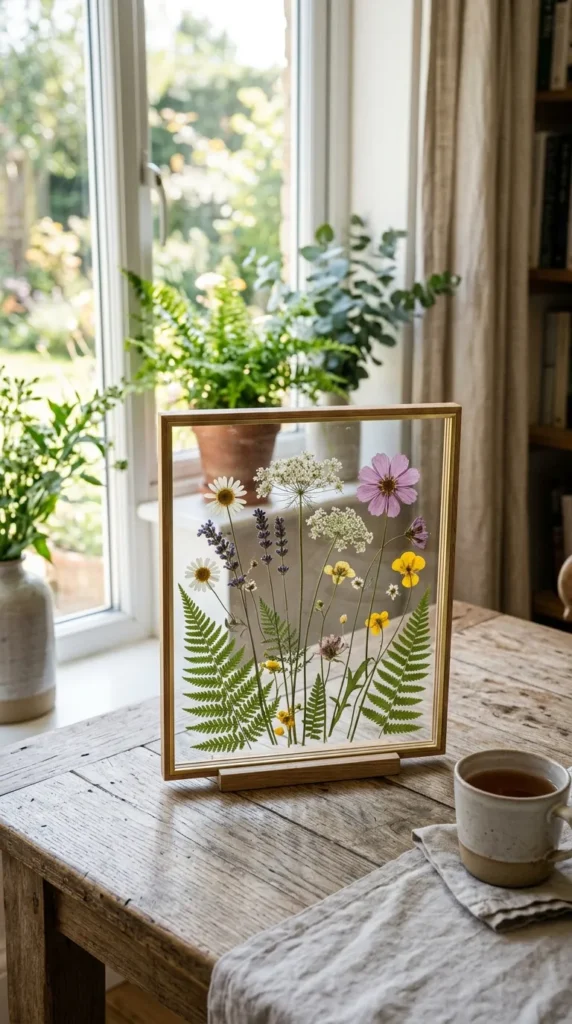
Pressed flower glass art captures delicate botanical specimens between clear panels of floating glass. This project turns garden blooms, delicate leaves, and wild grasses into timeless wall art or tabletop displays that capture natural light beautifully.
How to Make It
- Collect flowers and foliage, ensuring they are entirely dry and free of surface moisture.
- Flatten botanicals inside a heavy flower press or between parchment paper inside large books for 1 to 2 weeks.
- Open a double-glass float frame and thoroughly clean the interior glass surfaces with lint-free cloth.
- Use fine tweezers to arrange the flattened blooms on the bottom glass panel into balanced compositions or minimalist arrangements.
- Place microscopic dots of clear-drying craft adhesive under key stem points to lock the layout in place.
- Gently lower the top glass layer, close the frame latch, and display near light sources.
Tips and Variations
- Tip: Choose naturally flat flowers like pansies, ferns, delicate cosmos, and queen anne’s lace for seamless results between glass layers.
- Variation: Arrange flowers into specific silhouettes, such as crescents, monograms, or geometric borders.
What You Need
- Floating double-glass picture frames
- Fully dried and pressed botanicals
- Tweezers
- Clear quick-drying craft glue
- Microfiber cloth and glass cleaner
4. Modern Textured Canvas Art
What This Idea Means
Textured canvas art utilizes plaster, spackle, or joint compound applied onto stretched canvas to produce tactile 3D artwork. Popularized by modern minimalist interior design, this project focuses on form, shadow, and simple geometric lines rather than complex color painting.

How to Make It
- Lay down canvas drop cloths and secure a blank, stretched canvas on a flat tabletop.
- Scoop premixed lightweight joint compound or plaster onto the center of the canvas using a putty knife.
- Spread the compound across the entire surface to a thickness of 1/8 to 1/4 inch.
- Drag notched trowels, clay combs, or palette knives across the wet plaster to carve sweeping arches, parallel lines, or wave formations.
- Allow the canvas to air dry completely for 24 hours until hard and bright white.
- Option to leave the raw white texture or apply a coat of matte acrylic paint in muted warm beige, sage green, or deep terracottas.
Tips and Variations
- Tip: Work efficiently before the joint compound develops a top skin, which usually takes about 15 to 20 minutes.
- Variation: Mix fine sand or marble dust directly into the plaster for an authentic stone-like feel.
What You Need
- Stretched cotton canvas (any desired size)
- Lightweight joint compound or plaster
- Palette knives, notched trowels, and plastic combs
- Matte acrylic paint and wide paintbrushes
- Drop cloth and painter’s tape
5. Air-Dry Clay Trinket Dishes
What This Idea Means
Air-dry clay trinket dishes offer the elegance of classic pottery without needing access to a high-heat kiln. Crafters mold scalloped bowls, ring holders, and irregular organic trays that add charm to bedside tables, entryway consoles, or vanity tops.

How to Make It
- Roll out a lump of air-dry clay on parchment paper to a uniform thickness of 1/4 inch.
- Cut out shapes using a ceramic bowl template, cookie cutters, or a craft knife for organic forms.
- Drape the cut clay disc gently inside a glass bowl or over an inverted dish to form raised, curved edges.
- Smooth any tiny cracks or surface rough spots using a slightly damp sponge or wet fingertips.
- Allow the dishes to dry completely at room temperature for 24 to 48 hours, flipping once halfway through.
- Sand edges smooth using fine-grit sandpaper, then paint delicate designs, gold leaf rim accents, or solid neutral tones.
- Seal with a varnish or high-gloss sealer to guard against light moisture.
Tips and Variations
- Tip: Avoid over-wetting air-dry clay during modeling, as excess water creates hairline cracks during drying.
- Variation: Press lace fabrics, fresh monstera leaves, or textured stamp blocks into the wet clay surface prior to drying.
What You Need
- Non-toxic air-dry clay
- Acrylic rolling pin
- Fine-grit sandpaper
- Acrylic craft paints and fine brushes
- Clear varnish or clay sealer
- Damp sponge and shaping tools
6. Hand-Woven Chunky Knit Blankets
What This Idea Means
Chunky knit blankets are crafted using extra-thick chenille yarn and an easy hand-knitting (arm-knitting) technique. Requiring no needles, this cozy craft night idea results in ultra-plush, heavy lap throw blankets that elevate bedroom and living room decor.
How to Make It
- Measure out a base chain on a long work table by making a series of initial loop chains with chunky chenille yarn (typically 24 to 30 loops wide for a lap blanket).
- Working left to right, pull a loop of working yarn through each existing loop, keeping each new loop around 2 inches tall.
- Reverse direction, working right to left, repeating the loop-pulling process along the top edge.
- Maintain uniform loop heights throughout the project to ensure clean, square stitches.
- Continue back and forth until reaching the desired blanket length.
- Cast off by pulling two loops together, feeding the working yarn through, and weaving the final loose tail end back into the knit body.
Tips and Variations
- Tip: Keep loop sizes consistent by checking with two fingers across every row; oversized loops lead to uneven edges.
- Variation: Use color-blocking techniques by switching yarn skeins halfway through to create contrasting minimalist blocks.
What You Need
- 4 to 6 skeins of jumbo chenille yarn (7mm or thicker)
- Large flat workspace (floor or wide table)
- Scissors
7. Terrazzo Coasters with Jesmonite
What This Idea Means
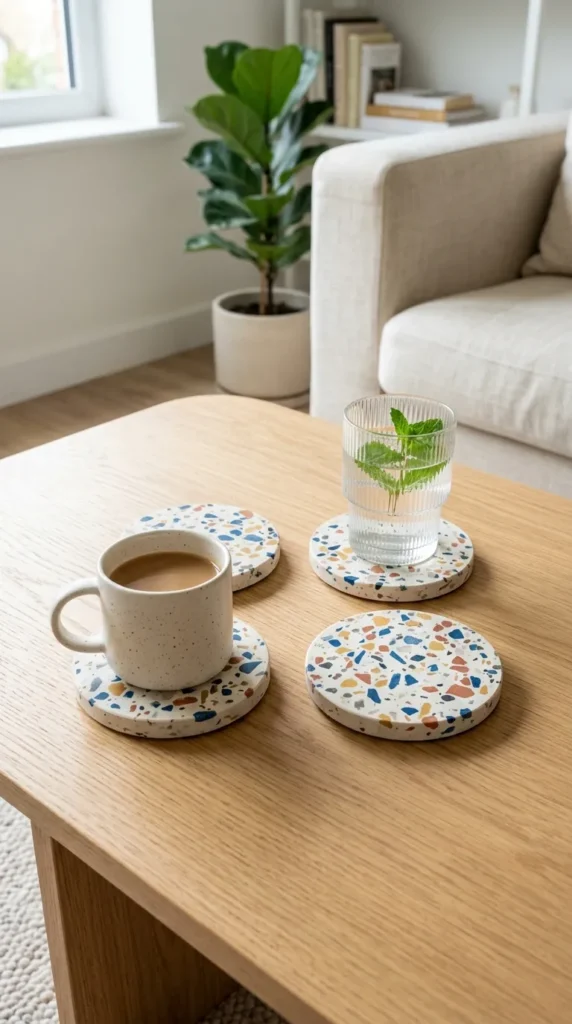
Jesmonite or eco-resin terrazzo coasters bring a bold, Mediterranean stone aesthetic to tabletop surfaces. Creators combine liquid acrylic resin with mineral powders, adding crushed colorful chips to achieve iconic mosaic-style composite stone coasters.
How to Make It
- Prepare colorful terrazzo chips ahead of time by spreading thin layers of colored Jesmonite mix onto plastic sheets, letting them harden, and crushing them into small flakes.
- Mix the primary Jesmonite liquid and base powder according to the exact product weight ratios in a mixing cup.
- Stir in your prepared colored terrazzo chips until distributed evenly.
- Pour the liquid mixture into silicone coaster molds, tapping the sides firmly to release trapped air bubbles.
- Let the material cure for 30 to 45 minutes until set and warm to the touch.
- De-mold the coasters and sand the surfaces under running water with progressively finer sandpaper (from 120-grit up to 600-grit) to expose the embedded colorful chips.
- Wipe dry and coat with a food-safe wax sealer.
Tips and Variations
- Tip: Wet-sanding is essential to keep dust down while quickly uncovering the hidden terrazzo chips beneath the top layer.
- Variation: Integrate metallic gold leaf pieces alongside crushed chips for an elevated look.
What You Need
- Jesmonite AC100 starter kit (or eco-resin alternative)
- Pigment pastes
- Silicone coaster molds (round or hexagonal)
- Waterproof sandpaper sheets (120, 240, 400, 600 grit)
- Sealer wax and microfiber cloth



8. Custom Painted Ceramic Mugs
What This Idea Means
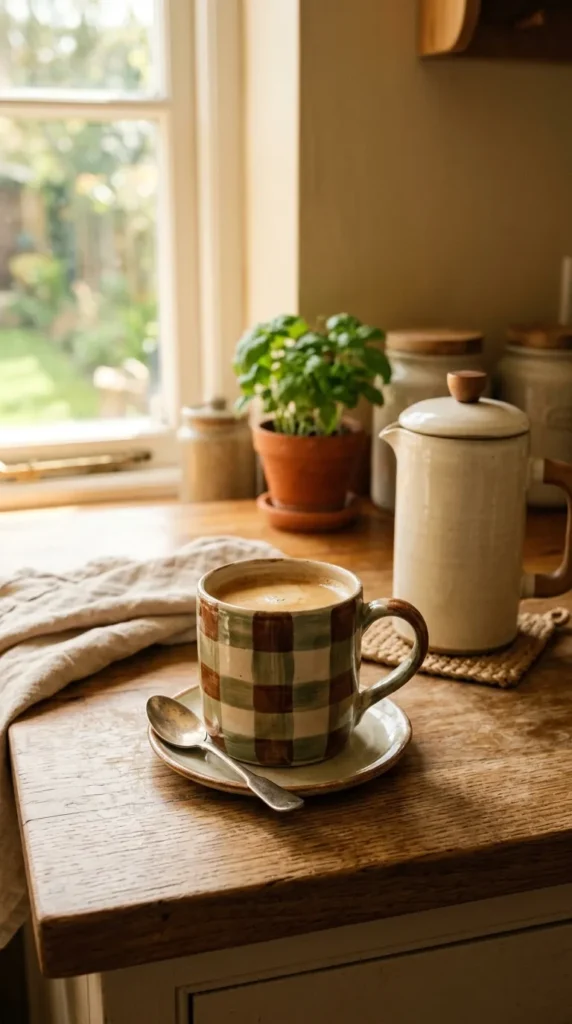
Custom painted ceramic mugs turn plain white stoneware into unique tableware pieces. Using ceramic-specific oil paints or porcelain paint pens, crafters add hand-drawn check patterns, line art, arched motifs, or botanical illustrations that cure permanently when baked.
How to Make It
- Clean plain stoneware or ceramic mugs thoroughly with rubbing alcohol to clear grease, oils, and dust.
- Plan out your illustration on paper or draw light guidelines directly onto the mug using an erasable graphite pencil.
- Apply porcelain paint markers or oil-based ceramic paint using fine-detail brushes.
- Correct small paint mistakes immediately using a cotton swab dipped in rubbing alcohol.
- Allow the painted design to air-dry for 24 hours.
- Place the mugs into a cold home oven, heat to 300°F (150°C), and bake for 35 minutes to set the paint permanently.
- Turn off the oven and allow mugs to cool completely inside before removing.
Tips and Variations
- Tip: Keep paint designs at least half an inch below the top outer rim of the mug where lips make contact.
- Variation: Paint subtle interior lip details or decorate the handles with contrasting stripe motifs.
What You Need
- Plain white or light neutral ceramic mugs
- Bakeable porcelain paint markers or ceramic paints
- Rubbing alcohol and cotton swabs
- Fine paintbrushes
- Oven
9. Modern Dried Flower Wreaths
What This Idea Means
Modern dried flower wreaths swap full, round floral displays for minimalist brass hoops accented with delicate preserved botanicals. These long-lasting decorative pieces fit beautifully on gallery walls, front doors, or mantel displays.
How to Make It
- Select a thin brass hoop or solid wooden embroidery hoop base (10 to 14 inches in diameter).
- Trim dried flowers, ornamental grasses, and seed pods into mini bundle arrangements measuring 3 to 5 inches long.
- Layer mini floral bundles along one lower side of the ring, creating an asymmetrical design.
- Secure each bundle tightly to the hoop using fine floral wire, overlapping new stems over previous wire wraps to hide the mechanics.
- Cover the visible central wire connection point with a focal element, such as a large dried bloom, cotton boll, or an elegant velvet ribbon bow.
Tips and Variations
- Tip: Work in one directional flow, starting from the upper left side down toward the center, then repeating from the top right down to meet in the middle.
- Variation: Incorporate dried eucalyptus, pampas grass, baby’s breath, and preserved palm spears for distinct boho textures.
What You Need
- Brass or wooden ring craft hoops
- Assorted dried stems (eucalyptus, bunny tails, wheat, strawflowers)
- Green or gold floral wire
- Wire cutters
- Silk or velvet ribbon
10. Dip-Dye Dip Dip Linen Napkins
What This Idea Means
Dip-dye cloth napkins bring bespoke ombré coloring to modern tablescapes. Using fiber-reactive dyes on natural cotton or linen, makers transform plain white table linens into gradient artwork pieces perfect for dinner parties.
How to Make It
- Wash natural linen or cotton napkins thoroughly to remove sizing treatments, leaving them damp.
- Prepare a textile dye bath according to package instructions using warm water, liquid dye, and non-iodized salt.
- Dip three-quarters of a damp napkin into the dye bath for 30 seconds.
- Lift the napkin slightly, leaving two-thirds submerged for another 2 minutes.
- Lift higher, leaving only the bottom 2 inches submerged for 5 to 10 minutes to form a deep, rich gradient edge.
- Remove from the dye bath, rinse thoroughly in cold running water until water runs clear, and wash with mild detergent.
- Iron while slightly damp to smooth out wrinkles and set the color visually.
Tips and Variations
- Tip: Use 100% natural plant fibers (linen, cotton, hemp) because synthetic fibers will not absorb fiber-reactive dyes effectively.
- Variation: Try Japanese Shibori folding techniques by binding wooden blocks with rubber bands to create geometric resist prints before dipping.
What You Need
- 100% linen or cotton plain white napkins
- Fiber-reactive fabric dye
- Large plastic bucket or stainless steel sink
- Rubber gloves and stirring stick
- Salt and fixative (soda ash)
11. Sculptural Taper Candles
What This Idea Means
Sculptural taper candles add a playful, artistic accent to dining room tables. By softening standard paraffin or beeswax taper candles in warm water, crafters can twist, bend, and flatten them into trendy spiral, serpentine, or double-ended arches.
How to Make It
- Fill a tall container or tray with warm water (110°F to 120°F / 43°C to 49°C)—avoid boiling water, which melts wax completely.
- Submerge plain paraffin taper candles in the warm water for 10 to 15 minutes until pliable.
- Remove a candle and gently flatten the middle section using an acrylic roller or smooth bottle, keeping the ends round.
- Carefully twist the flattened section into spirals or bend the entire candle into an arch shape.
- Hold the candle in its new shape and plunge it into a bath of cold ice water for 2 minutes to freeze the shape.
Tips and Variations
- Tip: Ensure candles contain paraffin or wax blends designed for flexibility; 100% soy tapers tend to snap rather than bend.
- Variation: Join two softened tapers at the base to build a double-wicked arch candle layout.
What You Need
- Standard paraffin taper candles (various colors)
- Deep tray or pitcher for warm water
- Rolling pin or flat board
- Bowl of ice water
- Thermometer
12. Embroidered Botanical Tote Bags
What This Idea Means
Embroidered canvas tote bags combine simple needlework stitches with functional everyday accessories. Decorating cotton bags with minimalist line-art flowers, foliage, or inspirational text crafts a stylish bag suited for market trips and casual outings.
How to Make It
- Draw or transfer a simple botanical design onto the front of a canvas tote bag using a water-soluble fabric marker.
- Secure the canvas area inside a 6 to 8 inch wooden embroidery hoop, pulling the fabric taut like a drum.
- Thread an embroidery needle with three strands of cotton embroidery floss, knotting the end.
- Stitches like the backstitch work best for stem lines, French knots for flower centers, and satin stitch for solid leaves.
- Continue stitching along the drawn guidelines until the design is complete.
- Remove the hoop and gently dab the fabric with a damp cloth to wash away remaining blue marker lines.
Tips and Variations
- Tip: Keep stitch lengths uniform along tight curves to maintain smooth line art contours.
- Variation: Stitch onto canvas caps, apron pockets, or denim jacket lapels using the same process.
What You Need
- Plain cotton canvas tote bags
- Wooden embroidery hoop
- Embroidery floss in selected shades
- Embroidery needles and thread snips
- Water-soluble fabric marker
13. Glass-Etched Decorative Decanters
What This Idea Means
Glass etching uses chemical etching cream to transform smooth glass carafes, decanters, and wine glasses into frosted glass masterpieces. This technique yields a permanent, dishwasher-safe finish with clean, frosted line contrast.
How to Make It
- Clean the outer glass decanter surface with glass cleaner or rubbing alcohol.
- Apply self-adhesive vinyl stencils or cut custom shapes with painter’s tape, pressing down firmly to remove air bubbles.
- Put on protective rubber gloves and apply a thick, even layer of glass etching cream over the exposed stencil areas using a synthetic paintbrush.
- Let the etching cream react for 5 to 10 minutes according to product directions.
- Wash the decanter thoroughly under warm running water to remove all etching cream before removing the vinyl stencil.
- Peel off vinyl stencils to reveal crisp, frosted glass patterns against the clear glass background.
Tips and Variations
- Tip: Ensure vinyl edges are sealed tightly against the glass to prevent etching cream from bleeding underneath lines.
- Variation: Etch custom monograms, arch silhouettes, or grid patterns onto glassware sets.
What You Need
- Glass decanters, carafes, or glass tumblers
- Glass etching cream
- Adhesive vinyl stencils or painter’s tape
- Synthetic paintbrush
- Protective rubber gloves and safety glasses
14. Hand-Carved Block Print Cards
What This Idea Means
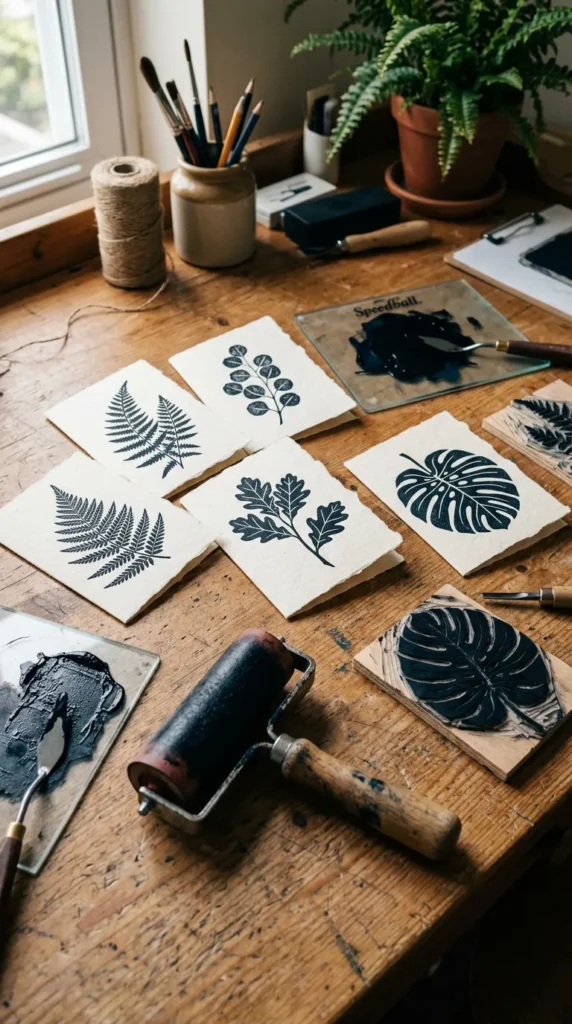
Block printing involves carving designs into soft linoleum or rubber blocks, applying ink, and stamping the images onto paper goods. Crafters create bespoke stationery, greeting cards, and art prints featuring repeating geometric or organic patterns.
How to Make It
- Draw a original design onto tracing paper using a soft graphite pencil.
- Flip the paper over onto a soft rubber carving block and rub firmly to transfer the pencil ink image in reverse.
- Use a lino-cutter fitted with a small V-shaped blade to carve away the background, leaving the main design lines raised.
- Squeeze block printing ink onto an inking plate and roll a rubber brayer through it until thinly and evenly coated.
- Roll the inked brayer over the carved rubber block surface.
- Press the inked block firmly onto heavy cardstock, apply even pressure across the back, and lift cleanly away.
Tips and Variations
- Tip: Always carve away from your hands and fingers to maintain safety while using sharp lino blades.
- Variation: Stamp prints onto linen tea towels or cotton fabric using specialized fabric block printing inks.
What You Need
- Soft rubber carving blocks
- Lino-cutting tool with interchangeable blades
- Block printing ink (water-based)
- Rubber brayer (roller)
- Blank cardstock notes and envelopes



15. Macramé Plant Hangers
What This Idea Means
Macramé plant hangers return to boho-chic roots, converting simple cotton cord into woven plant displays using basic knotting techniques. Suspending house plants frees up surface space while bringing cascading greenery into window alcoves.
How to Make It
- Cut eight equal lengths of 4mm cotton macramé cord (approximately 10 to 12 feet each).
- Gather all cords through a wooden ring, fold in half, and secure with a gathering knot at the top.
- Divide cords into four groups of four cords each.
- Tie a series of square knots or spiral half-knots along each group to craft decorative vertical knot columns.
- Leave an open gap of 6 to 10 inches, then join adjacent cords using alternating square knots to form a mesh basket structure.
- Gather all cords together below the basket mesh and secure tightly with a solid finishing wrap knot.
- Trim trailing bottom cord tassels to equal lengths and brush out ends with a fine comb.
Tips and Variations
- Tip: Hang the wooden top ring on an S-hook attached to a rack while working so you can check symmetry as you knot.
- Variation: Add wooden geometric beads onto selected cords before tying square knots for extra visual detail.
What You Need
- 4mm twisted or braided cotton macramé cord
- Wooden rings or brass loops
- Wooden accent beads with wide holes
- Fabric shears and measuring tape
- Fine-tooth comb
16. Hand-Poured Concrete Planters
What This Idea Means
Concrete planters bring industrial flair and modern textures to home plant styling. By mixing quick-setting concrete and pouring it into nested outer and inner mold containers, crafters produce structural geometric pots for succulents and cacti.
How to Make It
- Lightly coat the inside of a large outer mold (e.g., plastic tub) and outside of an inner mold (e.g., plastic cup) with cooking oil spray as a release agent.
- Mix quick-setting concrete powder with water in a bucket until it reaches a thick pancake batter consistency.
- Fill the outer plastic mold two-thirds full with the mixed concrete.
- Press the smaller inner plastic mold down into the concrete center to form the hollow planting cavity, anchoring it down with small rocks so it does not float up.
- Tap the sides of the outer mold repeatedly for 2 minutes to bring trapped air bubbles up to the surface.
- Allow the concrete to set for 24 hours until fully hard and cool.
- Carefully pull out the inner cup and pop off the outer mold. Sand down rough edges with medium-grit sandpaper.
Tips and Variations
- Tip: Drill a small drainage hole in the bottom using a masonry drill bit after curing to keep real succulents healthy.
- Variation: Paint bottom halves with metallic gold or pastel color blocking using painter’s tape for clean contrast.
What You Need
- Quick-setting concrete mix
- Plastic outer and inner molds (recycled plastic bottles or tubs)
- Water and bucket stirrer
- Cooking spray or mineral oil
- Sandpaper and safety mask
17. Abstract Paper Papier-Mâché Vases
What This Idea Means
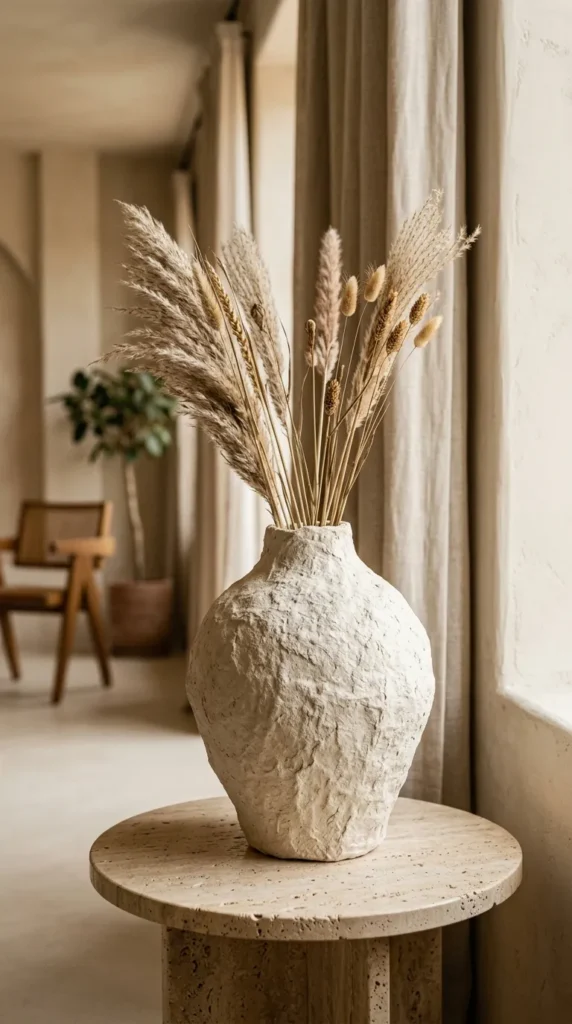
Papier-mâché art uses paper pulp or layered paper strips combined with adhesive paste to construct sculptural, organic vessels. Once dried, these lightweight vases function as stunning decorative holders for dried floral arrangements.
How to Make It
- Create a base vase form using a glass bottle, cardboard tubing, or taped balloon assemblies.
- Mix equal parts flour and water (or craft glue and water) to build a smooth papier-mâché paste.
- Tear newspaper or brown kraft paper into small 1-inch strips.
- Dip paper strips into the paste, remove excess liquid with your fingers, and smooth onto the form in overlapping layers.
- Build up 4 to 5 complete layers, letting the vase dry partially between layers for structural integrity.
- Once the entire vessel dries completely solid (24–48 hours), coat with lightweight joint compound for an organic stone texture if desired.
- Paint with matte interior wall paint or chalk paint in soft neutral shades.
Tips and Variations
- Tip: Use torn paper edges rather than scissors-cut edges because torn fibers lay smoother and blend seamlessly.
- Variation: Add sculptural handles, loop rings, or asymmetrical shoulders to the base form before layering paper.
What You Need
- Kraft paper or newspaper
- Flour, water, or PVA craft glue
- Base forms (glass bottles, balloons, cardboard)
- Joint compound (optional for plaster look)
- Matte acrylic or chalk paints
18. Marbled Marble Paper Stationery
What This Idea Means
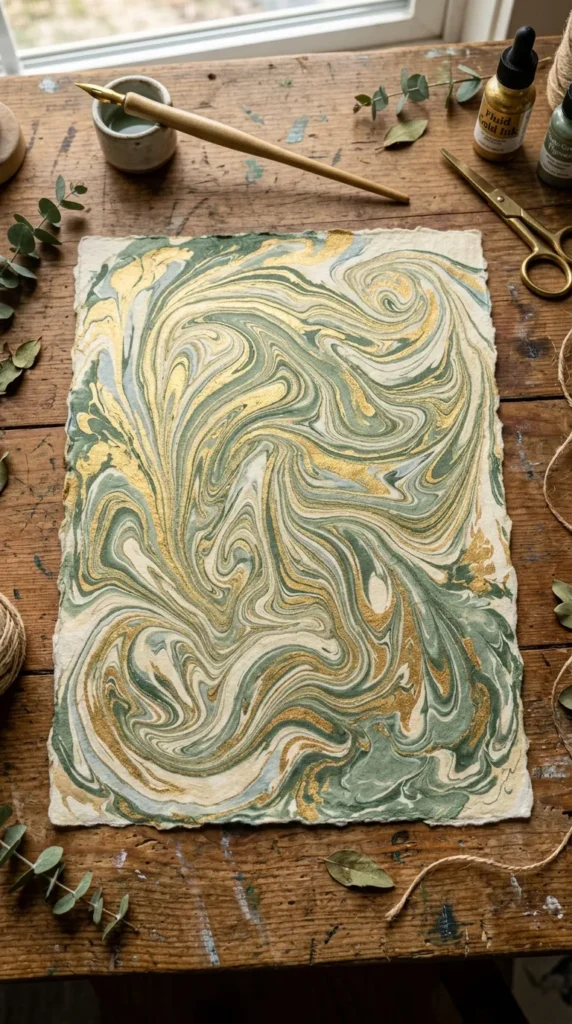
Paper marbling involves floating liquid paints on a gel-like bath surface, swirling the pigments into intricate patterns, and transferring the marble design directly onto paper sheets. Each print produces a unique, fluid paper sheet perfect for custom letters and framed prints.
How to Make It
- Prepare a shallow tray filled with a liquid sizing base made from water and methylcellulose or carrageenan powder.
- Drop specialized marbling acrylic paints onto the surface of the bath liquid using eyedroppers or paintbrushes.
- Watch the paint drops expand across the liquid surface.
- Comb through the floating paint drops using toothpicks, skewers, or wide marbling combs to draw delicate feather, wave, or swirl prints.
- Lower a sheet of treated paper flat onto the fluid surface for 3 to 5 seconds, avoiding trapped air bubbles.
- Carefully lift the paper up by two corners, rinse gently under cold water to remove excess base gel, and lay flat to dry.
Tips and Variations
- Tip: Treat paper with an alum-water solution prior to printing so floating pigments bond securely to paper fibers.
- Variation: Use marbled paper sheets to line book covers, wrap gifts, or cut custom envelope liners.
What You Need
- Shallow marbling tray
- Marbling size (carrageenan or methylcellulose)
- Acrylic marbling colors
- Droppers, combs, and wooden skewers
- High-grade paper sheets (treated with alum)
19. Moss and Gemstone Wall Art
What This Idea Means
Moss and gemstone art combines preserved real mosses, dried bark, and natural raw crystals within framed shadowboxes. This zero-maintenance green wall craft brings vibrant organic landscapes and natural mineral elements into modern home interiors.
How to Make It
- Prepare a deep wooden shadowbox frame, removing the front glass cover.
- Arrange raw crystal specimens (such as amethyst clusters, clear quartz points, or green fluorite) onto the wooden backboard as focal anchor points.
- Secure crystals using hot glue or high-strength epoxy gel.
- Glue patches of preserved mood moss, reindeer moss, and sheet moss around the crystals, completely covering exposed backboard surfaces.
- Nestled small dried twigs, lichen pieces, and preserved fern leaves around moss edges to build depth and natural dimensions.
- Allow glue to cure completely before mounting the lush botanical frame vertically on wall surfaces.
Tips and Variations
- Tip: Use preserved moss instead of live moss; preserved moss maintains rich color and soft textures indefinitely without water or sunlight.
- Variation: Construct specific layouts like topographical maps, crescent moons, or organic geometric splits within the frame.
What You Need
- Wooden shadowbox frames
- Preserved mosses (reindeer, sheet, and mood moss)
- Raw crystal specimens and gemstones
- Hot glue gun and heavy-duty adhesive
- Dried twigs, fern leaves, and bark accents
20. Linen Scented Sachets with Pressed Herbs
What This Idea Means
Linen scented sachets are small, hand-stitched fabric pouches filled with aromatic herbs, lavender, and cedar flakes. Adorned with delicate ribbon ties and pressed botanical prints, these pouches keep drawers, closets, and linen cabinets smelling fresh.
How to Make It
- Cut natural linen fabric into rectangular pieces measuring 4 by 8 inches.
- Fold each piece in half with right sides facing inward, and stitch along two side edges leaving the top open.
- Turn the pouch right side out and press flat using an iron.
- Mix dried lavender buds, cedar chips, and dried rose petals in a mixing bowl with 5 drops of pure essential oil.
- Scoop the aromatic botanical mix into each linen pouch until three-quarters full.
- Fold top raw edges inward and stitch closed using a blind ladder stitch, or tie securely with a silk or velvet ribbon.
- Optional: Stamp or hand-paint subtle botanical line art onto the front linen surface.
Tips and Variations
- Tip: Gently squeeze the filled sachets every few weeks to crush internal herb buds and release fresh essential oils.
- Variation: Attach a small loop ribbon to hang sachets onto coat hangers inside closets or wardrobes.
What You Need
- Natural linen fabric remnants
- Dried lavender, cedar chips, and botanicals
- Essential oils (lavender, cedarwood, bergamot)
- Sewing needle and thread (or sewing machine)
- Silk ribbons and fabric stamps