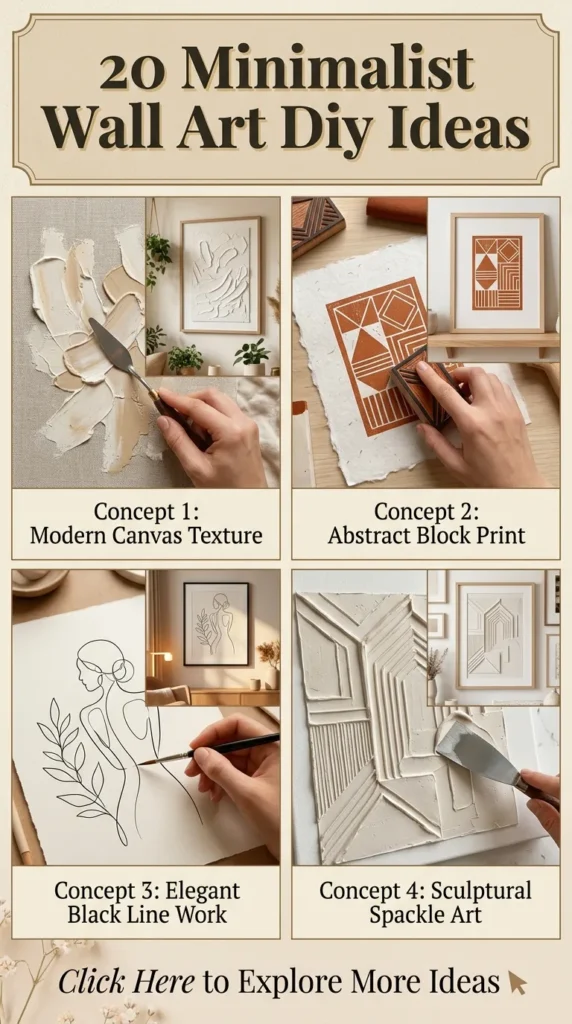
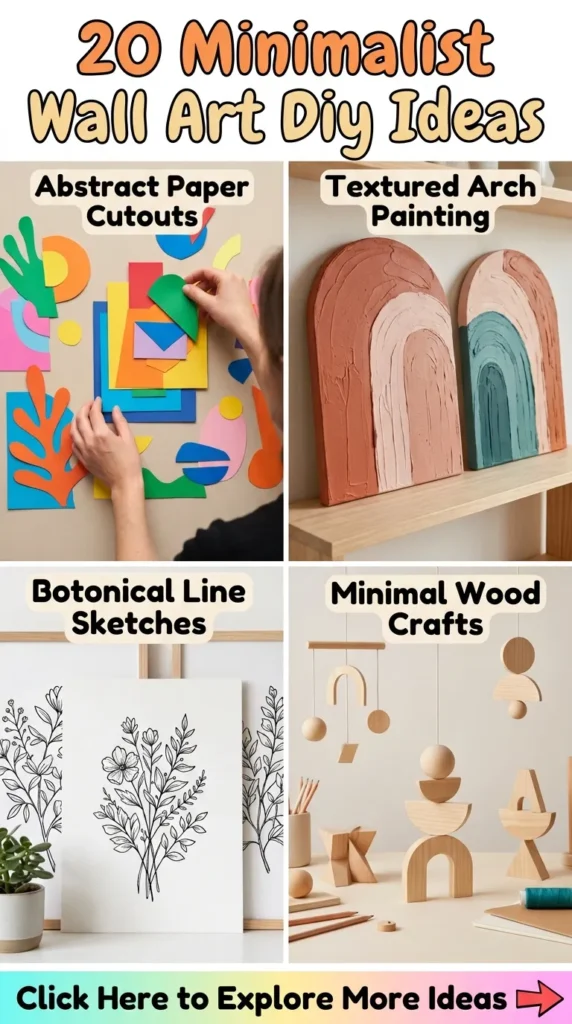
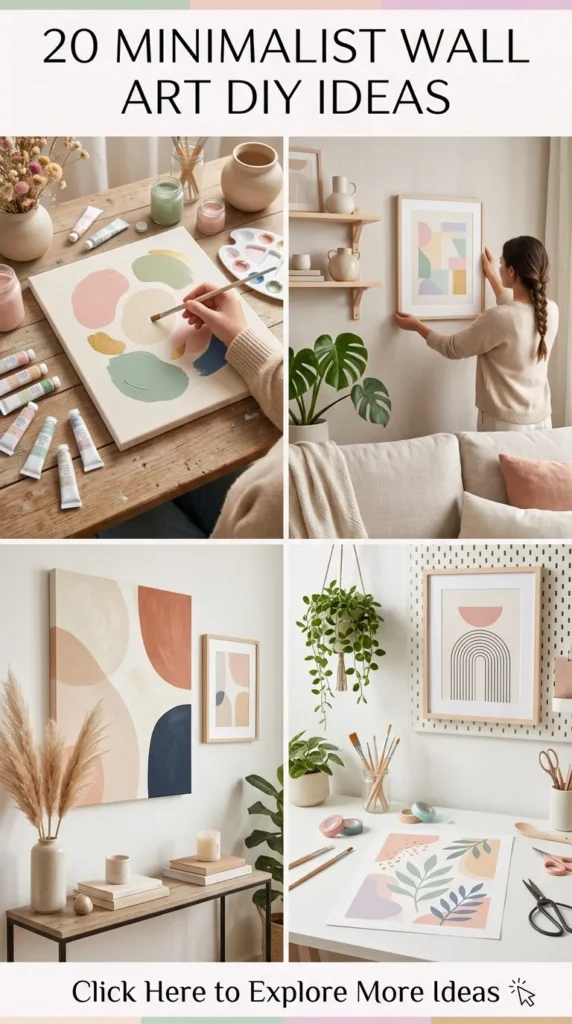
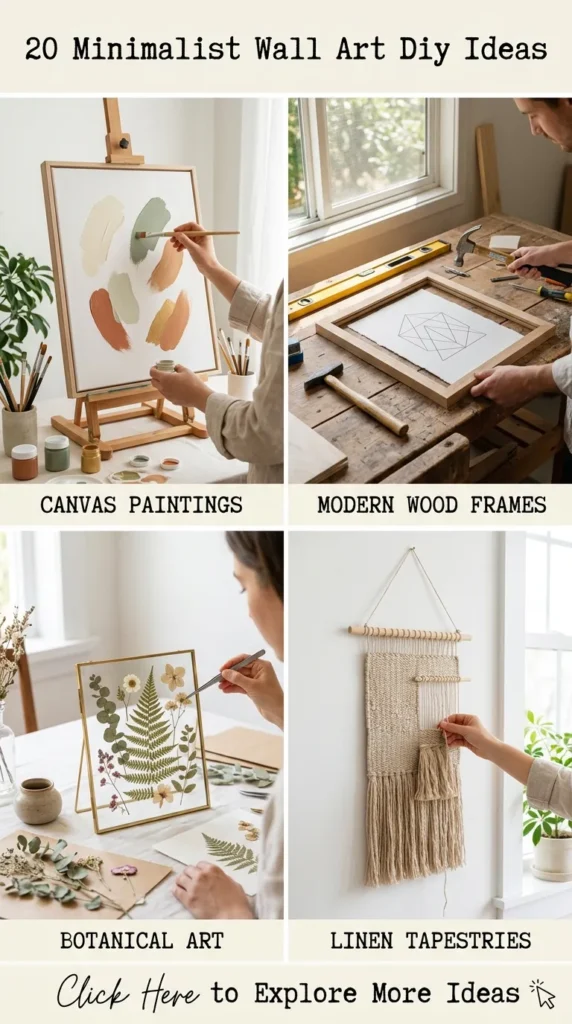
Minimalist wall art centers on clean lines, intentional negative space, subdued color palettes, and texture over clutter. Creating your own minimalist artwork allows you to customize the scale, colors, and textures to match your interior space without spending large amounts of money on mass-produced gallery prints.
Below are 20 DIY minimalist wall art ideas designed to bring quiet elegance, structure, and calm to your home decor.
1. Textured Plaster Canvas
What This Idea Means
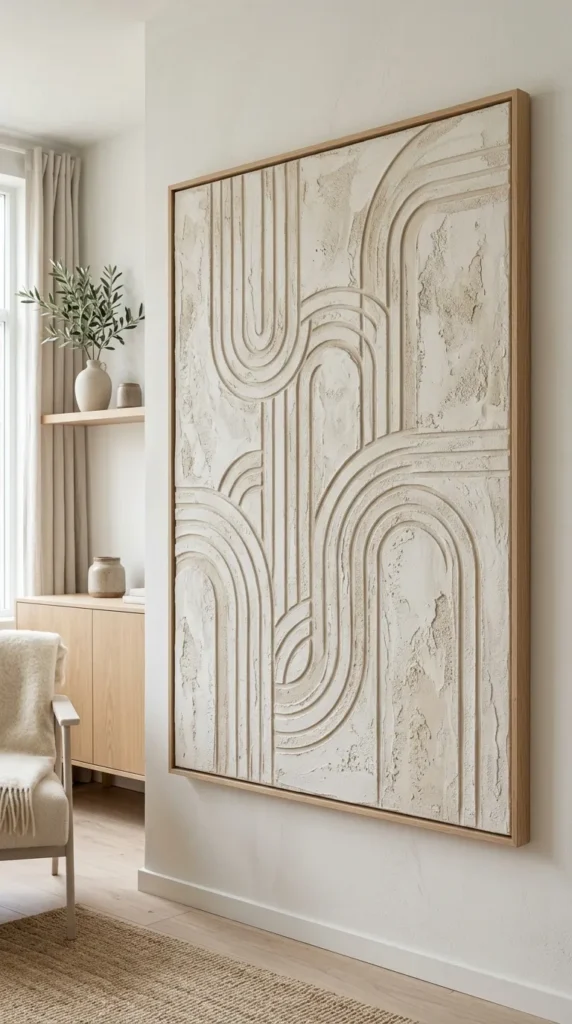
Textured plaster canvas art relies on three-dimensional depth rather than bold colors. By applying joint compound or plaster across a canvas and carving rhythmic lines, waves, or geometric arcs into it, you create an architectural piece that interacts dynamically with natural light and room shadows.
Needs to Make This
- Stretched canvas (any large size)
- Joint compound or spackle
- Putty knife or notched trowel
- Fine-grit sandpaper
- Matte acrylic paint (off-white, beige, or warm grey)
- Paintbrush or roller
How to Make It
- Scoop a generous amount of joint compound onto your canvas.
- Use a putty knife to spread the compound evenly across the surface, aiming for a thickness of roughly 1/8 to 1/4 inch.
- Drag a notched trowel, comb, or your putty knife through the wet plaster in sweeping arcs, vertical stripes, or concentric circles to create deep grooves.
- Allow the plaster to dry completely for 24 to 48 hours.
- Gently sand down any overly sharp peaks with fine-grit sandpaper.
- Seal the entire piece with a coat of matte acrylic paint in a warm neutral shade.
Tips and Variations
- Combine straight vertical lines on one side with sweeping semicircles on the other to create an asymmetrical contrast.
- Leave the plaster unpainted if you prefer a dusty, raw chalk texture, but apply a clear matte sealer to prevent crumbling.
2. Framed Botanical Pressed Sheets
What This Idea Means
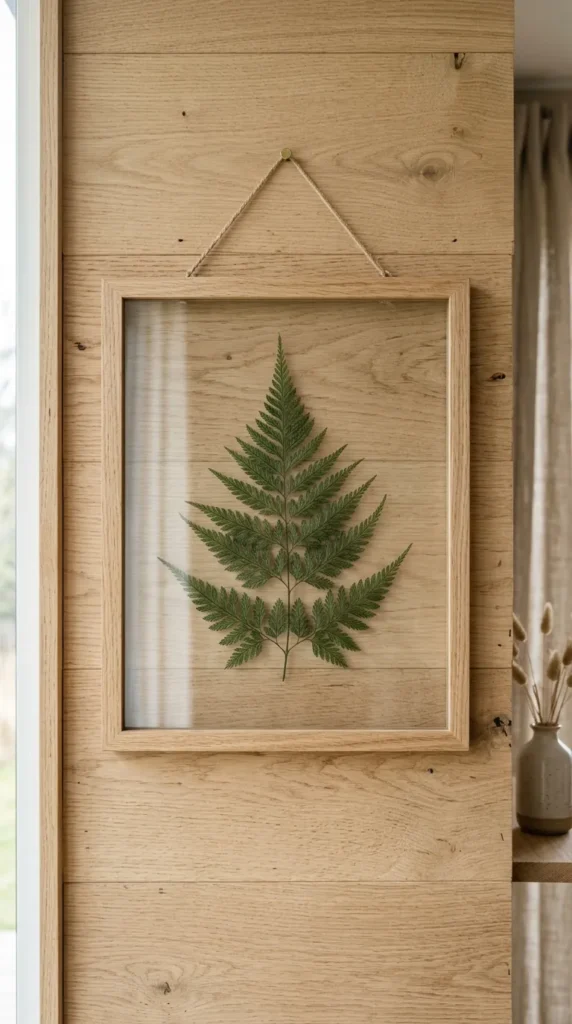
This concept isolates organic forms against clean background slates. Instead of vibrant green stems or colorful petals, this artwork uses dried, pressed leaves with pronounced architectural silhouettes—like monstera, fern fronds, or eucalyptus branches—framed loosely between panels of glass.
Needs to Make This
- Fresh botanical cuttings (ferns, ginkgo, palm fronds)
- Heavy books and parchment paper
- Floating glass frame or minimalist wooden picture frame
- Fine tweezers
- Clear spray sealant (optional)
How to Make It
- Place fresh leaves between sheets of parchment paper and flatten them inside heavy books for two to three weeks until completely dry and flat.
- Carefully transfer the dried leaf using tweezers onto the back panel of a glass frame.
- Center the specimen, ensuring ample negative space surrounds it.
- Secure the top glass sheet over the leaf and lock the frame.
Tips and Variations
- Arrange three identical frames side-by-side in a horizontal grid using different individual stems from the same plant family.
- Lightly spray the dried leaf with gold or black acrylic spray paint before framing for a modern metallic contrast.
3. Geometric Thread and Nail Art
What This Idea Means
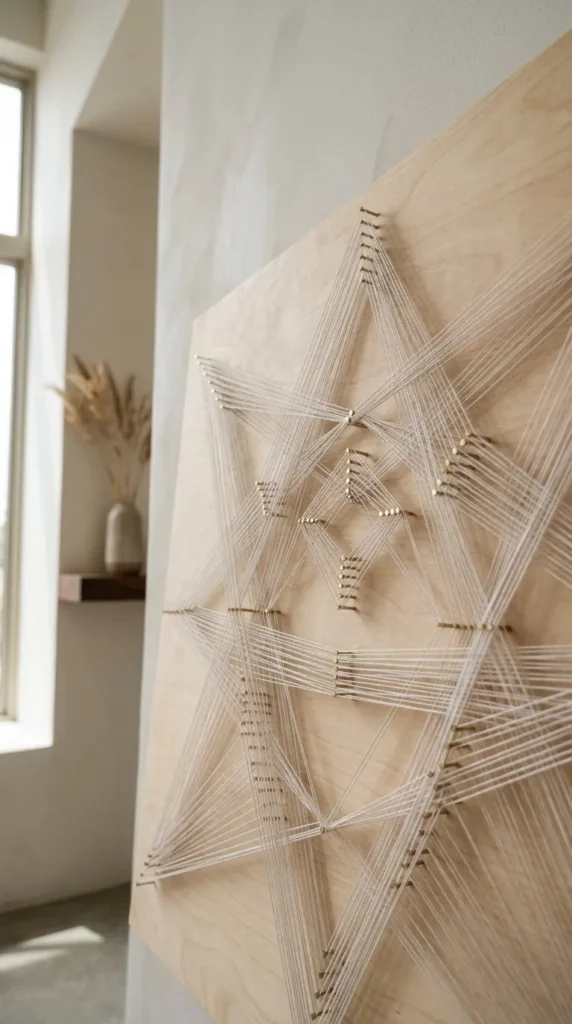
Moving away from classic, intricate string art, minimalist thread art uses sparse, highly calculated geometric lines stretched between tiny finish nails. The result is a clean, structural composition of intersecting straight lines forming subtle curves and sharp angles.
Needs to Make This
- Sanded wooden board or wrapped canvas board
- Small brass or silver finish nails
- Fine embroidery floss or cotton twine (neutral tone)
- Hammer
- Ruler and pencil
How to Make It
- Lightly mark geometric coordinates (such as a triangle, circle, or intersecting squares) on your board using a pencil and ruler.
- Tap nails into the marked points at equal intervals, leaving them raised about half an inch.
- Erase any visible pencil guidelines.
- Tie the thread securely to a corner nail, then string it tightly between specific points to form intersecting geometric patterns.
- Tie off the thread with a discreet knot and trim any excess closely.
Tips and Variations
- Use matte white thread over a raw birch plywood base for a Scandinavian feel.
- Keep the nail density extremely sparse—fewer than 15 total points—to maintain strict minimalist principles.
4. Monochromatic Arch Painting
What This Idea Means
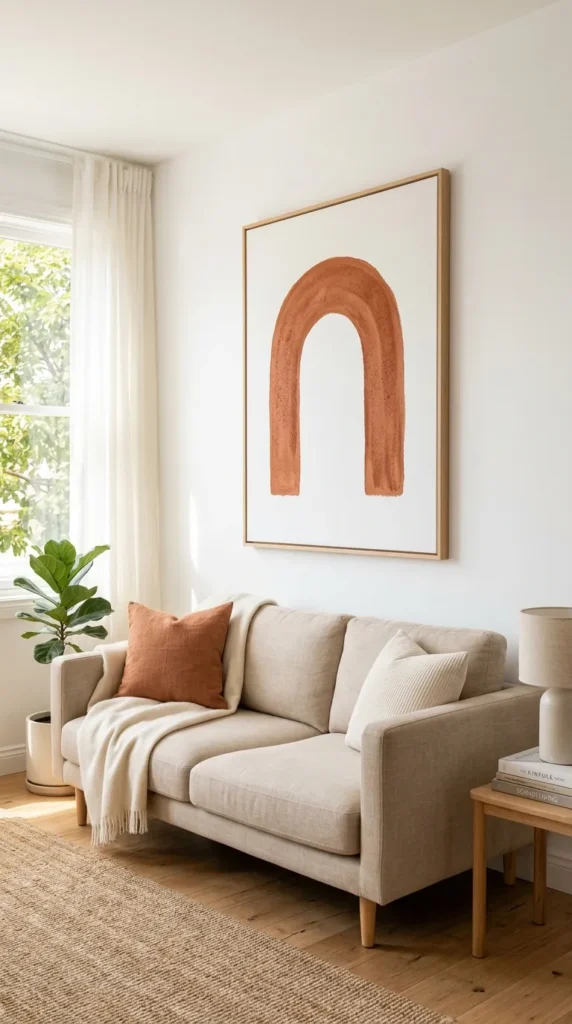
Monochromatic arch art focuses on simple color blocking using curved, geometric shapes in variations of a single color hue. The simplicity of the arch offers a soft, grounding architectural visual without distracting detail.
Needs to Make This
- Blank stretched canvas or framed wood panel
- Two shades of paint from the same color card (e.g., light taupe and deep mocha)
- String and pencil (for drafting the circle)
- Masking tape
- Angular detail paintbrushes
How to Make It
- Paint the entire canvas background in your lighter base color and let it dry.
- Tie a pencil to a string to create a simple compass. Anchor the string at the bottom center of where your arch will sit, pull the string taut, and swing the pencil to draw a perfect semi-circular top.
- Extend straight lines down from the ends of the semi-circle to the base of the canvas using masking tape.
- Carefully fill in the painted arch using your darker paint shade.
- Peel off the painter’s tape while the paint is slightly tacky to achieve crisp edges.
Tips and Variations
- Layer two overlapping arches of different heights and muted colors (such as sage green and dusty terracotta) to add geometric interest.
- Use a matte or chalk finish paint to avoid distracting light glare on the canvas.
5. Abstract Line Art on Linen
What This Idea Means
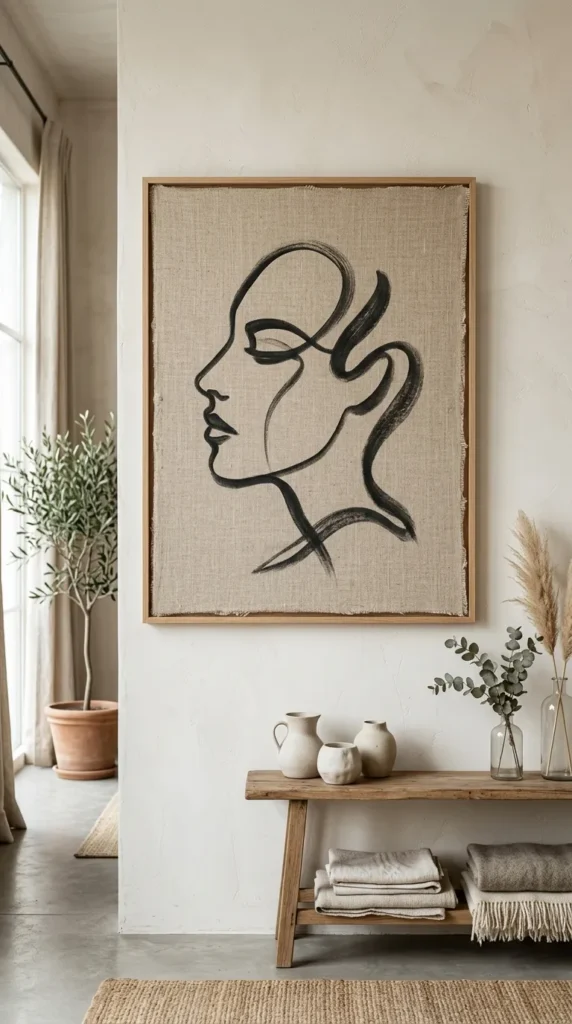
Abstract line drawing focuses on single, continuous brush strokes depicting abstract facial profiles, organic forms, or gestural loops. Placing these simple black or deep brown fluid strokes on raw fabric—like linen or canvas—creates a calm, elevated gallery aesthetic.
Needs to Make This
- Stretched raw linen canvas (or linen stretched over a frame)
- High-viscosity black acrylic paint or fabric ink
- Round detail brush or liner brush
- Chalk or graphite pencil (for light sketching)
How to Make It
- Practice your continuous line sketch on a piece of scrap paper to master fluid movement.
- Lightly trace the basic shape onto the linen using chalk.
- Dip your liner brush into acrylic paint, ensuring smooth paint consistency.
- Paint the continuous line in one smooth, confident movement, varying line thickness slightly to add character.
- Let the paint dry completely, then brush away any remaining chalk marks.
Tips and Variations
- Keep the linen completely unpainted outside the single line to highlight the organic woven texture of the fabric background.
- Use a extra-thin round brush to create fine hairline strokes, or a broad brush for bold, heavy brush strokes.
6. Floating Paper Shadow Box
What This Idea Means
This concept uses clean paper cutouts elevated off a backing board inside a deep shadow box frame. By floating white paper shapes slightly above a matching white background, the artwork is created entirely through cast shadows and soft dimensional relief.
Needs to Make This
- Deep shadow box frame
- Heavyweight cotton watercolor paper or cardstock (300 GSM)
- Precision craft knife and cutting mat
- Adhesive foam spacer dots
- Ruler
How to Make It
- Cut your heavyweight paper into basic geometric forms, such as overlapping circles, rectangles, or gentle teardrop shapes.
- Trim a base sheet of the same paper to fit the back panel of the shadow box frame.
- Attach foam spacer dots to the back of your cut paper shapes.
- Mount the shapes onto the backing sheet, layering them if desired by stacking foam dots for varying depths.
- Assemble the shadow box frame and hang it near a natural light source.
Tips and Variations
- Use a single cut circle offset from the center for pure, ultra-minimalist composition.
- Try textured, handmade paper with deckled (deckle-edge) edges to introduce subtle tactile contrast while remaining monochromatic.
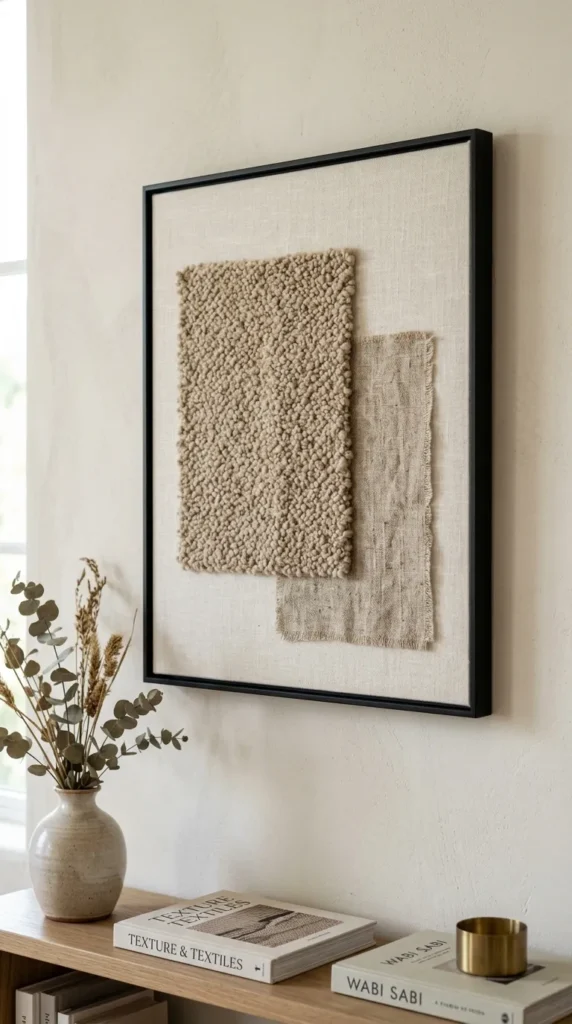
7. Framed Textile and Fabric Swatches
What This Idea Means
Instead of traditional painted canvas, this artwork treats high-quality textured textiles—such as coarse linen, bouclé, raw silk, or handwoven cotton—as art itself. Framed in clean wooden or metal frames, the focus remains on the raw material weave and warmth.
Needs to Make This
- High-texture fabric scraps (bouclé, linen, burlap, or coarse wool)
- Picture frame with an oversized mat board
- Heavy cardstock or mounting board
- Fabric shears
- Double-sided archival tape
How to Make It
- Cut the fabric swatch so that it is slightly larger than the mat board opening.
- Iron the fabric flat, or leave natural subtle folds if texture is preferred.
- Secure the fabric flat onto the mounting board using double-sided archival tape.
- Place the mat board over the fabric and secure everything tightly inside the frame.
Tips and Variations
- Frame a set of three matching frames featuring three distinct textile textures in the exact same color family (e.g., white bouclé, white linen, white cotton).
- Allow the edges of the fabric to fray slightly for an organic, wabi-sabi finish inside a floating frame.
8. Color-Blocked Wood Cutout Art
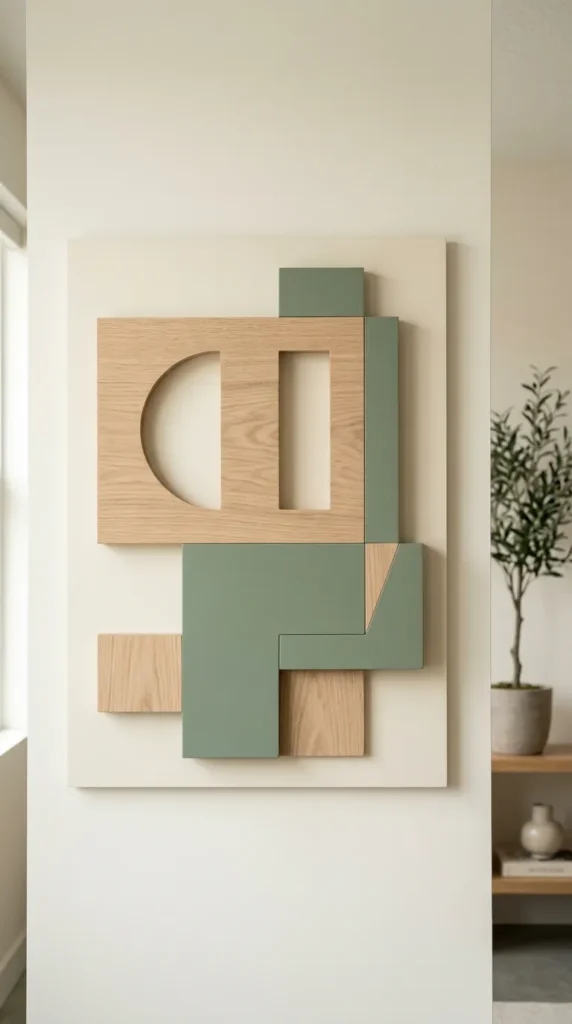
What This Idea Means
Color-blocked wood art uses cut wooden geometric shapes—like half-moons, rectangles, and triangles—painted in neutral shades and arranged on a flat panel. This combines elements of modern carpentry with low-relief graphic design.
Needs to Make This
- Thin birch plywood sheet (base board)
- Pre-cut craft wood shapes or thin balsa wood sheets
- Handsaw or craft knife
- Wood glue
- Sandpaper
- Satin interior paint or wood stains
How to Make It
- Sand all wood edges smooth using medium- to fine-grit sandpaper.
- Paint or stain individual wood shapes in muted tone combinations (e.g., cream, warm gray, natural oak stain).
- Lay out the painted wood shapes on your backing board until you find a balanced, harmonious arrangement.
- Secure each wood piece to the base sheet using wood glue.
- Apply weight over the pieces while drying to ensure a flat bond.
Tips and Variations
- Leave half of the shapes stained with clear wood finish to showcase natural grain, painting only the remaining pieces in solid matte neutrals.
- Keep the arrangement off-center with plenty of negative space on the backing board.
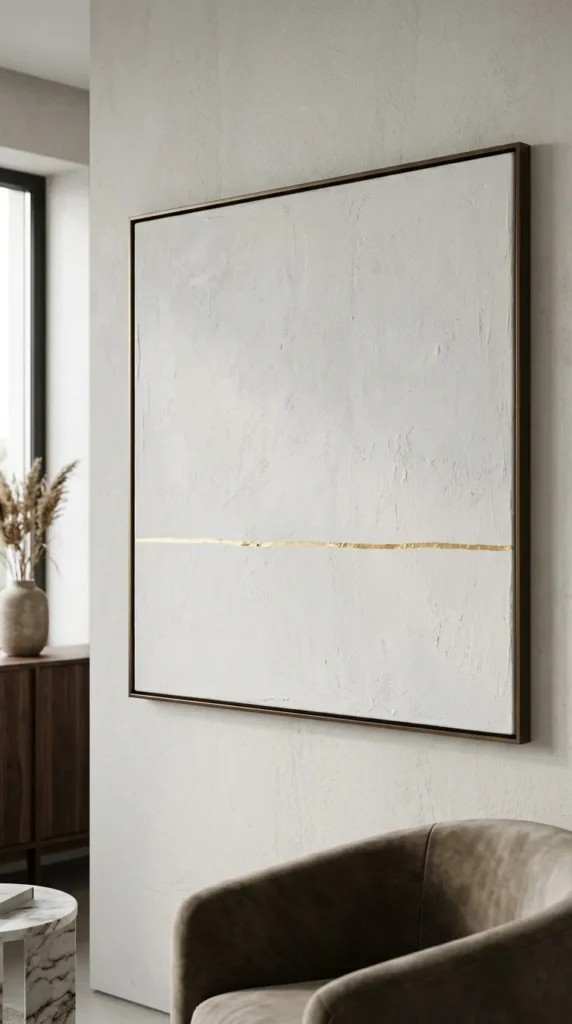
9. Minimalist Gold Leaf Accent Canvas
What This Idea Means
This art piece combines vast areas of flat, matte background color with a small, precise accent of gold leaf foil. The contrast between the chalky background and the reflective metallic foil adds a sophisticated focal point without overwhelming the wall.
Needs to Make This
- Stretched canvas
- Flat matte paint (charcoal grey, dark navy, or off-white)
- Gold leaf sheets
- Gold leaf gilding adhesive (size)
- Soft brush and flat stiff brush
How to Make It
- Paint the entire canvas with two coats of your chosen flat matte paint and let it dry completely.
- Lightly paint a thin layer of gilding adhesive onto a small, isolated section of the canvas (such as a single thin line, circle, or small patch).
- Wait a few minutes until the adhesive becomes tacky.
- Gently lay the gold leaf sheet over the adhesive section.
- Softly press and brush away excess foil using a dry, soft brush to reveal clean, sharp metallic edges.
Tips and Variations
- Keep the metallic area below 10% of the overall canvas surface area to preserve the minimalist balance.
- Use silver or copper leaf instead of gold depending on your room’s hardware accents.
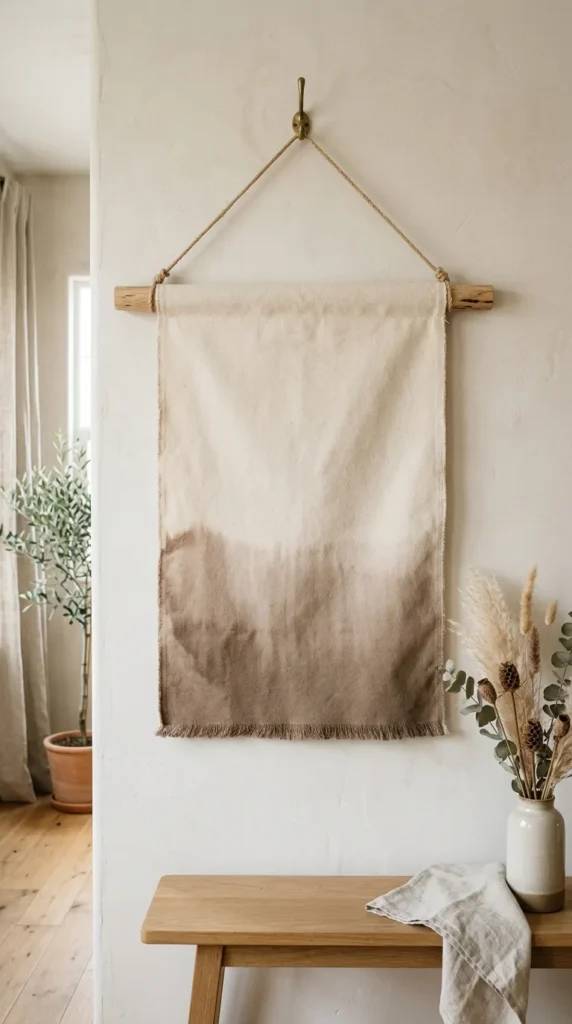
10. Dip-Dyed Canvas Hanging
What This Idea Means
A modern interpretation of textile wall hangings, dip-dyed art features heavy canvas or unbleached cotton dipped into neutral fabric dyes. This creates a soft, hazy ombre gradient where color transitions smoothly into natural fabric.
Needs to Make This
- Heavy unbleached cotton canvas or drop cloth
- Fabric dye (taupe, charcoal, or terracotta)
- Wooden dowel rod or flat hanging bar
- Large bucket or basin
- Needle and thread or fabric glue
How to Make It
- Sew or glue a simple top loop on your canvas panel to hold the hanging rod.
- Mix the fabric dye with warm water in a large bucket following the package instructions.
- Submerge the lower third of the canvas into the dye bath.
- Slowly pull the canvas upward in stages over 15 to 20 minutes to create a soft, blended gradient transition.
- Rinse the bottom in cold water until the water runs clear, then let it dry thoroughly.
- Slide the wooden dowel through the top loop and attach a simple cord for hanging.
Tips and Variations
- Fray the bottom edge of the canvas by pulling horizontal threads for a casual fringe texture.
- Dip both the top and bottom edges while leaving the center area completely undyed.
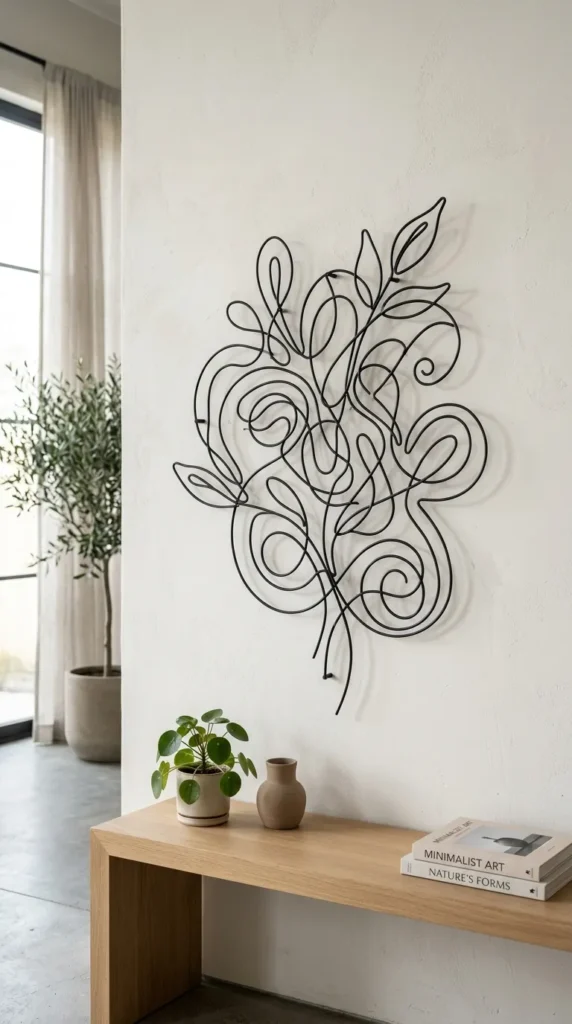
11. Minimalist Wire Wall Sculpture
What This Idea Means
Wire wall art uses thin black or brass metal wire bent into simple continuous contours, such as face profiles, botanical stems, or abstract fluid shapes. Mounted slightly away from the wall, it creates dynamic linear shadows as light conditions shift throughout the day.
Needs to Make This
- 16 to 18-gauge flexible craft wire (black, aluminum, or brass)
- Small round-nose pliers and wire cutters
- Small clear adhesive hooks or tiny wall pins
- Printed template/sketch
How to Make It
- Draw or print your minimalist design at full 1:1 scale on paper.
- Lay the wire directly on top of the paper template.
- Use pliers to bend and curve the wire along the printed lines in a continuous path.
- Snip excess wire with wire cutters once the shape is complete and fold the end neatly.
- Hang the finished wire shape using tiny, discreet wall pins placed at strong bend intersections.
Tips and Variations
- Mount the wire art roughly 1/4 inch off the wall surface so that directional room lighting casts a clear shadow duplicate onto the wall.
- Keep the design small and simple—a single flower stem or abstract shape works best.
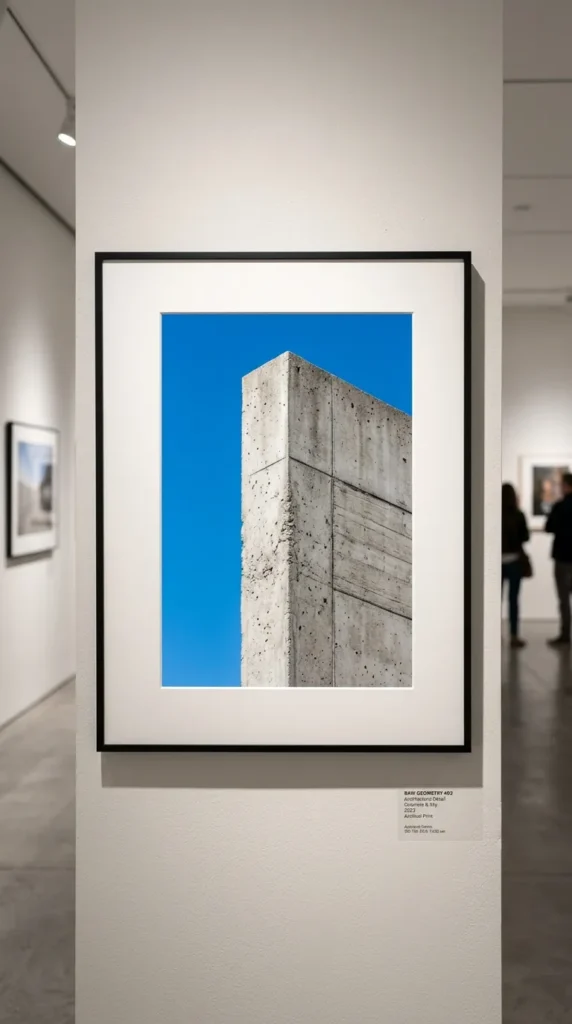
12. Framed Architecture Photography Print
What This Idea Means
This style focuses on close-up photography of architectural elements—such as a building corner, concrete stair angle, or building facade against a clear sky. The focus is on sharp geometry, structural symmetry, and vast expanses of solid color or open sky.
Needs to Make This
- High-resolution architectural photo (taken personally or sourced from public domain image libraries)
- Quality matte photo paper print
- Large picture frame with a thick white mat board
- Mounting tape
How to Make It
- Crop your architectural photograph to highlight strong diagonal lines, sharp corners, or negative sky space.
- Print the cropped image in high resolution on heavyweight matte paper.
- Center the photograph behind an oversized white mat board.
- Mount the photo cleanly inside a thin black or light natural oak frame.
Tips and Variations
- Convert the photograph to high-contrast black-and-white to remove color distractions and emphasize geometry.
- Use a mat board that is at least twice the width of the photograph to maximize surrounding negative space.
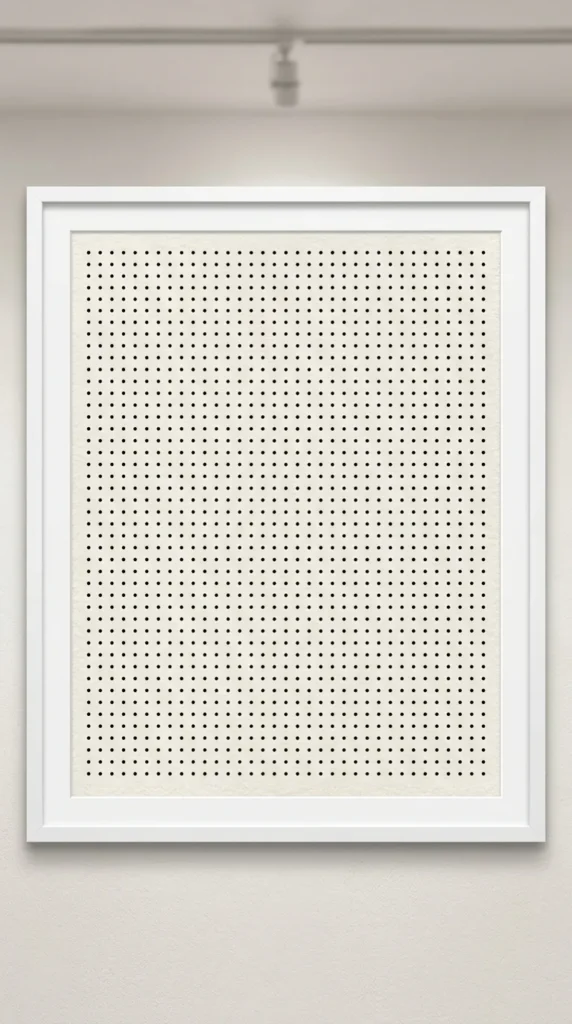
13. Symmetrical Ink Dot Grid
What This Idea Means
Inspired by fine art grid systems and stippling, this artwork consists of small ink dots or tiny minimalist marks placed in precise, uniform grids. The overall piece delivers structured calm, order, and visual consistency.
Needs to Make This
- Heavyweight smooth cotton paper
- Precision archival ink pen (e.g., Micron 0.3mm or 0.5mm)
- Grid ruler and light pencil
- High-quality frame
How to Make It
- Lightly draw a uniform grid on your paper using a sharp pencil and ruler (e.g., dots placed every 1 inch).
- Using an archival ink pen, place a single clean dot at each line intersection.
- Keep hand pressure consistent to ensure every dot is uniform in size.
- Carefully erase all faint pencil guidelines using a soft white eraser once the ink is dry.
- Frame the paper cleanly.
Tips and Variations
- Instead of uniform dots, make small 1/4-inch vertical hatch marks or tiny hand-drawn circles across the grid.
- Gradually alter dot density—spacing them closer near the bottom and farther apart toward the top—to create a subtle gradient.
14. Modern Wooden Slat Art
What This Idea Means
This concept arranges slim, evenly spaced wooden slats across a painted canvas or backing board. The repetition of parallel wood strips creates clean vertical lines, warmth, and depth through wood grain and shadow lines.
Needs to Make This
- Thin wooden square dowels or craft strips (oak, pine, or walnut)
- Black or white painted backing board/plywood
- Fine-tooth hand saw
- Wood glue
- Ruler and spacer block
- Wood stain or clear satin coat
How to Make It
- Cut wooden dowel strips to equal lengths using a fine-tooth hand saw.
- Sand all cut ends smooth and apply a clear coat or light stain to highlight the natural wood grain.
- Paint your base board in a solid, contrasting matte color (such as matte black or off-white).
- Lay the first wood slat along one edge of the board using wood glue.
- Use a small scrap wood block as a spacer to ensure identical gap distances between every added slat.
- Press the slats down until dry.
Tips and Variations
- Cut the top ends of the wood slats at varying angles to form an abstract diagonal shape across the board.
- Paint the backing board and the slats the exact same color (e.g., all-black) for a subtle texture-based piece.


15. Poured Acrylic Cell Art (Neutral Tones)
What This Idea Means
Unlike vibrant, multicolored fluid art, minimalist poured acrylic uses only soft neutrals—cream, white, taupe, and subtle grey. The paint flows organically across the canvas, forming soft, liquid layers and smooth shapes without visual chaos.
Needs to Make This
- Stretched canvas
- Neutral acrylic paints (white, soft grey, warm beige)
- Acrylic pouring medium
- Small mixing cups and stir sticks
- Level work surface
How to Make It
- Mix each acrylic color with pouring medium in separate cups until it reaches a thin, pancake-batter consistency.
- Pour a solid white or cream base coat across the entire canvas to help the paint flow smoothly.
- Gently pour small amounts of grey and beige paint onto the center of the canvas in gentle pools.
- Tilt the canvas slowly in circular motions to let the colors slide across the surface, creating fluid, soft edges.
- Set the canvas on a level surface to dry completely for 48 hours.
Tips and Variations
- Limit your color choices strictly to two muted tones to prevent the composition from looking overly complex.
- Leave over 60% of the canvas covered solely in the flat base background shade.
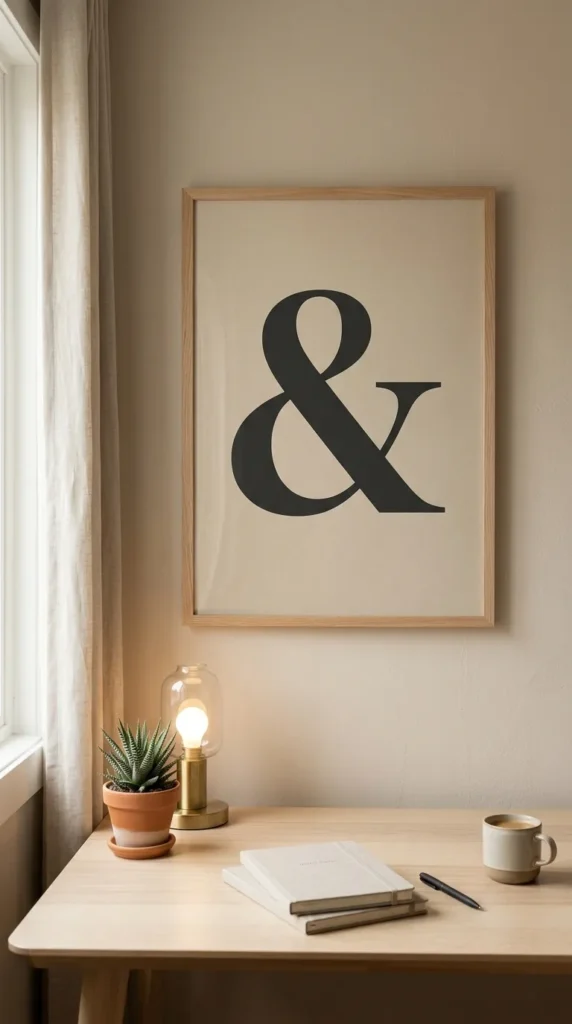
16. Oversized Monogram Typographic Art
What This Idea Means
Minimalist typography art uses a single oversized serif or modern sans-serif letter, numeral, or punctuation mark centered on a solid backdrop. The artwork isolates the classic graphic design and curved geometry of typography.
Needs to Make This
- High-density art board or stretched canvas
- Acrylic paint (high contrast, such as black on warm cream)
- Stencil or printed lettering template
- Painter’s tape and fine-tip detail paintbrushes
How to Make It
- Choose a letter, number, or symbol with elegant geometry (e.g., “&”, “a”, or “8”).
- Print the character at a large scale and transfer the outline onto your canvas using graphite transfer paper or a light pencil sketch.
- Carefully mask straight edges with painter’s tape.
- Fill in the letter with smooth, even coats of paint using a detail brush along curves.
- Remove tape and touch up edges for a crisp, printed finish.
Tips and Variations
- Crop the letter so that only part of its curve enters the frame, turning the letterform into an abstract shape.
- Use a low-contrast color scheme, such as off-white lettering over a light taupe background, for a subtle finish.
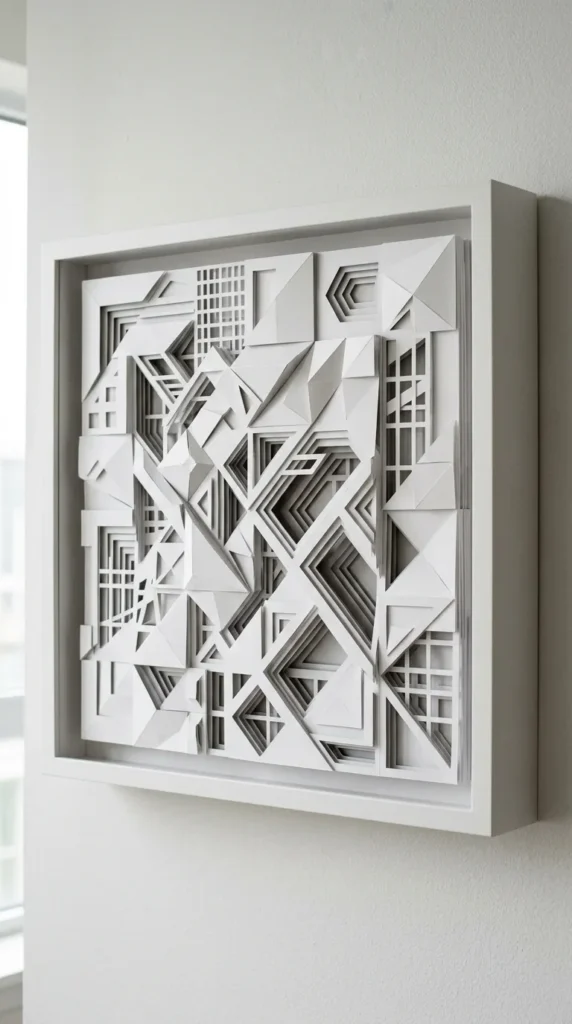
17. Layered Cardstock Paper Relief
What This Idea Means
Layered paper relief art uses multiple sheets of cardstock stacked with small gaps between them. Each sheet features a slightly varied geometric cutout, creating a multi-tiered, three-dimensional sunken or raised sculpture inside a frame.
Needs to Make This
- 4 to 6 sheets of thick, identical neutral cardstock
- Precision craft knife (X-Acto knife)
- Cutting mat
- Double-sided foam mounting tape
- Picture frame
How to Make It
- Design a sequence of expanding geometric shapes (like concentric circles, rounded squares, or organic curves).
- Trace each shape onto its own separate sheet of cardstock.
- Cut out the center shape from each sheet using a sharp craft knife on a cutting mat.
- Apply small strips of foam tape along the back edges of each cardstock layer.
- Stack the layers sequentially on top of one another, pressing firmly to bond the foam tape.
- Mount the finished dimensional stack inside a frame.
Tips and Variations
- Use paper sheets with a subtle color gradient—ranging from cream on the top layer down to warm tan on the bottom layer.
- Light the finished frame from the side using a lamp to emphasize depth and shadow drop between layers.
18. Minimalist Horizon Line Oil Pastel
What This Idea Means
This concept captures the essence of a serene landscape using only two color fields separated by a single, soft horizontal dividing line. It mimics a quiet sea horizon, desert plane, or misty sky in an abstract, simplified form.
Needs to Make This
- Heavyweight textured paper or canvas board
- Artist-grade oil pastels or soft pastels (muted blue, warm sand, or grey)
- Blending stump or soft cloth
- Painter’s tape
- Frame with glass
How to Make It
- Apply painter’s tape horizontally across the canvas to define your crisp horizon line.
- Fill the upper section with smooth, horizontal strokes of your sky tone.
- Fill the lower section with your ground/water tone.
- Softly blend the colors using a blending stump or cloth while keeping the dividing boundary neat.
- Gently peel away the tape to reveal a straight horizon line, or blend slightly across the line for a hazy atmosphere.
- Frame behind glass to protect the pastel surface.
Tips and Variations
- Use closely related tones (such as two shades of soft grey) for a low-contrast, tranquil atmospheric effect.
- Keep 80% of the canvas as sky space, lowering the horizon line to the bottom fifth of the piece.
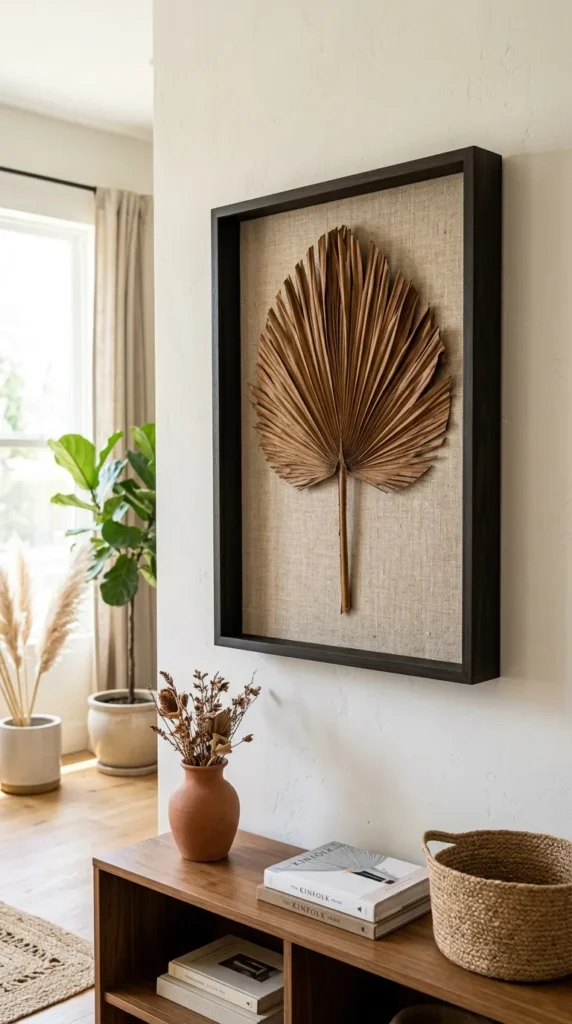
19. Framed Dried Palm Fan
What This Idea Means
A dried, trimmed palm spear or sun palm fan mounted on a clean backdrop provides instant texture, warmth, and natural geometric lines. It introduces a subtle coastal or bohemian element while maintaining a clean, modern aesthetic.
Needs to Make This
- Dried natural palm fan or palm spear
- Large shadow box frame or deep picture frame
- Heavy linen background paper
- Craft scissors
- Clear jewelry wire or needle and thread
How to Make It
- Trim the stem and outer edges of the dried palm fan into a neat symmetrical fan or arch shape.
- Mount your linen paper onto the backing board of the shadow box.
- Position the palm fan in the center of the linen backing.
- Secure the palm by making two tiny, hidden holes in the backing board and tying the stem down using clear thread or wire.
- Assemble the shadow box frame securely.
Tips and Variations
- Lightly spray paint the dried palm fan in matte white or soft gold to give it a modern, uniform finish.
- Pair two small shadow box frames side-by-side with smaller matching palm spears facing opposite directions.
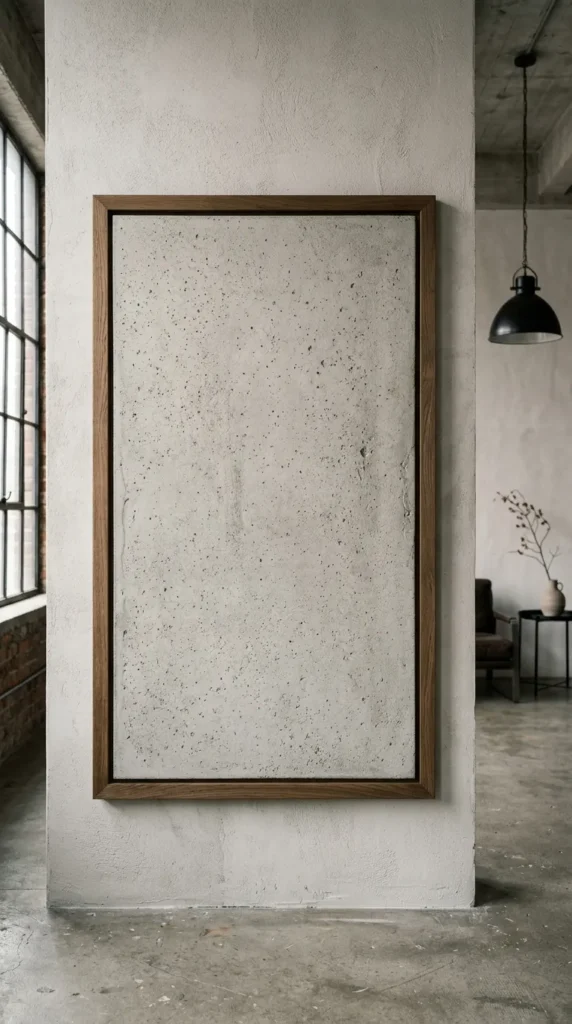
20. Concrete / Cement Tile Canvas
What This Idea Means
Concrete art brings industrial texture into modern minimalist interiors. By applying a thin layer of skim-coat concrete onto a lightweight board, you get the rich, mottled look and tactile feel of real stone without the weight of heavy masonry.
Needs to Make This
- Featherweight skim-coat concrete or concrete patch mix
- Plywood board or rigid wood canvas panel
- Spreader knife or trowel
- Sanding block (medium-grit)
- Clear matte concrete sealer
How to Make It
- Mix a small batch of skim-coat concrete with water according to package directions until smooth and spreadable.
- Spread a thin layer (about 1/16 to 1/8 inch) over your rigid board using a trowel.
- Use the trowel to create a smooth surface, or leave subtle trowel strokes for an industrial texture.
- Allow the concrete to cure fully for 24 hours.
- Lightly sand smooth any rough raised bits with a sanding block.
- Wipe away dust and seal the surface with a clear matte sealant to prevent dusting and protect the finish.
Tips and Variations
- Score simple geometric grid lines into the concrete while it is semi-wet to mimic industrial architectural tiles.
- Mix a tiny drop of charcoal pigment into half of the concrete mix to create soft grey marbled veining across the surface.